

Prior to iOS 15, SwiftUI didn’t come with a built-in modifier for handling search in List views. Developers have to create your own solution. We have written a tutorial showing you how to implement a search bar in SwiftUI using TextField and display the search result. With the release of iOS 15, the SwiftUI framework brings a new modifier named searchable to List views.
In this tutorial, we will look into this modifier and see easily it is to implement search for a list.
Basic Usage of Searchable
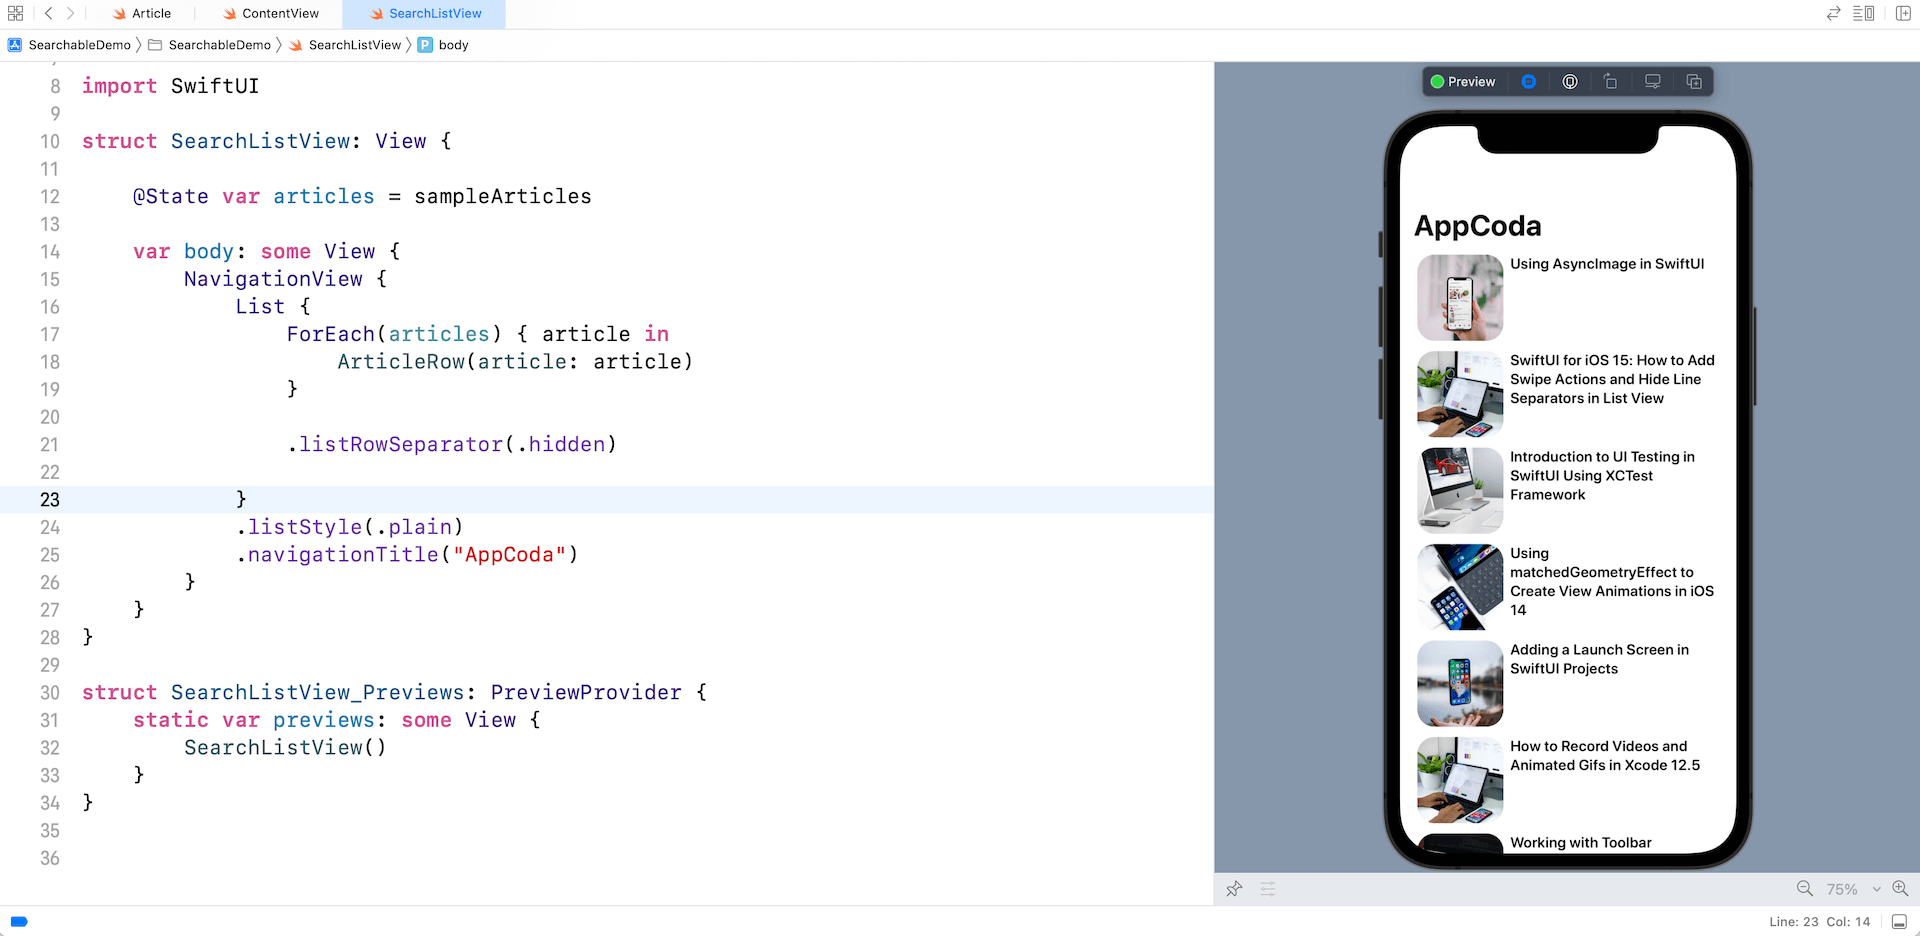
Let’s suppose you have created a list view to display a set of article and want to provide a search bar for filtering the articles. To add a search bar to the list view, all you need to do is declare a state variable to hold the search text and attach a searchable modifier to the NavigationView like this:
struct SearchListView: View {

    @State var articles = sampleArticles
    @State private var searchText = ""

    var body: some View {
        NavigationView {
            .
            .
            .
        }
        .searchable(text: $searchText)
    }
}
SwiftUI automatically renders the search bar for you and put it under the navigation bar title.
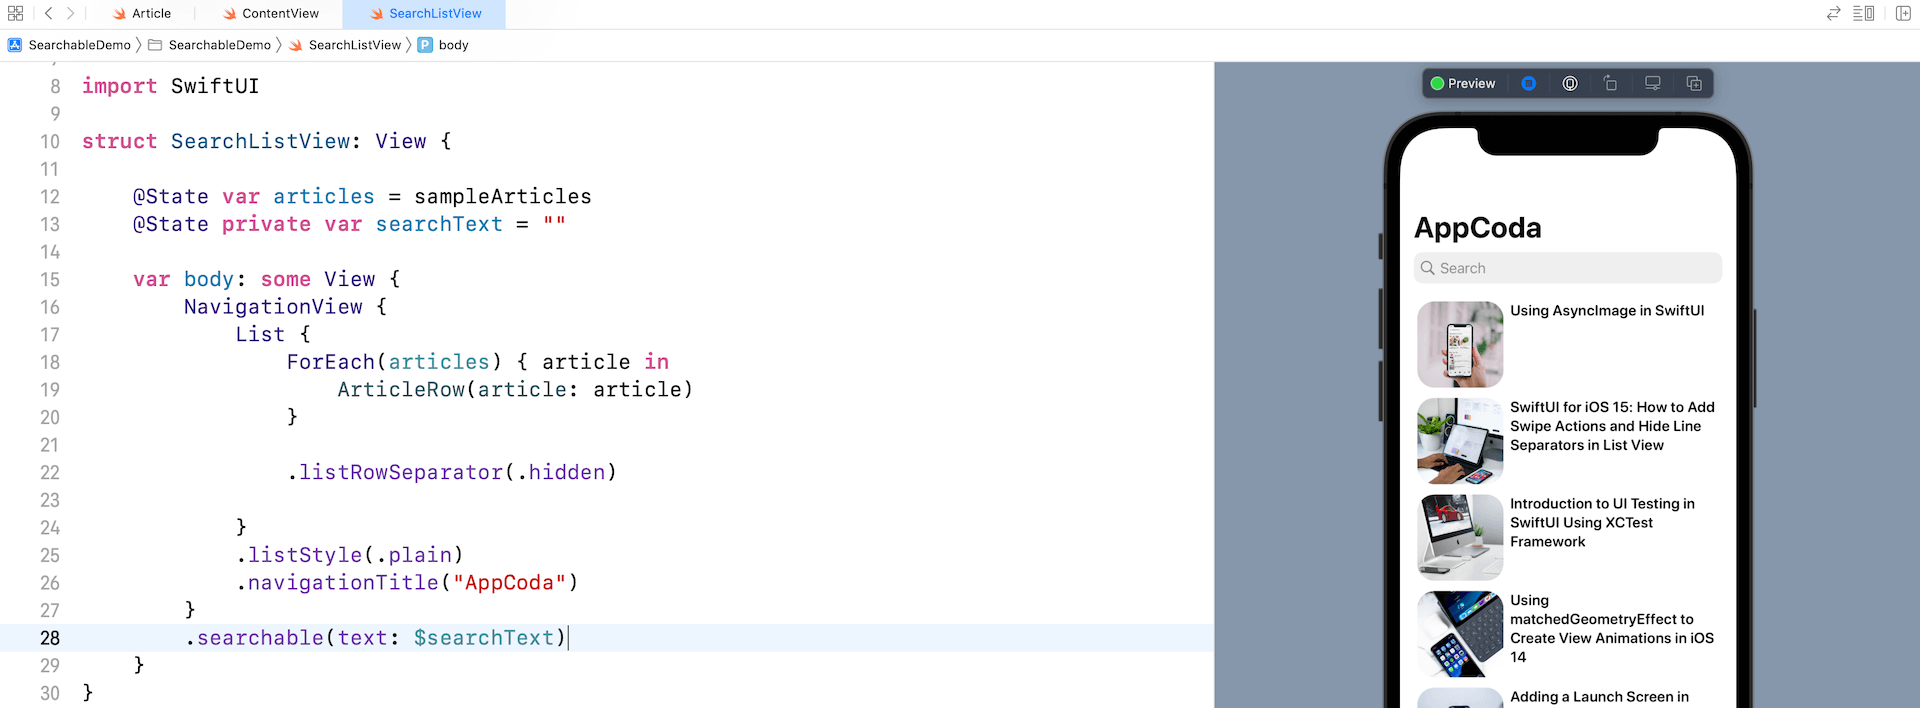
By default, it displays the word Search as a placeholder. In case if you want to change it, you can write the .searchable modifier like this and use your own placeholder value:
.searchable("Search articles...", text: $searchText)Search Bar Placement
The .searchable modifier has a placement parameter for you to specify where to place the search bar. By default, it’s set to .automatic. On iPhone, the search bar is placed under the navigation bar title. When you scroll up the list view, the search bar will be hidden.
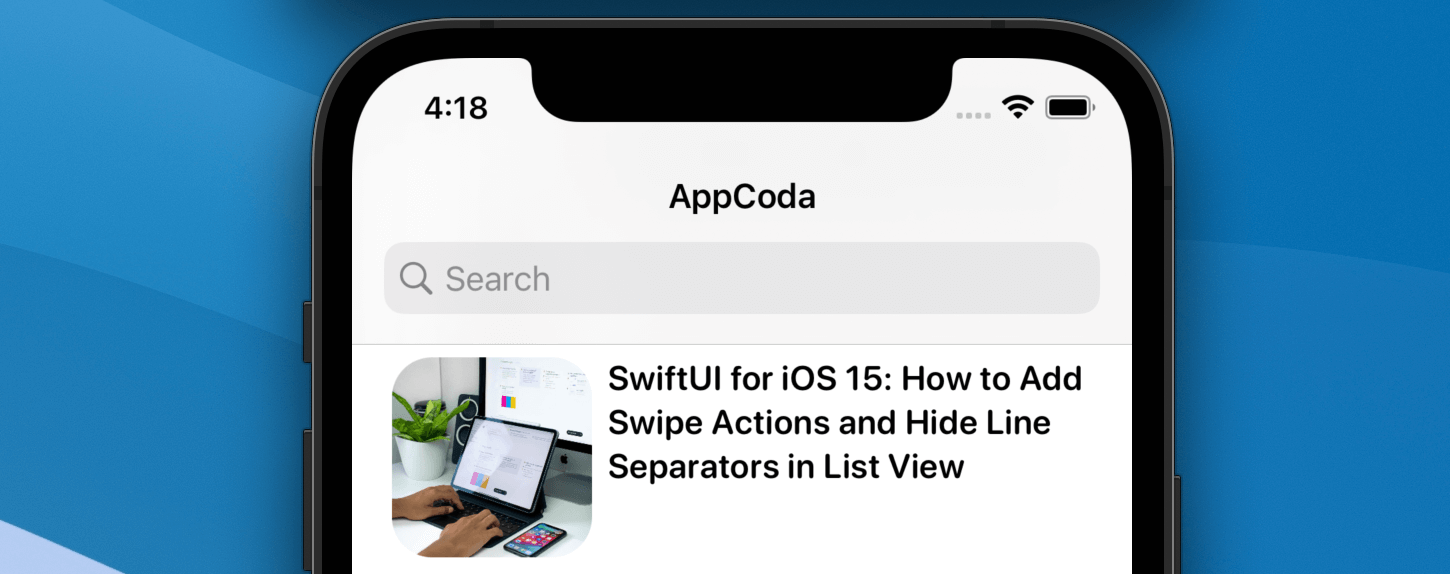
If you want to permanently display the search field like the one shown above, you can change the .searchable modifier and specify the placement parameter like this:
.searchable(text: $searchText, placement: .navigationBarDrawer(displayMode: .always))So far, we attach the .searchable modifier to the navigation view. You can actually attach it to the List view and achieve the same result on iPhone.
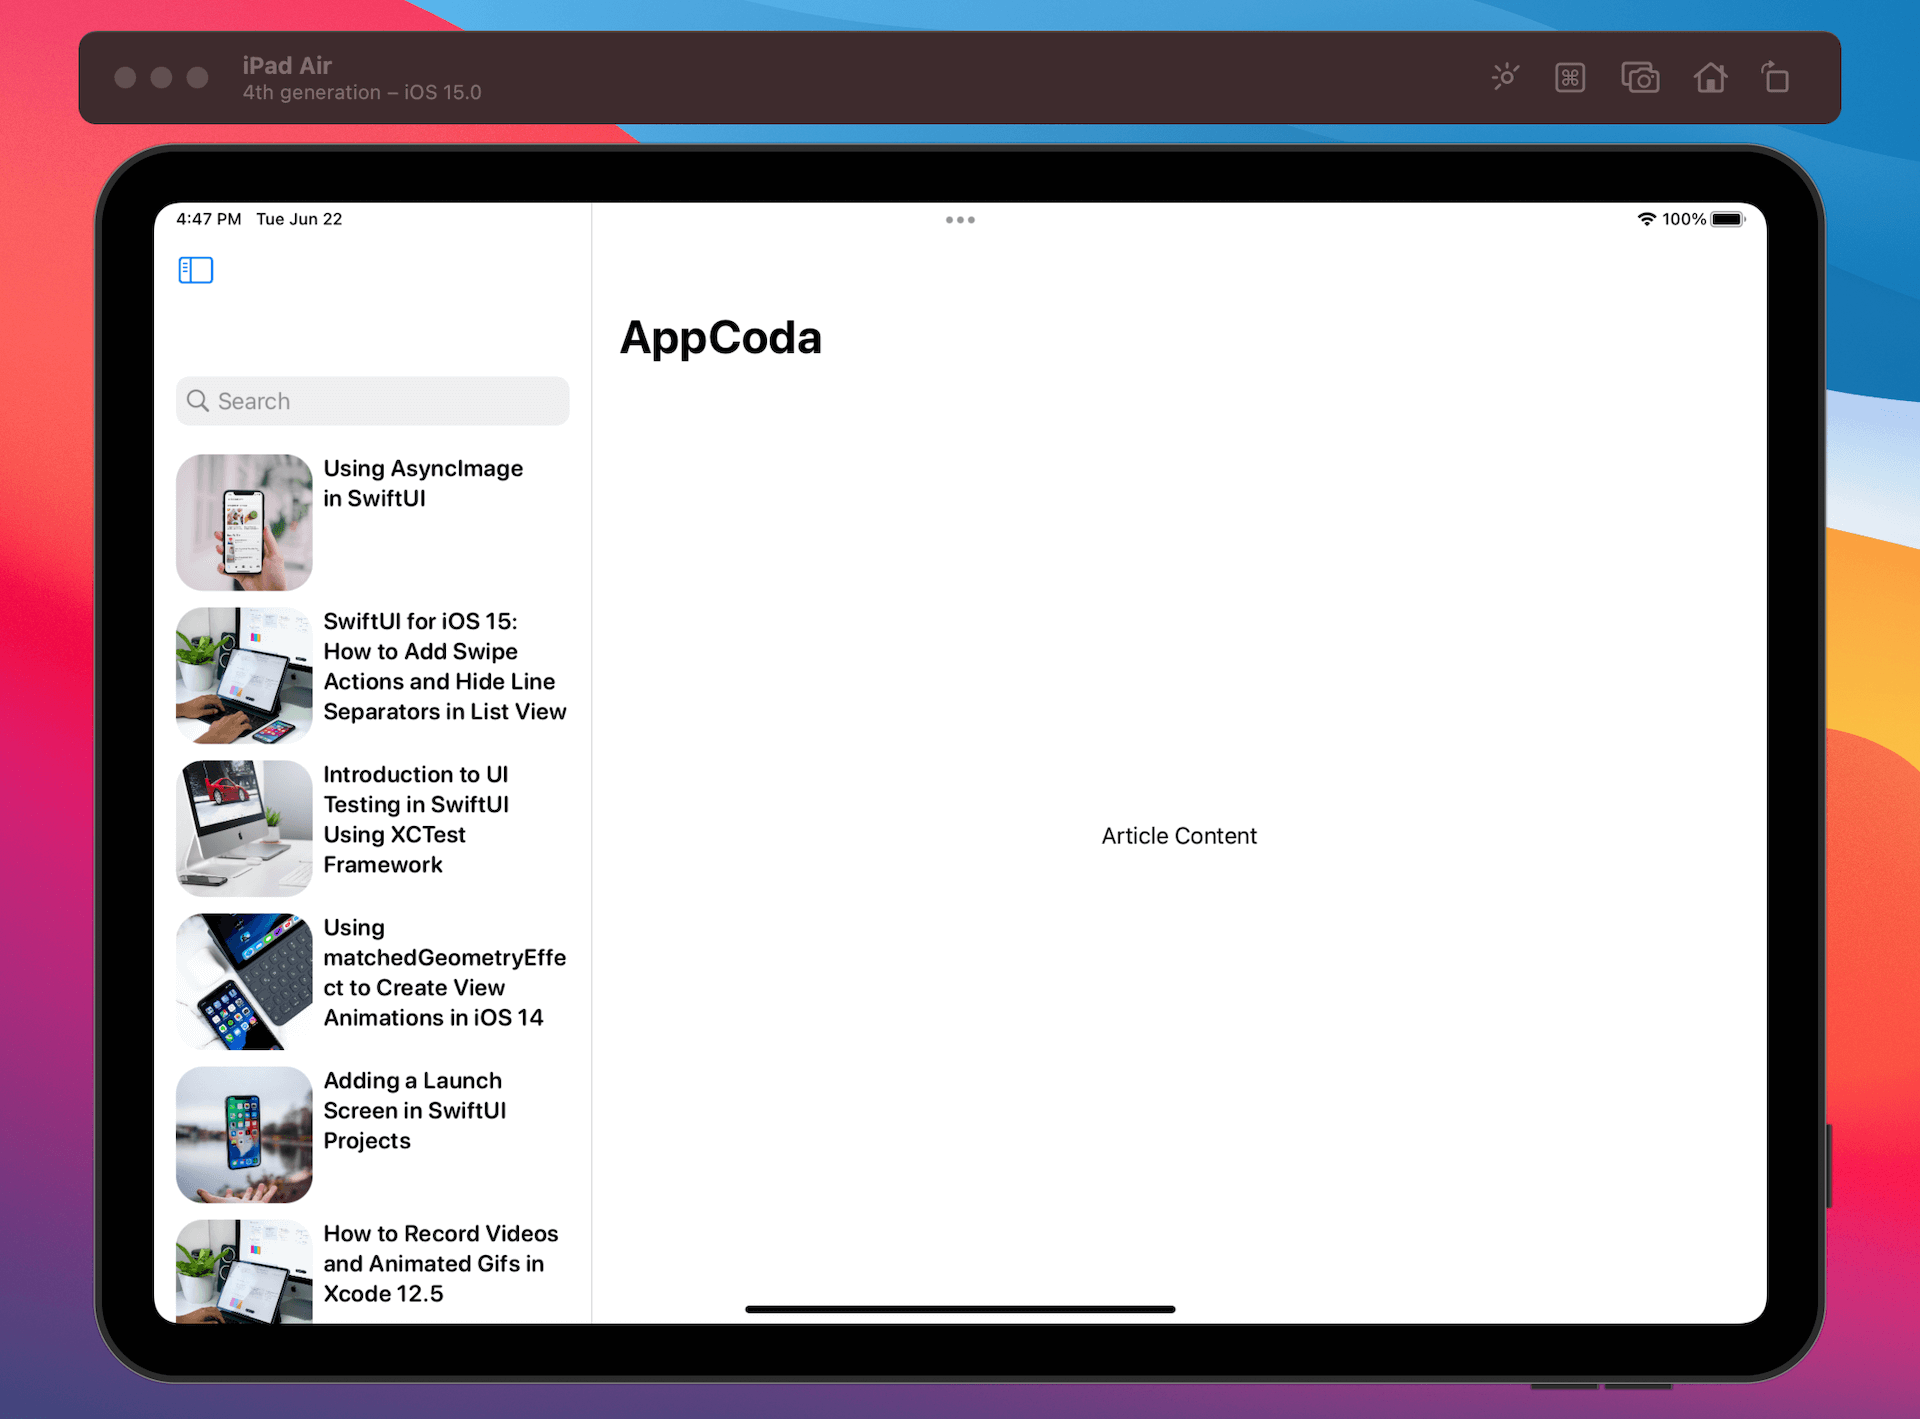
That said, the placement of the .searchable modifier affects the position of the search field when using Splitview on iPad OS. Take a look at the following sample code:
NavigationView {
List {
ForEach(articles) { article in
ArticleRow(article: article)
}
.listRowSeparator(.hidden)
}
.listStyle(.plain)
Text("Article Content")
.navigationTitle("AppCoda")
}
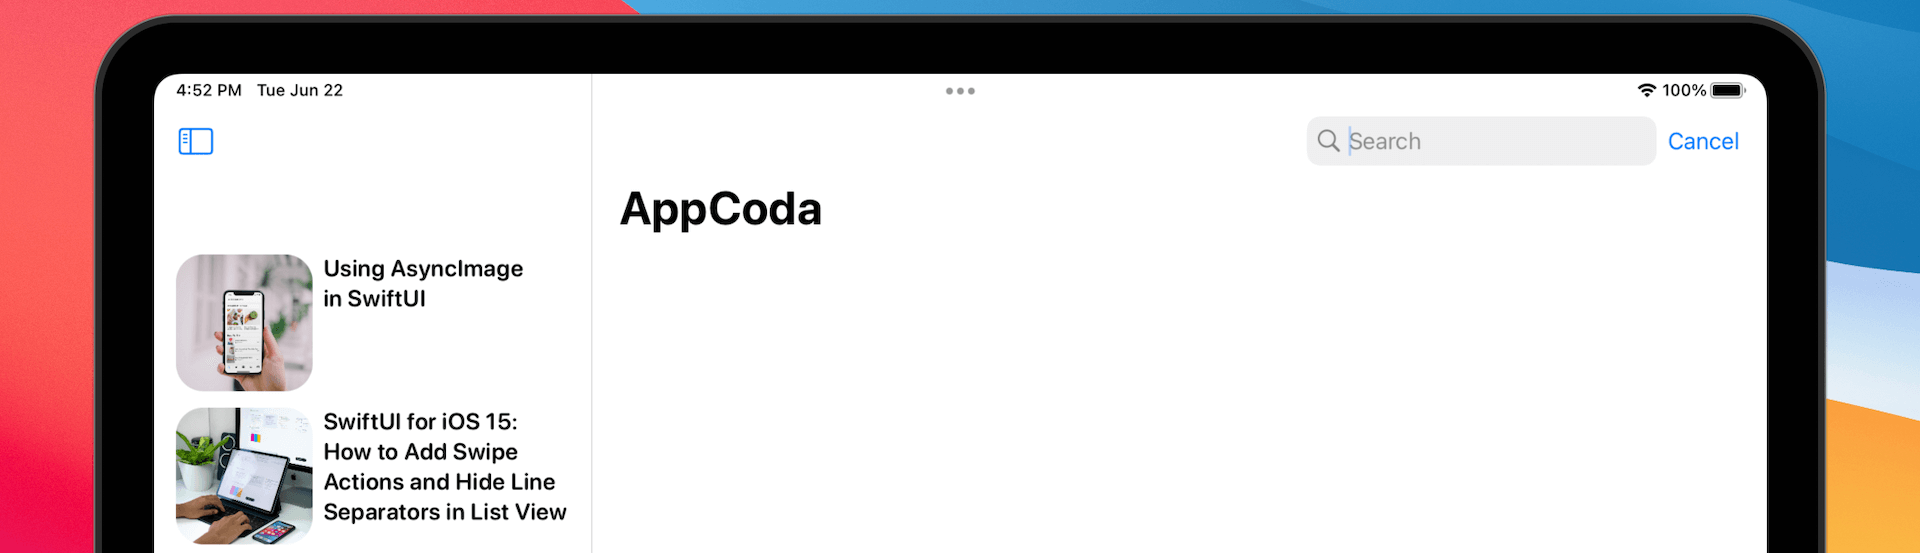
.searchable(text: $searchText)As usual, we attach the .searchable modifier to the navigation view. In this case, the search bar is displayed on the sidebar of the split view.
What if you want to place the search field in the detail view? You can just attach the .searchable modifier to the Text view of the sample code.
Text("Article Content")
    .searchable(text: $searchText)
iPadOS will then render the search bar at the top right corner of the detail view.
Again, you can further change the placement of the search bar by adjusting the value of the placement parameter. Here is an example:
.searchable(text: $searchText, placement: .navigationBarDrawer)By setting the placement parameter to .navigationBarDrawer, iPadOS places the search field beneath the navigation bar title.

Performing Search and Displaying Search Results
There are different ways to filter the list of data. You may create a computed property that performs the data filtering in real-time. Alternatively, you can attach the .onChange modifier to keep track of the change of the search field. Whenever the user types in the search field, you perform the search in real-time. Here is a sample code snippet:
NavigationView {
    List {
        ForEach(articles) { article in
            ArticleRow(article: article)
        }

        .listRowSeparator(.hidden)

    }
    .listStyle(.plain)

    .navigationTitle("AppCoda")
}
.searchable(text: $searchText)
.onChange(of: searchText) { searchText in

    if !searchText.isEmpty {
        articles = sampleArticles.filter { $0.title.contains(searchText) }
    } else {
        articles = sampleArticles
    }
}
Adding Search Suggestions
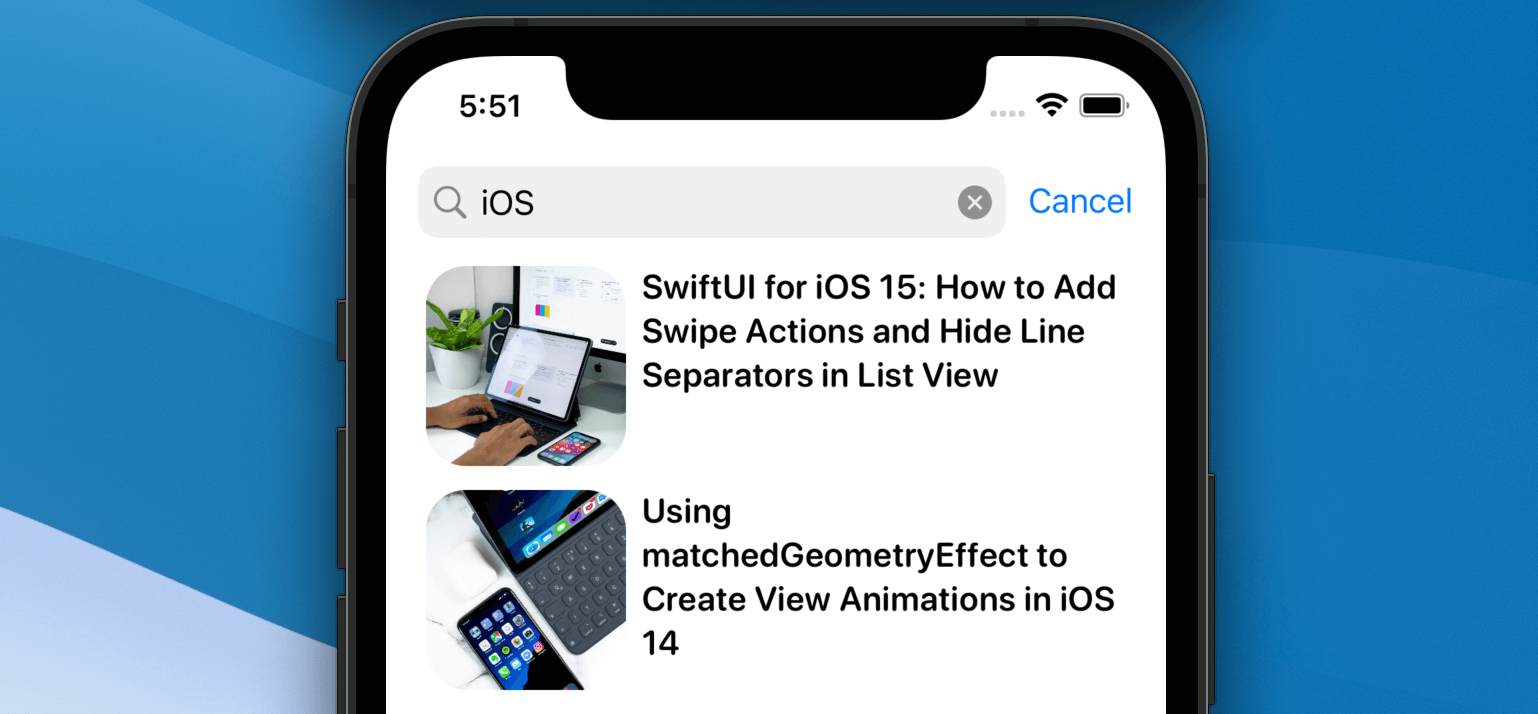
The .searchable modifier lets you add a list of search suggestions for displaying some commonly used search terms or search history. For example, you can create tappable search suggestion like this:
.searchable(text: $searchText) {
    Text("SwiftUI").searchCompletion("SwiftUI")
    Text("iOS 15").searchCompletion("iOS 15")
}
This displays a search suggestion with two tappable search terms. Users can either type the search keyword or tap the search suggestion to perform the search.

Summary
iOS 15 brings another welcome feature for the SwiftUI framework. The .searchable modifier simplifies the implementation of search bar and save us time from creating our own solution. The downside is that this feature is only available on iOS 15 (or later). If you are building an app that needs to support the older versions of iOS, you will still need to build your own search bar.


