Since the release of iOS 16, it’s easy to create an interactive bottom sheet using SwiftUI. All you need to do is to embed a modifier called presentationDetents in a Sheet view. Earlier, we published a detailed tutorial to walk you through the API. However, if you’ve forgotten its usage, let’s check out the sample code below.
struct BasicBottomSheet: View {
    @State private var showSheet = false

    var body: some View {
        VStack {
            Button("Show Bottom Sheet") {
                showSheet.toggle()
            }
            .buttonStyle(.borderedProminent)
            .sheet(isPresented: $showSheet) {
                Text("This is the expandable bottom sheet.")
                    .presentationDetents([.medium, .large])
            }

            Spacer()
        }
    }
}
You use the sheet modifier to create a presentation sheet and insert the presentationDetents modifer inside the sheet to control the size of the sheet. Both .medium and .height are the built-in detents.
Apart from adjusting the height of the sheet, there aren’t many options to customize it. But, with the upcoming release of iOS 16.4, you’ll be able to create custom backgrounds, have control over the scrolling of the sheet, and many more.
Let’s see what customization options are introduced for the presentation sheet. Please note that you need Xcode 14.3 (or up) to follow this tutorial.
Customizing the Background of SwiftUI Bottom Sheet
With the new presentationBackground modifier, you can now change the background color of the sheet like this:
.presentationBackground(.yellow)By applying a background material type, you can create a blur effect to the sheet. Here is the sample code:
struct ContentView: View {
    @State private var showSheet = false

    var body: some View {
        ZStack(alignment: .top) {
            Image("wallpaper")
                .resizable()
                .scaledToFill()
                .clipped()
                .ignoresSafeArea()

            Button("Show Bottom Sheet") {
                showSheet.toggle()
            }
            .tint(.black)
            .buttonStyle(.borderedProminent)
            .sheet(isPresented: $showSheet) {
                Text("This is the expandable bottom sheet.")
                    .presentationDetents([ .medium, .large])
                    .presentationBackground(.thinMaterial)

            }
        }
    }
}
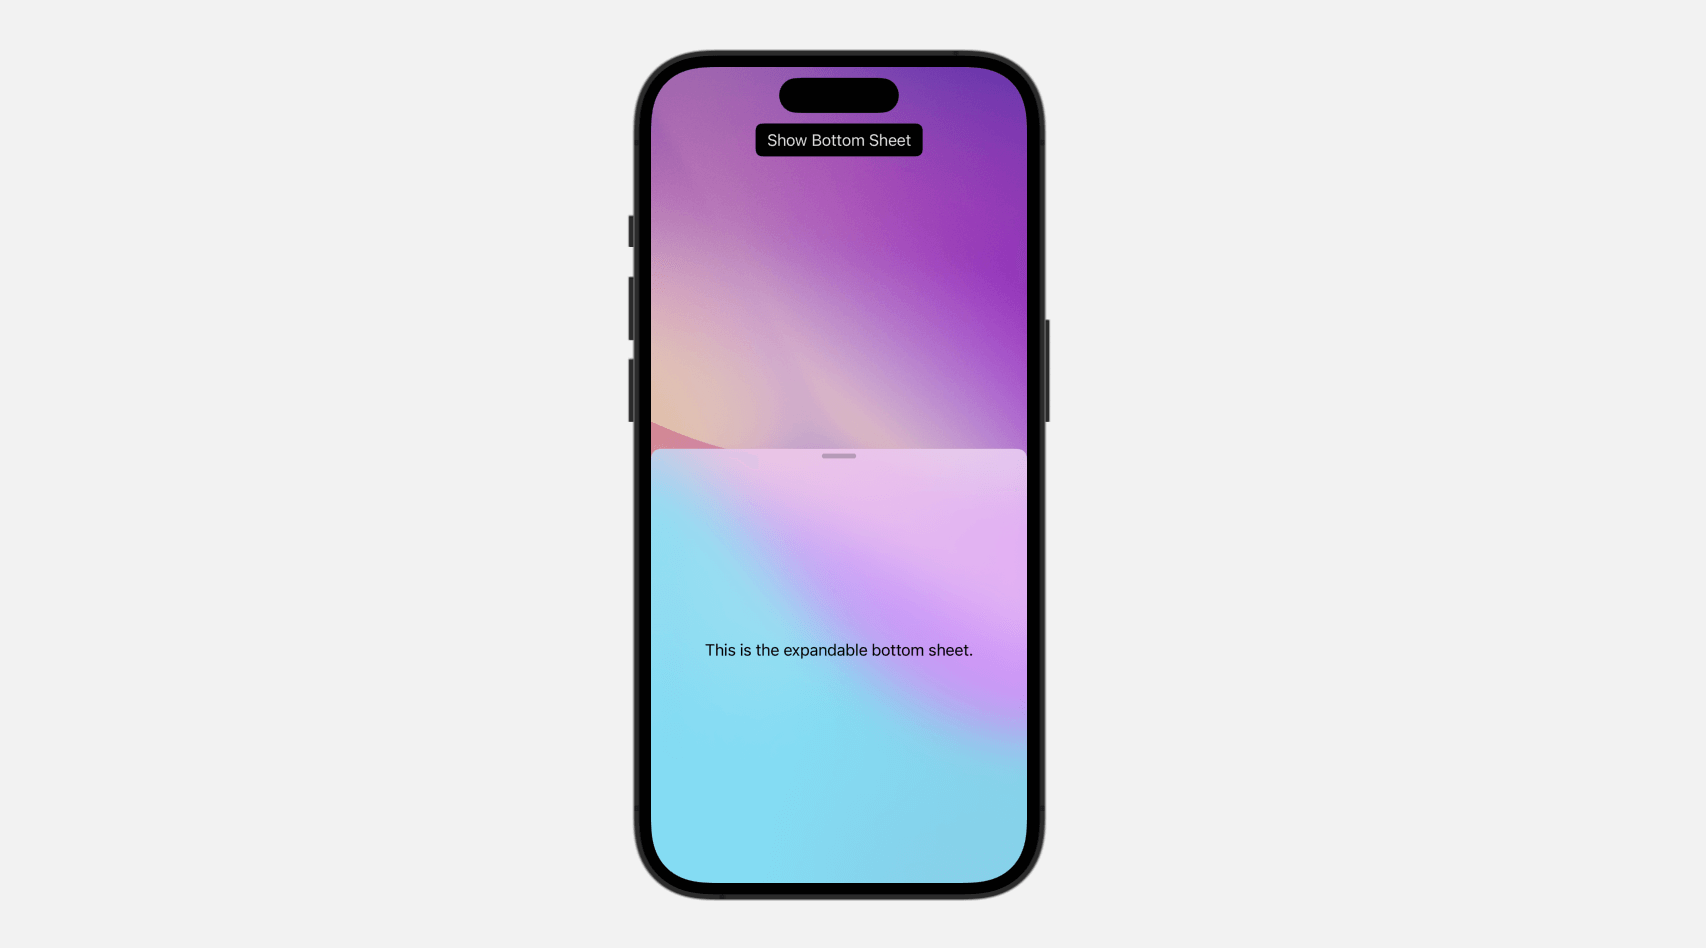
We set the presentation background to .thinMaterial in order to add a translucent layer between the sheet and the background image.

Optionally, you can create a custom view as the sheet’s background using the modifier like this:
.presentationBackground {
    Image("wallpaper")
}
Customizing the Corner Radius of the Presentation Sheet
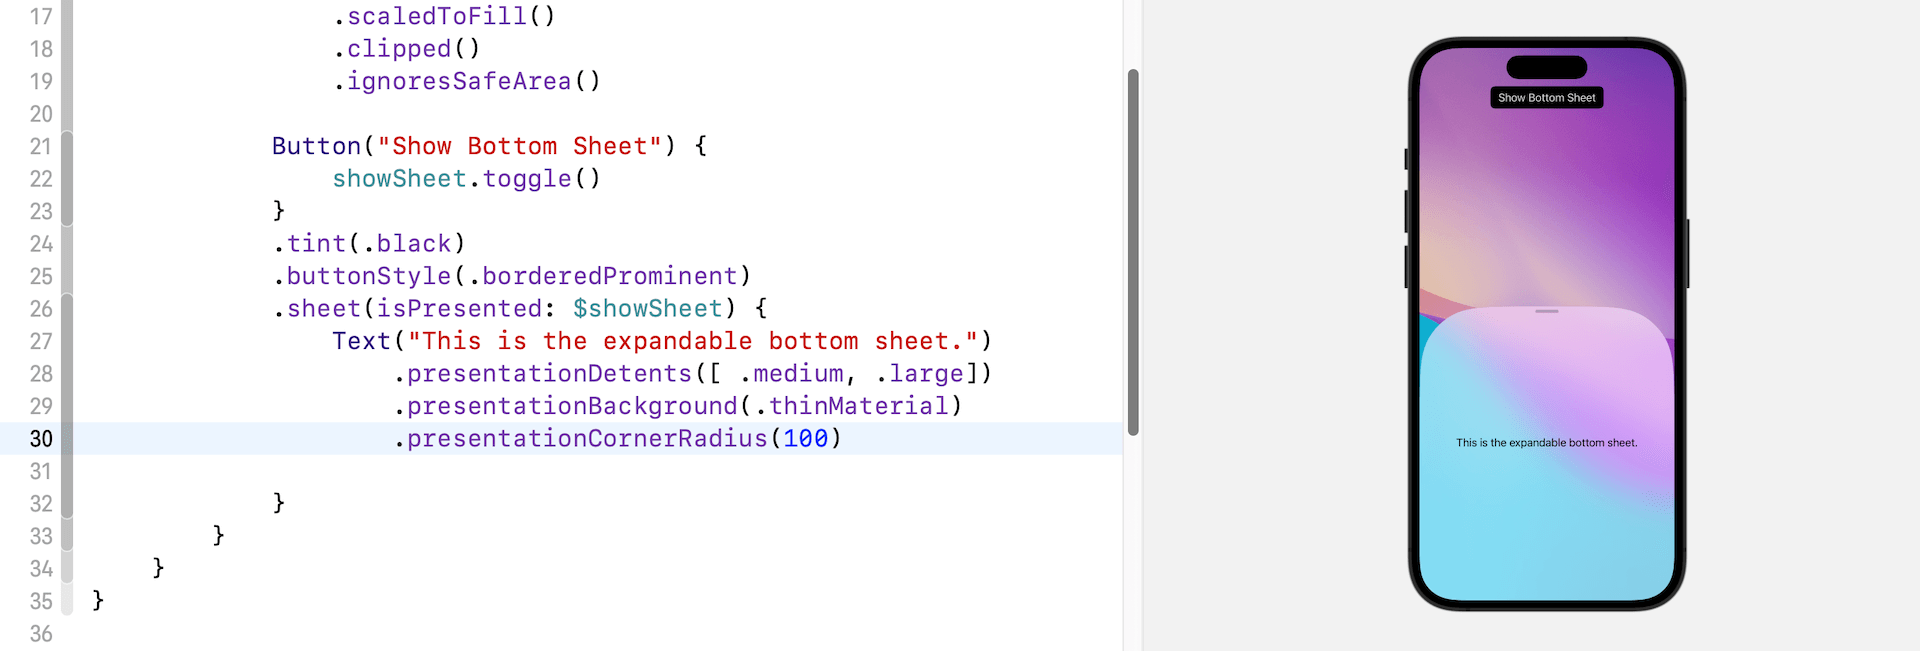
This new update also comes with a new modifier named presentationCornerRadius which allows you to adjust the corner radius of the presentation sheet. Here is an example.

Enabling Background Interaction
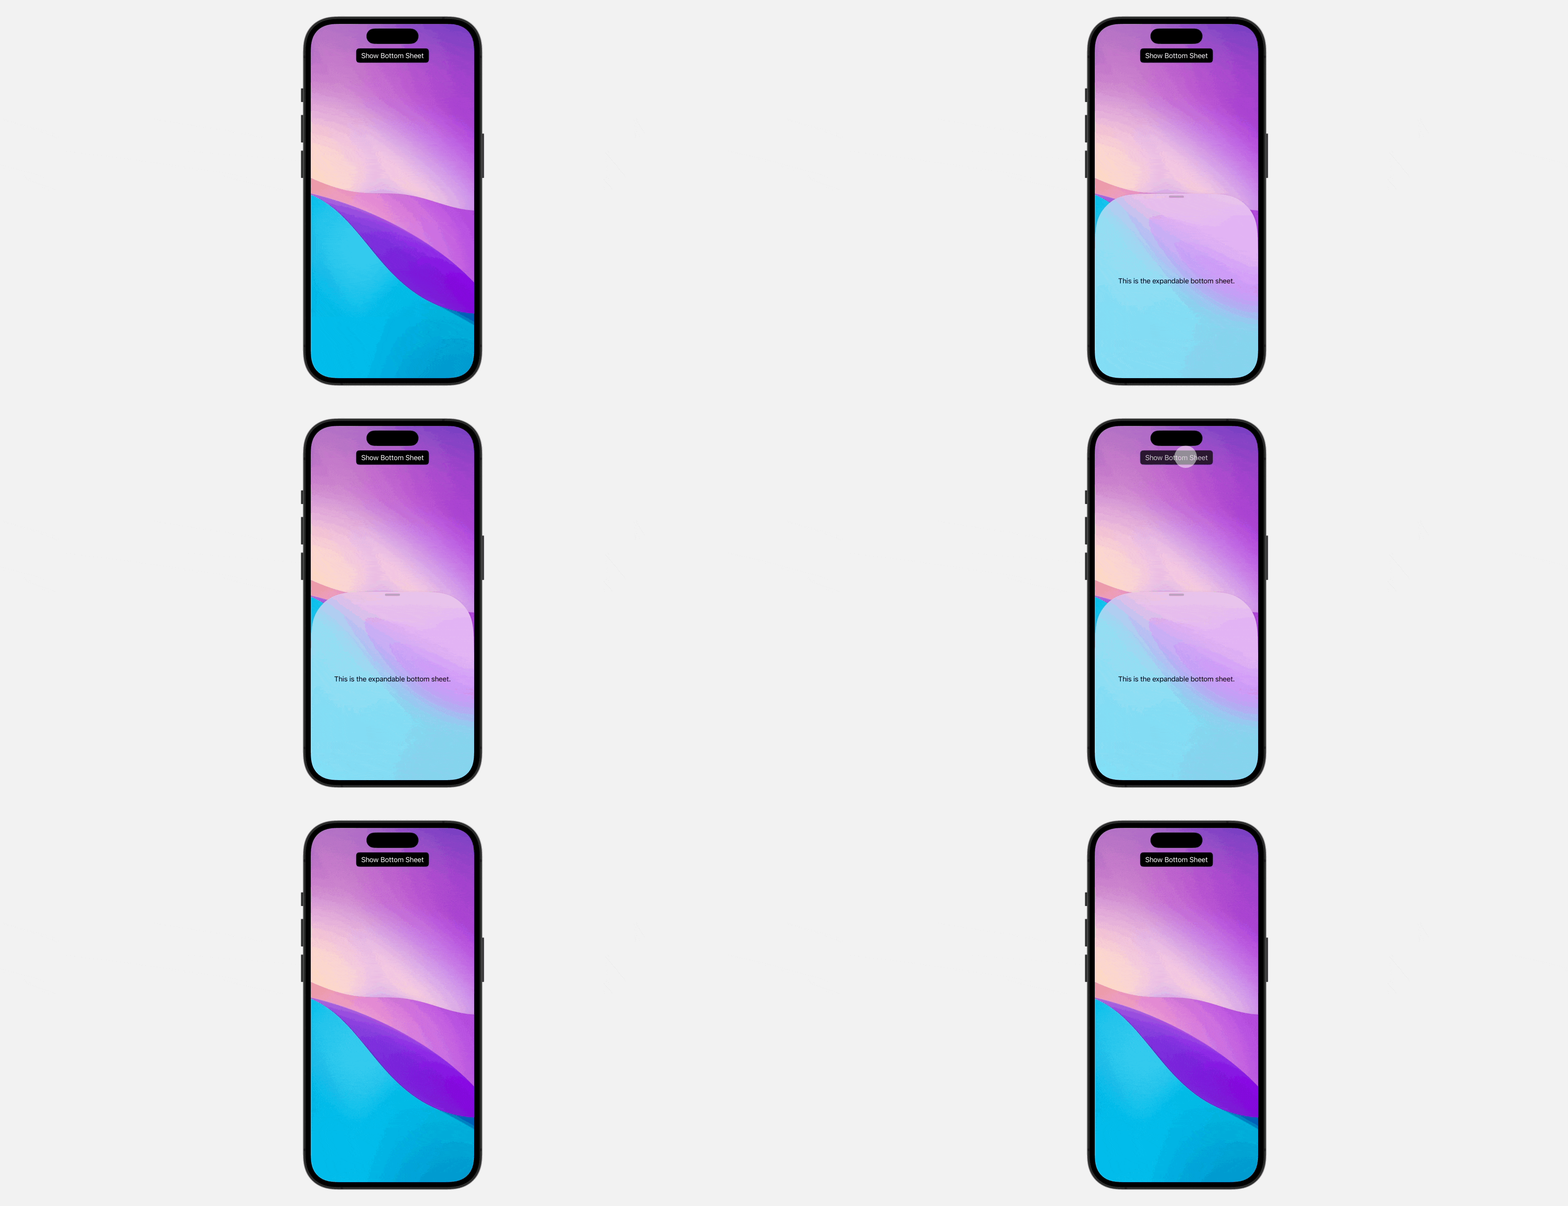
In earlier iOS versions, SwiftUI would disable the view behind the bottom sheet, which made it impossible for users to interact with it until they dismissed the sheet. Starting from iOS 16.4, SwiftUI introduces another modifier called presentationBackgroundInteraction for developers to enable/disable the interaction.
To enable the background interaction, you attach the presentationBackgroundInteraction modifier to the sheet view and set its value to .enabled:
.presentationBackgroundInteraction(.enabled)In this case, users can interact with the view behind the sheet.

You can also limit the background interaction to a certain detent. For instance, the bottom sheet comes with three different intents like this:
.presentationDetents([ .height(100), .medium, .large])If you only want your users to interact with the background view for a specific intent, you can write the presentationBackgroundInteraction modifier like below:
.presentationBackgroundInteraction(.enabled(upThrough: .height(100)))Defining the Scrolling Behaviour
By default, when a scroll view is included in the bottom sheet, the sheet typically expands to the next detent as a user swipes up on the scroll view. If you don’t know what this means, let’s check out another example.
For example, you present a list of items in a bottom sheet like this:
.sheet(isPresented: $showSheet) {
    List(1...20, id: \.self) { index in
        Text("Item \(index)")
    }
    .presentationDetents([.medium, .large])
}
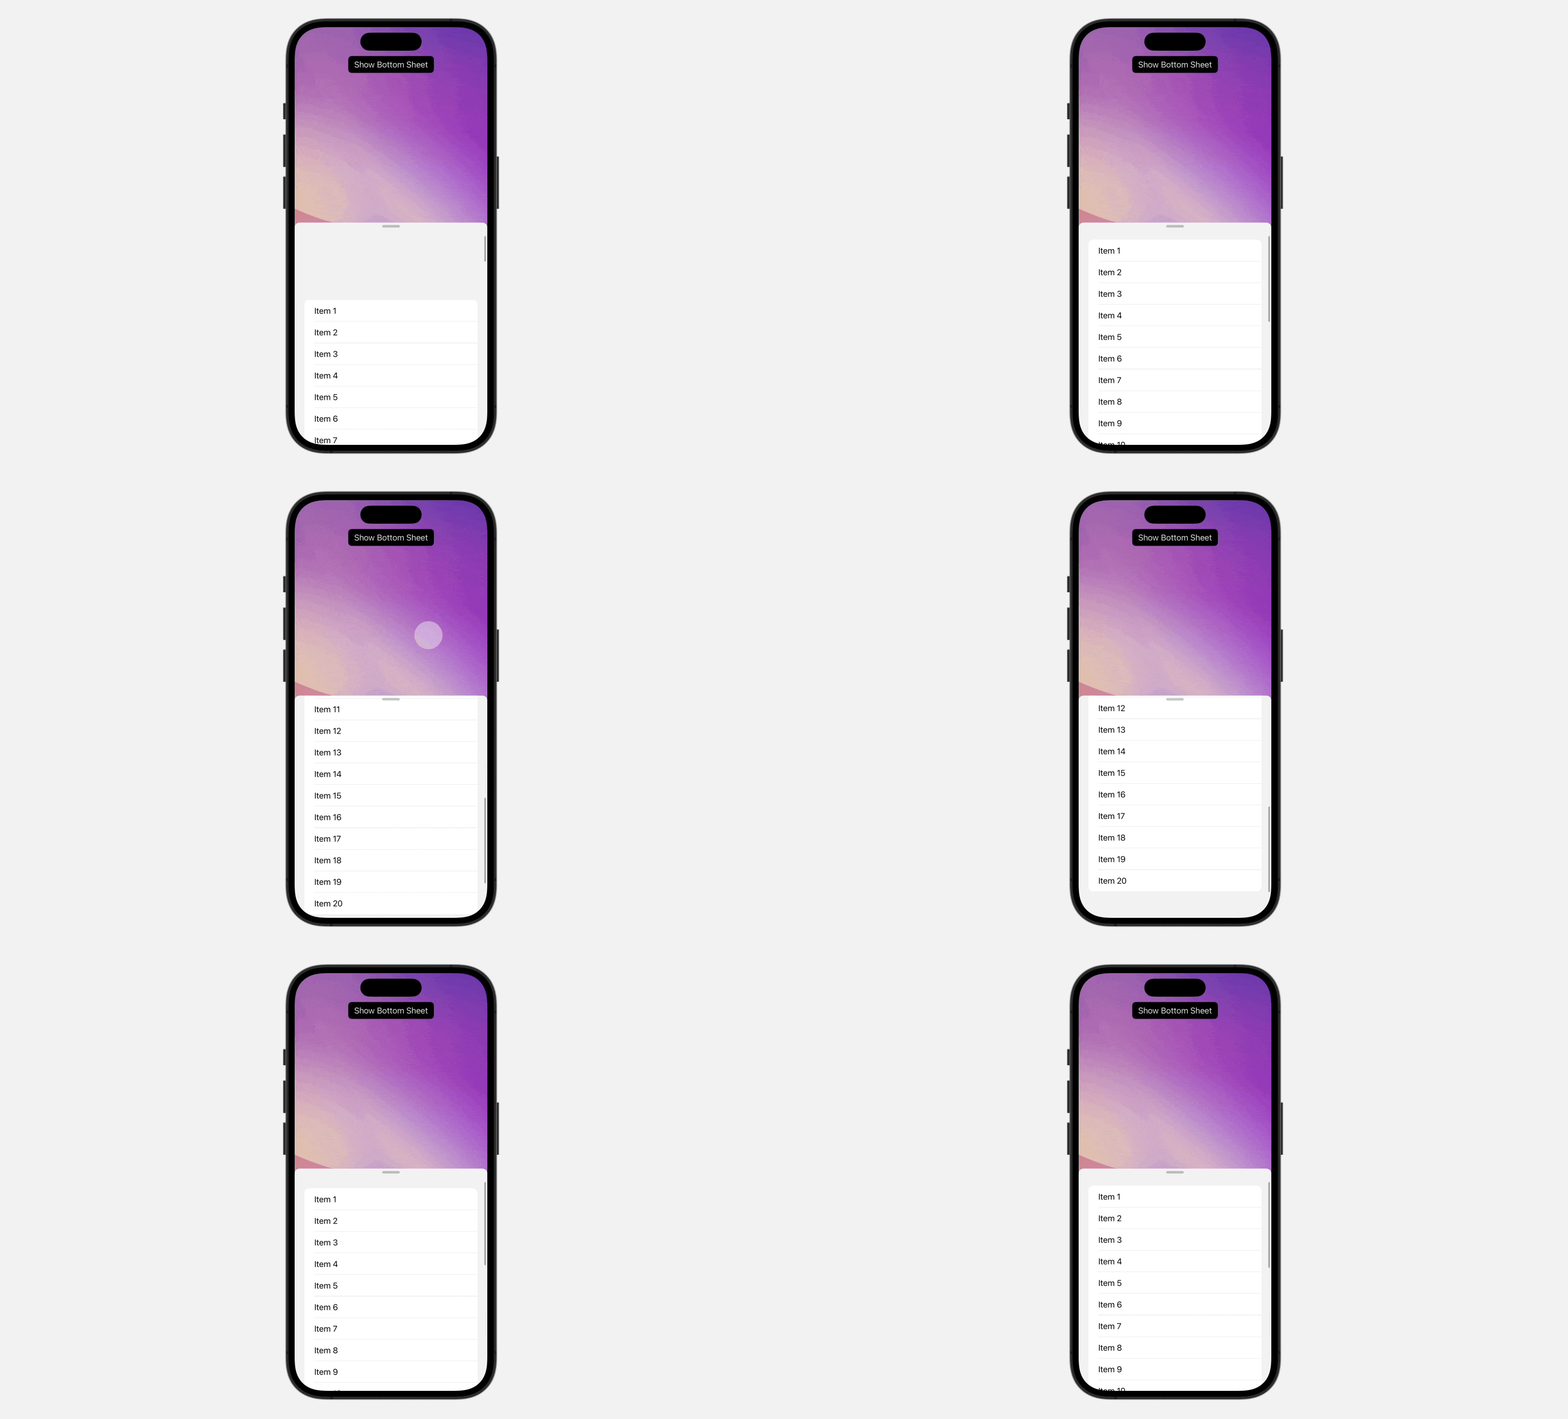
When you activate the bottom sheet, it will be brought up to the medium detent. However, you couldn’t scroll through the list. When you swipe up on the scroll view, the sheet simply expands to full screen.
In order to let users scroll through the list even the sheet is half-opened, you can embed the presentationContentInteraction modifier and set its value to .scrolls:
.sheet(isPresented: $showSheet) {
    List(1...20, id: \.self) { index in
        Text("Item \(index)")
    }
    .presentationDetents([.medium, .large])
    .presentationContentInteraction(.scrolls)
}
Now when the sheet is half-opened, users can still swipe up/down to scroll through the list.

To resize the sheet, users can hold and drag the drag indicator.
Get a Sneak Peek
At the time of this writing, Apple is still testing iOS 16.4 in beta, but it is expected to be released to the public soon. If you would like to experiment with the new SwiftUI changes, make sure to download Xcode 14.3 (beta).


