Welcome back to our SpriteKit tutorial series. In the first part of the series, you have centered the label on the screen using scenes, nodes and points. In the series second part, you have moved the label on the screen using actions, sequences and gesture recognizers. In this part, you are going to learn all about scaling in SpriteKit by shrinking and growing the label when you tap on it.
This tutorial assumes that you have already done the first two parts of the series. If you haven’t actually done them yet, then download the starter project for this part and go on from there.
Some Background about Scaling
All the scaling methods in SpriteKit are grouped together in the SKAction class. If you take a quick look at the class documentation, you will notice that there are two types of scaling actions:
- Actions that scale to a certain value – these actions are straightforward and can’t be reversed.
- Actions that scale by a certain amount – these actions can be reversed, so you may use them in order to create repeated sequences of animations.
If you haven’t done the tutorial series second part yet and don’t know what a reversed action is, don’t worry because we’ve got you all covered here. We’ll explore all types of scaling actions in this tutorial from simple to complex so you know when to choose what.
Now it’s time to start to learn scaling!
Your First Scaling Action
To kick things off, you are going to shrink the label to half of its current size whenever you tap anywhere on the screen. Open the starter project in Xcode, switch to the GameScene.swift file and add the following block of code inside the tap(recognizer:) method from the GameScene class:
let scale = SKAction.scale(to: 0.5, duration: 1)
label.run(scale)
This is what’s going on over here, step by step:
- Line #1: You create a
scaleto action with thescale(to:)static method from theSKActionclass. The action defines a one second animation which makes the label smaller. You use a floating point number for thescaleargument because you want the label’s final size at the end of the animation to be just a fraction of its original one – only half in this case. - Line #2: You make the label run the action with the
run(_:)instance method from theSKNodeclass in the exact same way as you previously did with the movement actions in the tutorial series second part.
Now run the project and tap anywhere on the screen. The label shrinks to half its size like this:

The label scales nicely now but there is only one problem: the scaling animation happens each time you tap anywhere on the screen. It would be really great if you could actually shrink the label only when you press exactly on it. There are three ways to solve this problem and we are going to explore all of them in the following sections.
1. Determine Which Node is at a Certain Point
The first approach relies on determining whether the label is positioned right where you tap the screen. Replace the tap(recognizer:) method’s body with the following code:
let viewLocation = recognizer.location(in: self.view)
let sceneLocation = convertPoint(fromView: viewLocation)

if atPoint(sceneLocation) == label {
   let scale = SKAction.scale(to: 0.5, duration: 1)
   label.run(scale)
}
Let’s go over all this, step by step:
- Line #1-2: You determine the tap’s location and convert its corresponding point from view coordinates to scene ones – we already did that in the tutorial series previous part, so nothing new here.
- Line #4-7: You check if the label is located on the screen at the point determined at the previous step with the
atPoint(_:)instance method from theSKNodeclass and scale the label accordingly like before if the test succeeds.
Now run the app, tap anywhere on the label and voila – the label shrinks as before. Notice that nothing happens this time if you tap anywhere on the screen outside of the label itself.
That’s it for the first approach – time to see the second solution in action.
2. Check if a Node Contains a Certain Point
Alternatively, you can check if the label contains the point where you tapped on the screen. Replace the if statement in the tap(recognizer:) method with the following one:
if label.contains(sceneLocation) {
   let scale = SKAction.scale(to: 0.5, duration: 1)
   label.run(scale)
}
You test if the label contains the tap’s location corresponding point with the contains(_:) instance method from the SKNode class and shrink the label if the method returns true.
Run the project, tap the label and see it shrink all over again.
That’s it for the second solution – believe it or not, there’s actually one more approach to this problem, so let’s see what it’s all about after all.
3. Get all the Nodes at a Certain Point
The third and last approach has two steps:
- First, determine all of the nodes which are positioned exactly where you tap the screen.
- Then check if any one of them is actually the label itself.
Makes sense, right? Let’s see how it’s all done in code. Replace the previous if statement in the tap(recognizer:) method with the following block of code:
let sceneNodes = nodes(at: sceneLocation)

for sceneNode in sceneNodes {
    if sceneNode == label {
       let scale = SKAction.scale(to: 0.5, duration: 1)
       label.run(scale)
       break
    }
}
There’s quite a lot going on here, so let’s break it into steps:
- Line #1: You determine all the nodes that are located at the tap’s corresponding point with the
nodes(at:)instance method from theSKNodeclass. - Line #3: You loop through the
sceneNodesarray determined at the previous step with thefor instatement. If you’re a beginner of Swift, you can read more about Swift loops in my tutorial here. - Line #4: If the current node is the label, you scale the label accordingly as before.
- Line #7: You don’t need to actually check all of the other remaining nodes in the array if you have already found the label, so you bail out early from the loop with the
breakstatement in this case.
Now go ahead and run the app once more, tap the label and it automatically goes to half its size as usual.
Three completely different solutions to the same problem – now that’s really something, isn’t it? Take a very well deserved break and when you feel ready to continue, let’s move on with some more scaling!
Scaling on the Horizontal Axis
The previous scaling algorithm works just fine if you want to scale on both axis with the same scale factor. However, there are certain cases when you might need to scale only on the horizontal axis instead. SpriteKit got you covered here, so let’s see how it’s actually done in code. Replace the if statement in the tap(recognizer:) method with the following one:
if label.contains(sceneLocation) {
   let scale = SKAction.scaleX(to: 0.5, duration: 1)
   label.run(scale)
}
You use the scaleX(to: duration:) static method from the SKAction class to shrink the label to only half of its current size on the horizontal axis. We are using the contains algorithm here in order to determine if the user tapped right on the label. Feel free to try out the other two ways presented earlier as well and see what happens.
Now run the project, tap the label and see for yourself how the label shrinks on the horizontal axis by magic!
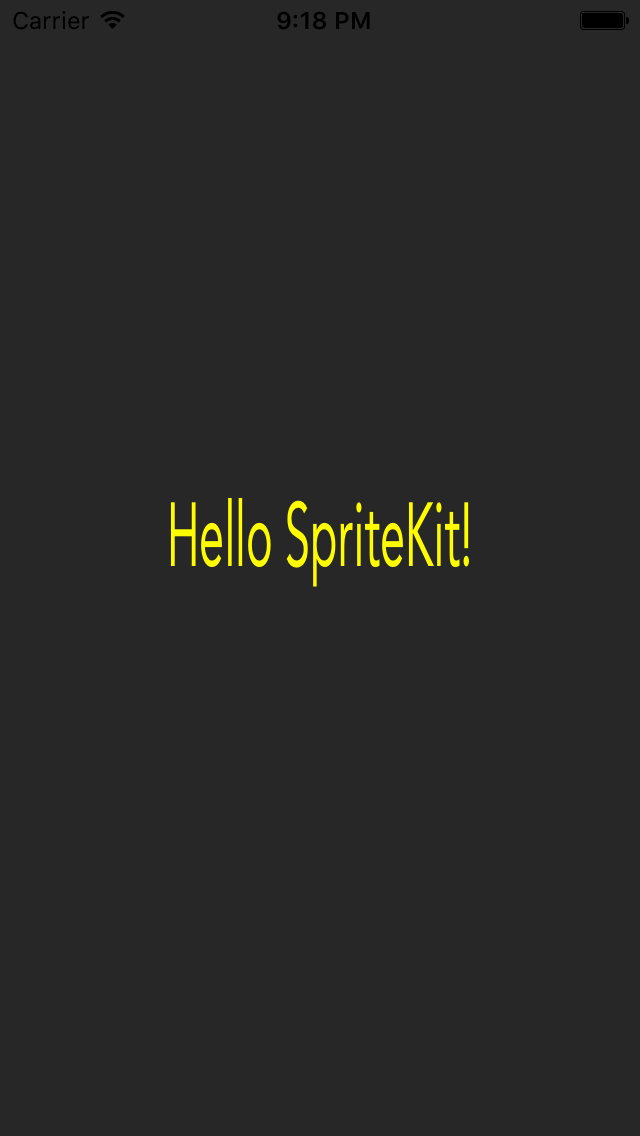
That’s it for the horizontal X axis – time to see its vertical Y counterpart in action.
Scaling on the Vertical Axis
Scaling the label only on the vertical axis is straightforward compared to its horizontal counterpart. Replace the line of code which creates the scale action in the tap(recognizer:) method’s if statement with this one:
let scale = SKAction.scaleY(to: 2, duration: 1)
This time you grow the label to twice its original size on the vertical axis with the scaleY(to: duration:) static method from the SKAction class.
Run the app again, press on the label and voila: it’s twice as bigger on its vertical axis – way to go!
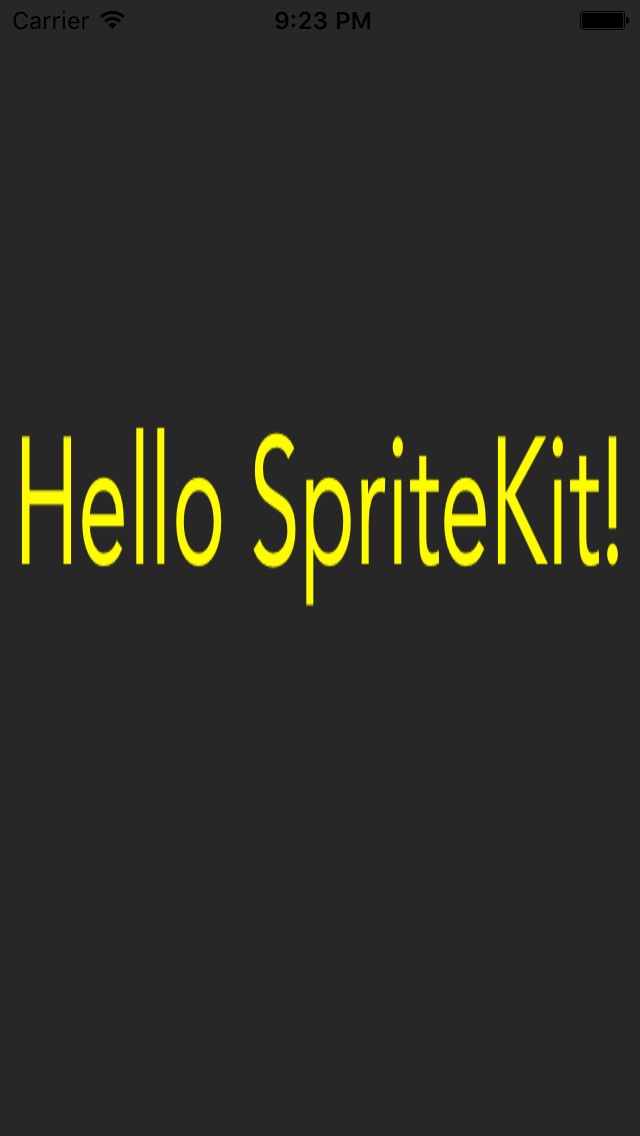
You’ve already learned a lot about scaling so far but there is still one more use case left: scaling on both axis with different scale factors for each of them. This is actually the most general case of all, so I left it at the end – time to see how it works.
Scaling with Different Scale Factors
Replace the line of code which creates the scale action in the tap(recognizer:) method’s if statement with the following one in order to get started:
let scale = SKAction.scaleX(to: 0.5, y: 2, duration: 1)
The scaleX(to: y: duration:) static method from the SKAction class combines both of the scaleX(to: duration:) and scaleY(to: duration:) methods which you’ve already seen in action. In this case, you are shrinking the label to half its current size and growing it to double its original one in one go – pretty cool, right?
Run the project and tap the label to see it all happen – this is the real power of scaling.
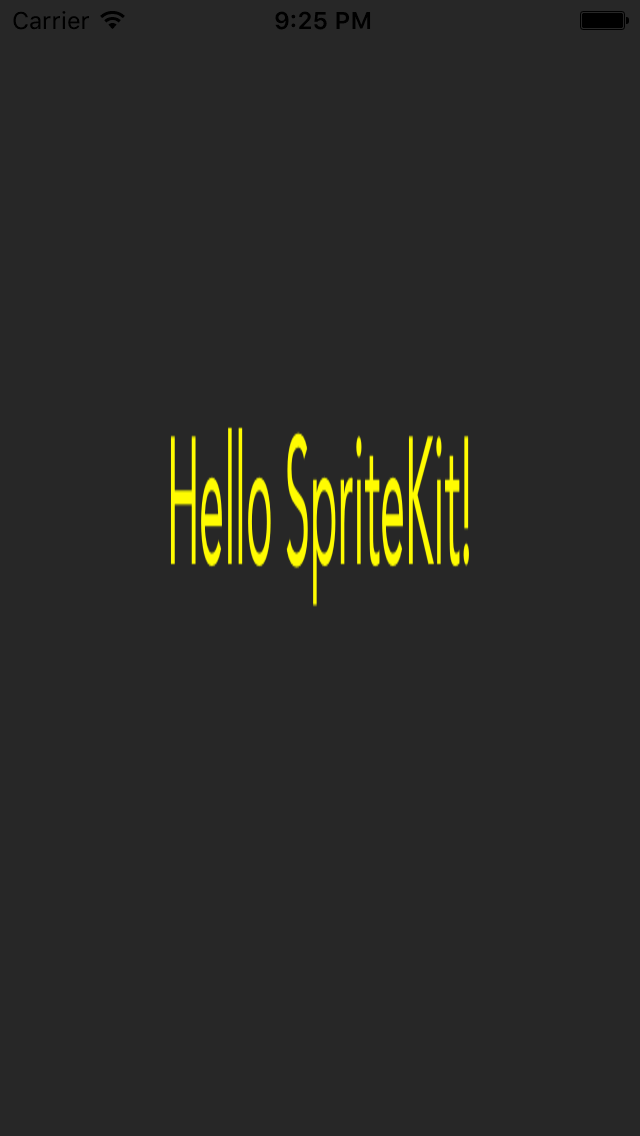
That’s it for the actions which scale to a certain value. Now it’s time to tackle the ones that scale by a certain amount and create some really cool sequences with them.
Working with Scaling Sequence
Actions that scale by a certain amount can also be reversed. This comes in handy when creating sequences of scaling actions. Replace all the code inside the tap(recognizer:) method’s if statement with the following block of code:
let scale = SKAction.scale(by: 0.5, duration: 1)
let reverseScale = scale.reversed()
let actions = [scale, reverseScale]
let sequence = SKAction.sequence(actions)
label.run(sequence)
This is what’s going on over here, step by step:
- Line #1: You create a
scaleby action with thescale(by: duration:)static method from theSKActionclass. The action defines a one second animation which makes the label twice as smaller than before. - Line #2: You reverse the previously created action with the
reversed()instance method from theSKActionclass: it behaves in the exact opposite way as its counterpart. - Line #3: You declare the
actionsarray which contains the scaling action itself as well as its reversed counterpart – it will come in handy at the next step. - Line #4: You define the
sequenceof actions with thesequence(_:)static method from theSKActionclass by using theactionsarray declared at the previous step as the function’s only argument. - Line #5: You run the
sequenceon the label and theactionsare performed one at a time in the exact same order in which they are already defined in theactionsarray.
Now go ahead and run the app. Tap the label in order to see what happens: it first shrinks for one second to half its current size and then grows back to its original dimensions for another second – now isn’t that something after all or what? 🙂
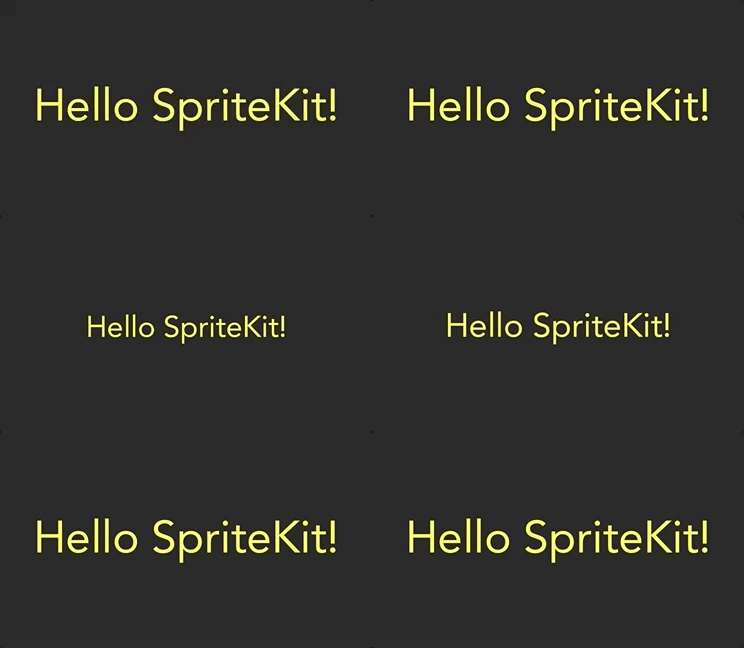
Your scaling sequence works just fine, but what if you want to create a sequence that scales differently on each of the two scaling axis? Let’s see how you can easily do this in the next section.
Scaling Sequence on Both Axes
You are going to create a sequence of actions that makes the label twice as smaller than its current size on the horizontal axis and twice as bigger than its original dimensions on its vertical axis. Replace the line of code which creates the scale action in the tap(recognizer:) method’s if statement with this one in order to get started:
let scale = SKAction.scaleX(by: 0.5, y: 2, duration: 1)
That’s it. You just plug in the corresponding scaleX(by: y: duration:) static method from the SKAction class into the sequence creation logic and you are done. The rest works exactly as before – how cool is that?
Run the project, press on the label and see the magic in action. The label first shrinks on the horizontal axis and grows on the vertical one. Then it grows on the X axis and shrinks on the Y one in order to go back to its initial dimensions.
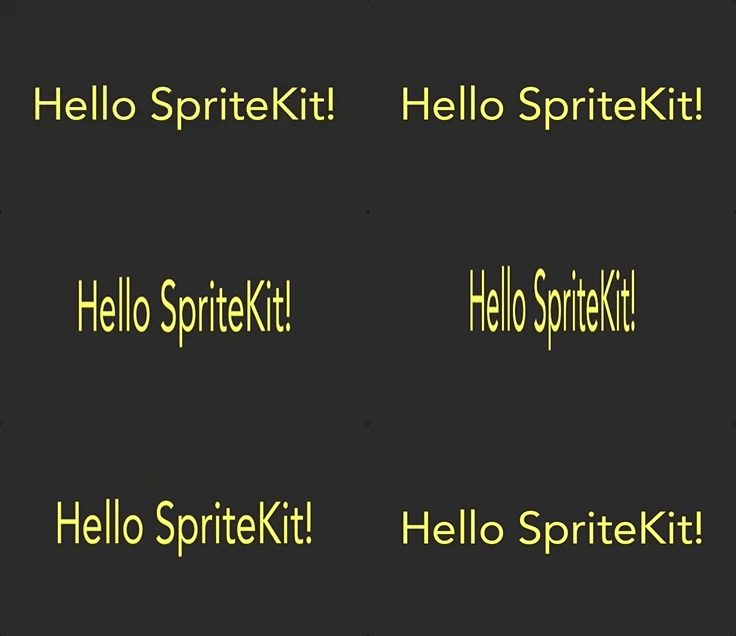
Now that you know how to work with scaling sequences, let’s take everything to the next level with scaling loops.
Scaling Loops
A scaling loop repeats its corresponding sequence of actions for a given amount of times, so you are going to repeat the sequence defined earlier for five times. Replace the line of code that runs the previously created sequence on the label in the tap(recognizer:) method’s if statement with the following block of code in order to kick things off:
let repeatSequence = SKAction.repeat(sequence, count: 5)
label.run(repeatSequence)
You repeat the previously created sequence with the repeat(_: count:) static method from the SKAction class. It works in the same way as with movement sequences, so you can read more about it in the tutorial series second part.
Go ahead and run the app. Tap the label and you will see the label growing and shrinking for five times. You can actually do better than that – time for infinite scaling loops.
Scaling Forever Loops
Your challenge for this section is to make the label grow and shrink on and on like crazy without ever stopping at all. Replace the line of code which creates the repeating scale sequence in the tap(recognizer:) method’s if statement with this one:
let repeatSequence = SKAction.repeatForever(sequence)
You create the endless scale loop with the repeatForever(_:) static method from the SKAction class. If you feel that this all looks very familiar to you, you are actually right because we have already used it in the tutorial series previous part in order to create the endless movement loop as well.
Now run the project, press on the label and voila – the label changes its dimensions on the screen like there is no tomorrow after all.
We’ve covered a lot about scaling in this tutorial. It’s time to put it all together!
Move and Scale to
Let’s create a sequence that first moves and then scales the label when you tap anywhere on the screen. Replace the if statement in the tap(recognizer:) method with the following block of code in order to get started:
let move = SKAction.move(to: sceneLocation, duration: 1)
let scale = SKAction.scaleX(to: 0.5, y: 2, duration: 1)
let actions = [move, scale]
let sequence = SKAction.sequence(actions)
label.run(sequence)
You first define the move and scale actions, then declare the actions array out of them, create the corresponding sequence from the array and finally run the sequence on the label. Run the app, tap the label and watch how the label moves and scales in an ordered sequence.
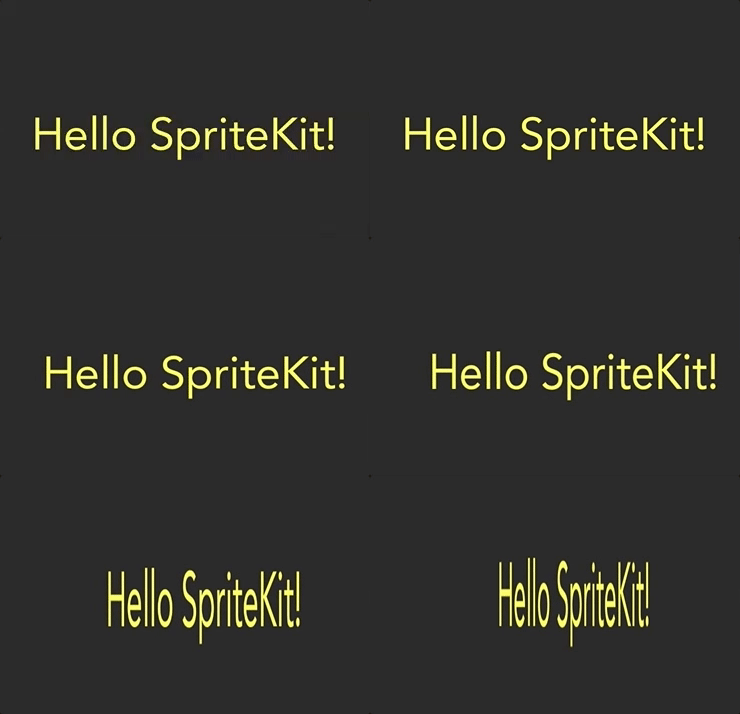
There is only one problem: if you press on the label more than once, it actually just moves because it scales only once. Let’s fix this in the following section.
Move and Scale by
You are going to modify the previous example so that the label first moves and then scales each and every time you tap it. Replace the line of code that creates the scale action in the tap(recognizer:) method with this one:
let scale = SKAction.scaleX(by: 0.5, y: 2, duration: 1)
You replace the scale to action with a scale by one instead. Run the project and notice that the label moves first and scales after that accordingly whenever you press on it now – good job!
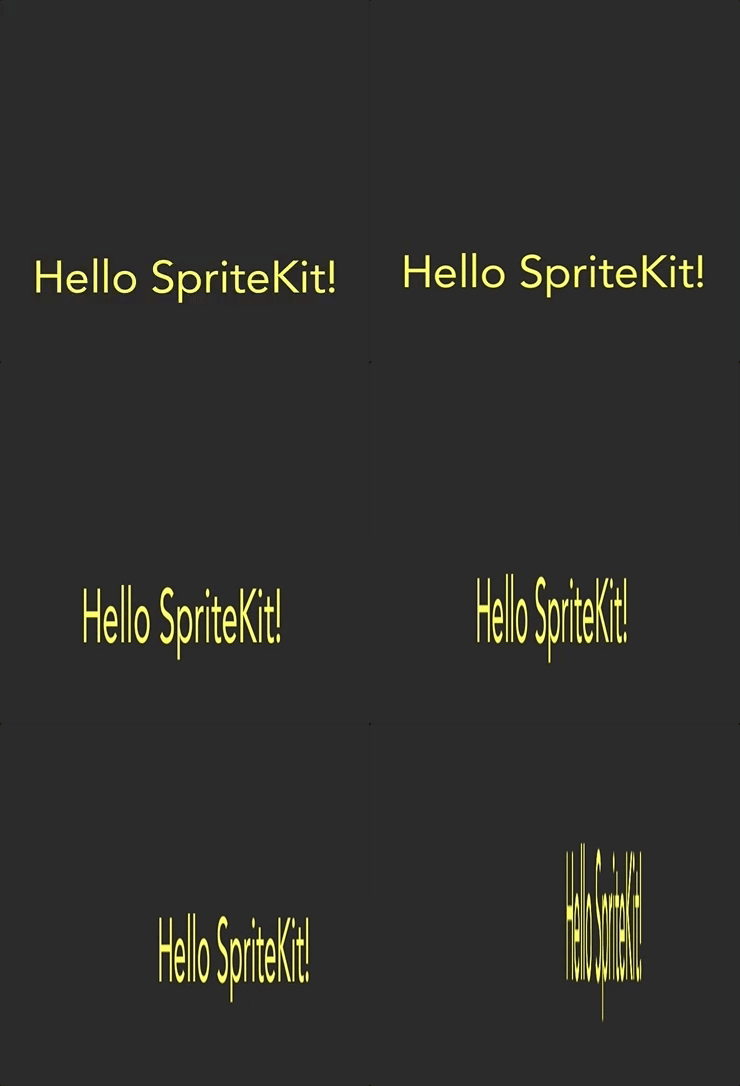
That’s it – time for a well deserved break!
Conclusion
That’s all about scaling in SpriteKit. In the next and final part of the tutorial series you will learn how to rotate the label when you tap on it and wrap everything up with SpriteKit groups. Stay tuned and in the meantime if you have any questions or issues, please let me know!
For reference, you can find the source code of the demo project on GitHub.


