ScrollViewReader is one of my favorite new features in the new version of SwiftUI. Before the release of iOS 14, it’s not easy to control the scrolling position of the built-in ScrollView. If you want the scroll view to scroll to a particular location, you have to figure out your own solution.
With ScrollViewReader, you can programmatically make the scroll view to scroll to a specific location with just a few lines of code. In this tutorial, we will look into this new view component and see how you can apply it to your app.
Creating a Horizontal ScrollView
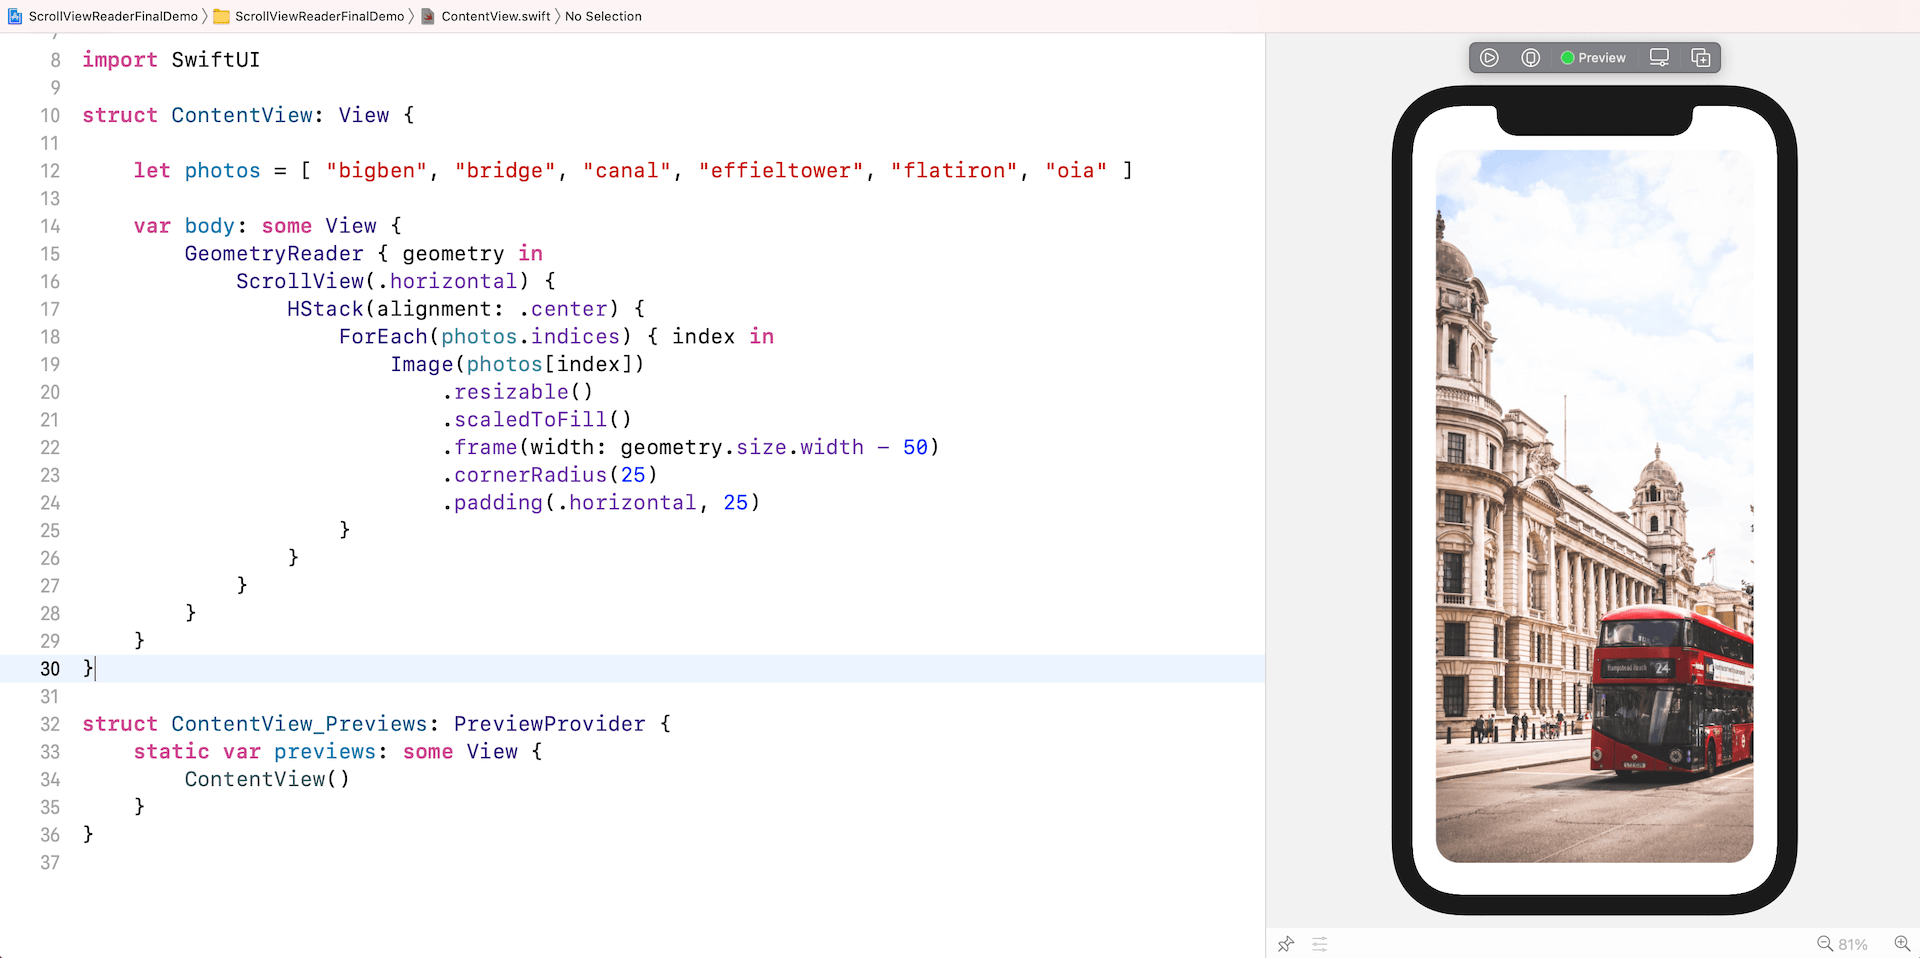
To demonstrate the usage of ScrollViewReader, let’s start with a simple demo and take a look at the following piece of code:
struct ContentView: View {

    let photos = [ "bigben", "bridge", "canal", "effieltower", "flatiron", "oia" ]

    var body: some View {
        GeometryReader { geometry in
            ScrollView(.horizontal) {
                HStack(alignment: .center) {
                    ForEach(photos.indices) { index in
                        Image(photos[index])
                            .resizable()
                            .scaledToFill()
                            .frame(width: geometry.size.width - 50)
                            .cornerRadius(25)
                            .padding(.horizontal, 25)
                    }
                }
            }
        }
    }
}
We’ve built a horizontal scroll view to display a group of photos. If you run the code on a simulator or in the preview pane, you can swipe horizontally to scroll through the photos.

Now what if we want to add a few buttons for users to navigate back and forth between photos? In other words, how can you make the scroll view scroll to a particular image?

Using ScrollViewReader
The release of ScrollViewReader is the answer to this problem. The usage of this new view component is very simple. You first give each element in the scroll view a unique ID. For the demo, you can attach an .id modifier to the Image view and set its value to the index of the photo:
Image(photos[index])
    .resizable()
    .scaledToFill()
    .frame(width: geometry.size.width - 50)
    .cornerRadius(25)
    .padding(.horizontal, 25)
    .id(index)
Next, you wrap the scroll view with a ScrollViewReader. The scroll view reader’s content view builder receives a ScrollViewProxy instance:
GeometryReader { geometry in
    VStack {
        ScrollViewReader { scrollView in
            ScrollView(.horizontal) {
                HStack(alignment: .center) {
                    ForEach(photos.indices) { index in
                        Image(photos[index])
                            .resizable()
                            .scaledToFill()
                            .frame(width: geometry.size.width - 50)
                            .cornerRadius(25)
                            .padding(.horizontal, 25)
                            .id(index)
                    }
                }
            }

            // Navigation Buttons
            HStack {
                // To be complete
            }
            .frame(height: 70)
        }
    }
}
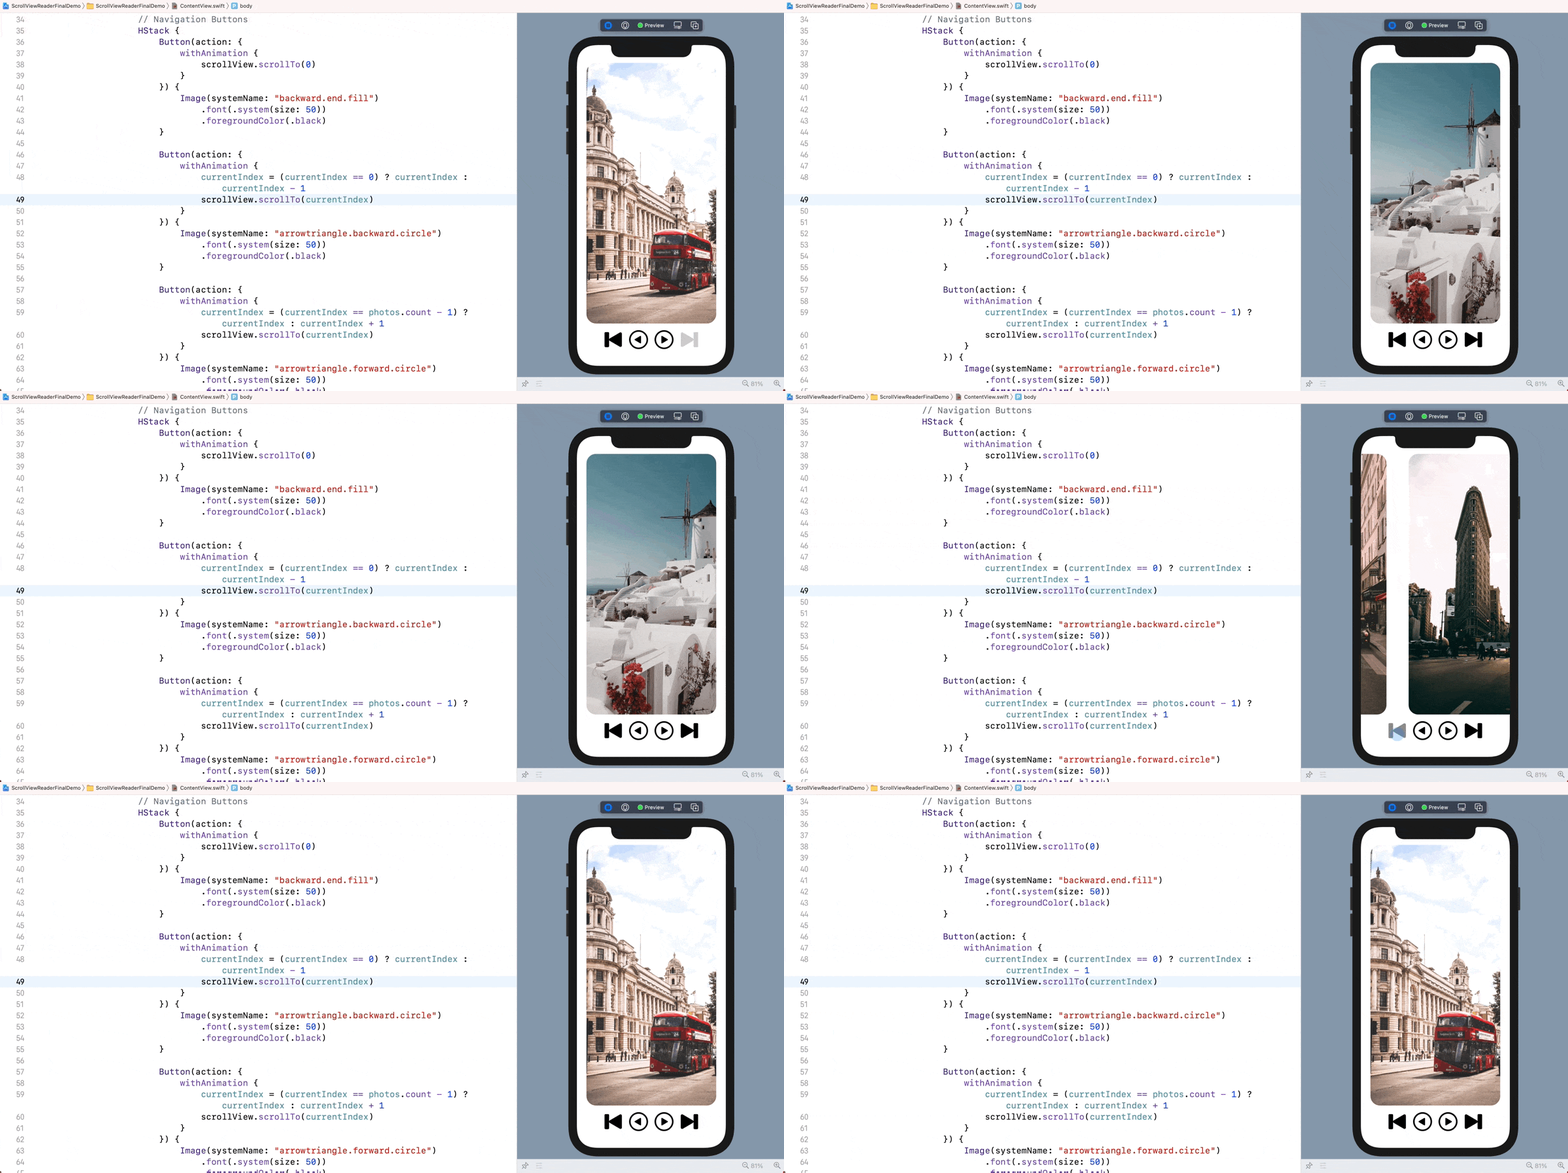
Once you have the proxy, you can call the scrollTo function to scroll to a particular index. For example, the following line of code asks the scroll view to scroll to the last photo:
scrollView.scrollTo(photos.count - 1)To complete the demo, you can declare a state variable to keep track of the current photo index:
@State private var currentIndex = 0And then you can fill in the code in HStack like this:
HStack {
    Button(action: {
        withAnimation {
            scrollView.scrollTo(0)
        }
    }) {
        Image(systemName: "backward.end.fill")
            .font(.system(size: 50))
            .foregroundColor(.black)
    }

    Button(action: {
        withAnimation {
            currentIndex = (currentIndex == 0) ? currentIndex : currentIndex - 1
            scrollView.scrollTo(currentIndex)
        }
    }) {
        Image(systemName: "arrowtriangle.backward.circle")
            .font(.system(size: 50))
            .foregroundColor(.black)
    }

    Button(action: {
        withAnimation {
            currentIndex = (currentIndex == photos.count - 1) ? currentIndex : currentIndex + 1
            scrollView.scrollTo(currentIndex)
        }
    }) {
        Image(systemName: "arrowtriangle.forward.circle")
            .font(.system(size: 50))
            .foregroundColor(.black)
    }

    Button(action: {
        withAnimation {
            scrollView.scrollTo(photos.count - 1)
        }
    }) {
        Image(systemName: "forward.end.fill")
            .font(.system(size: 50))
            .foregroundColor(.black)
    }
}
.frame(height: 70)
For each button, we call the scrollTo function to scroll to the particular photo. By wrapping the code using withAnimation, the app will present a nice scrolling animation.

Working with List
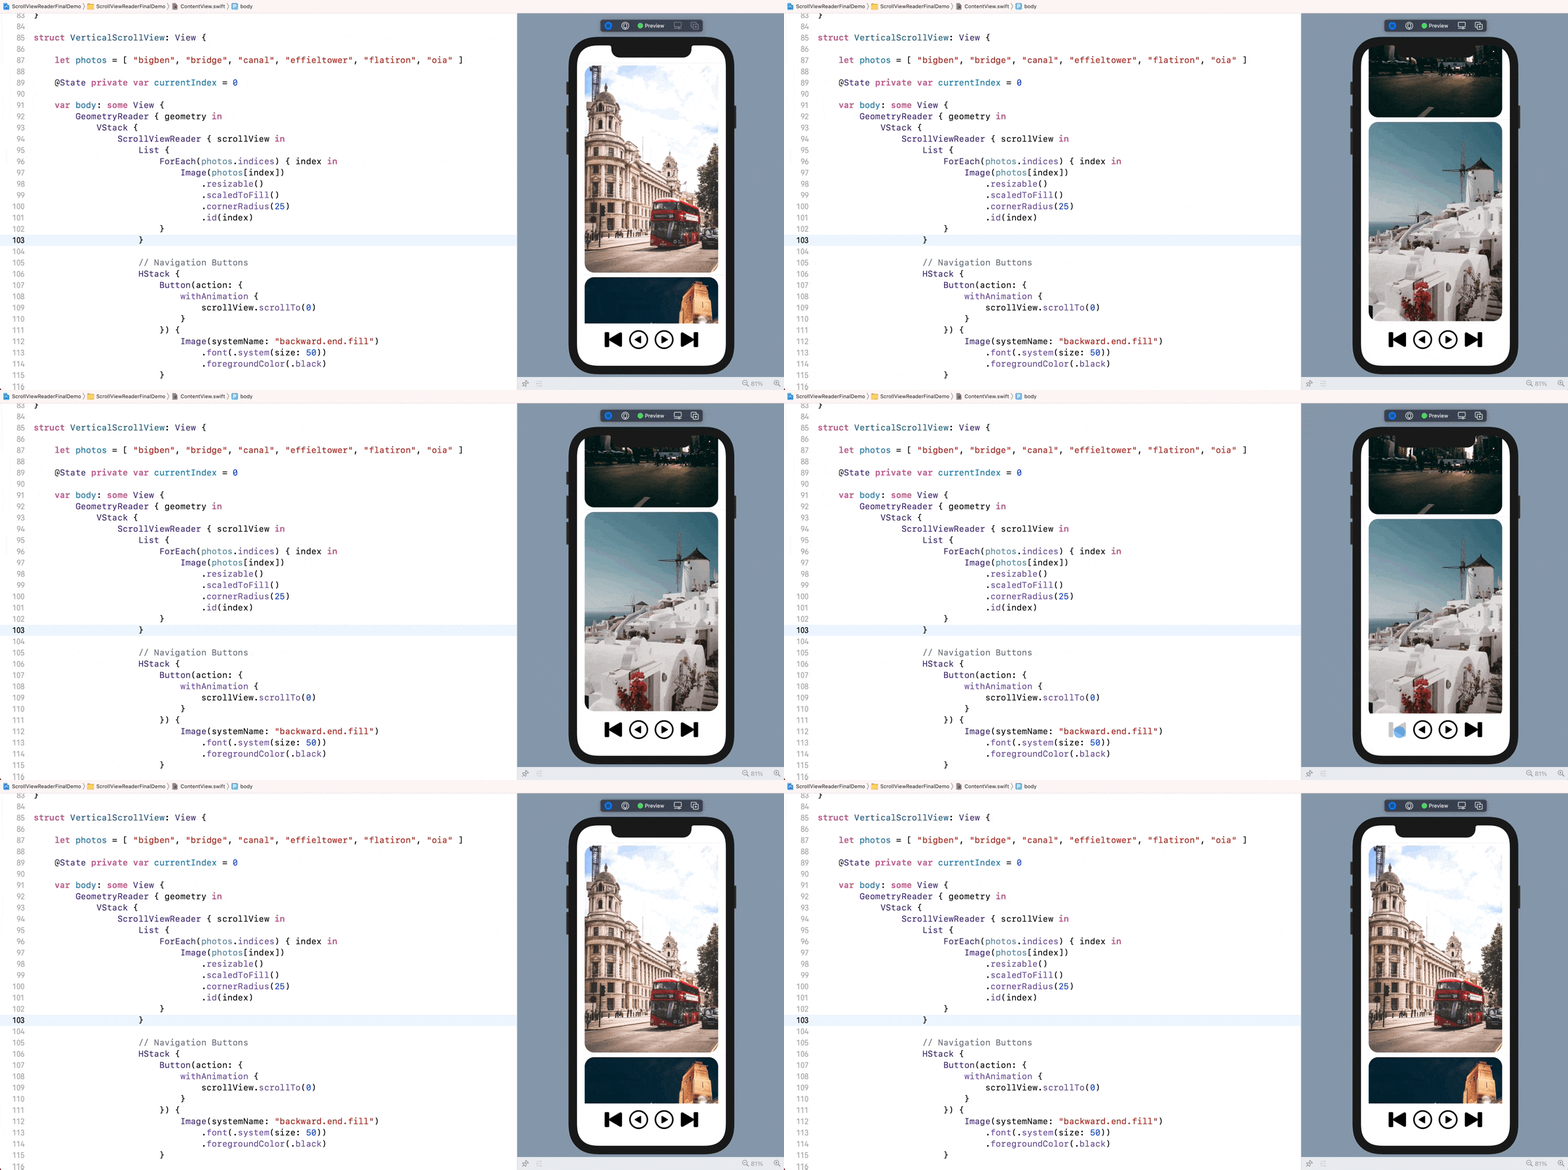
Not only can you wrap a ScrollView with a ScrollViewReader, it also works with List too. Let’s say, you convert the app to use a list instead of a horizontal scroll view like this:
ScrollViewReader { scrollView in
    List {
        ForEach(photos.indices) { index in
            Image(photos[index])
                .resizable()
                .scaledToFill()
                .cornerRadius(25)
                .id(index)
        }
    }

    .
    .
    .
}
You can still apply the scrollTo function to ask the list to scroll to a specific element.

Summary
ScrollViewReader is a great addition to the SwiftUI framework. Without developing your own solution, you can now easily instruct any scroll views to scroll to a particular location. I hope you also find this new component useful and enjoy reading the tutorial. If you want to dive deeper into SwiftUI and learn other techniques, don’t forget to check out our Mastering SwiftUI book.


