A launch screen is the very first screen presented to users when your app starts up. When you create a new project with UIKit, Xcode automatically generates a storyboard file named LaunchScreen.storyboard for developers to design the launch screen of the app. However, if you are developing an app with the SwiftUI framework, the launch screen file is no longer there. So, how can you prepare a launch screen in SwiftUI projects?
In Xcode 12, the tool provides a new way to implement a launch screen in SwiftUI. I will walk you through the procedures in this tutorial.
Editor’s note: If you want to learn SwiftUI, check out our Mastering SwiftUI book.
Preparing the Launch Image and Color Set
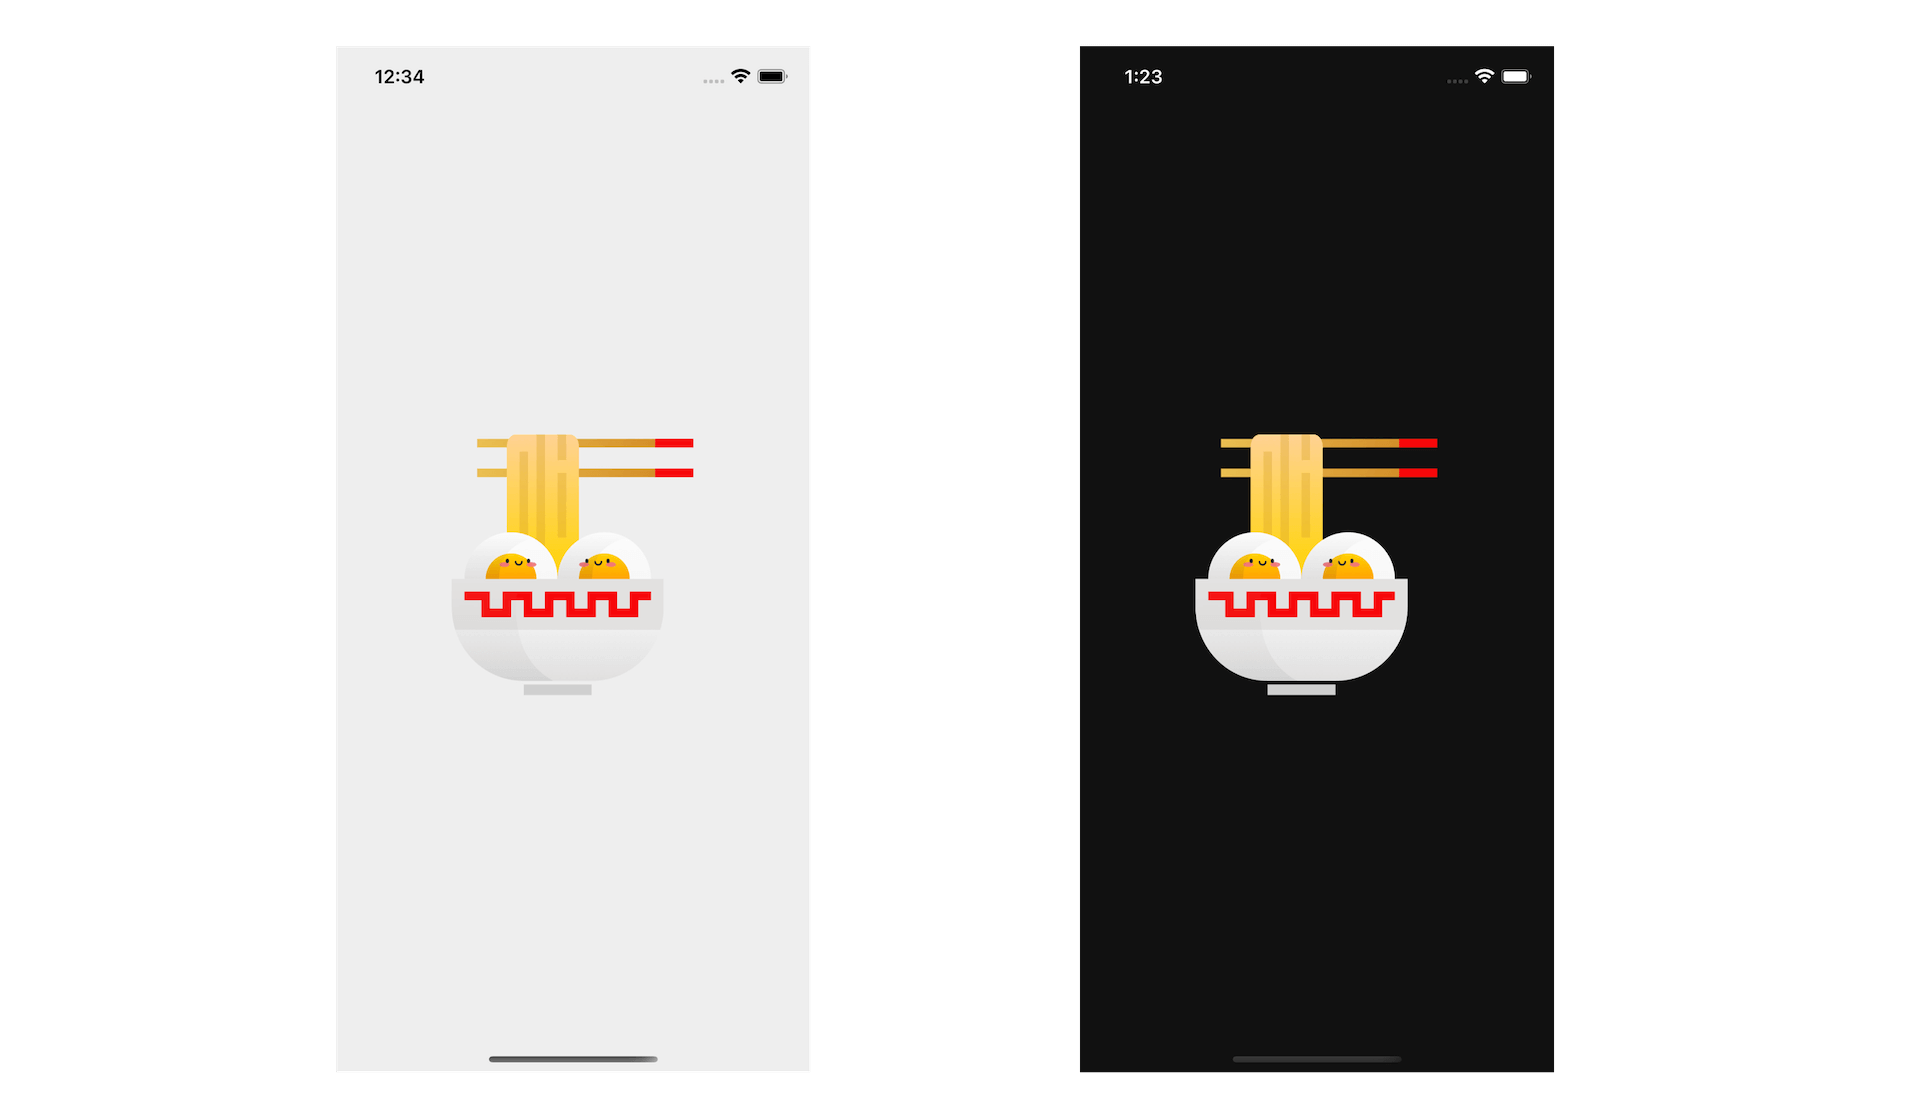
The figure below shows the launch screen we are going to build. It’s very simple screen that displays an image at the center of the view. The launch screen also adapts to different background color for Light and Dark mode.

To implement the launch screen above, you should first prepare the image and import it into the asset catalog.

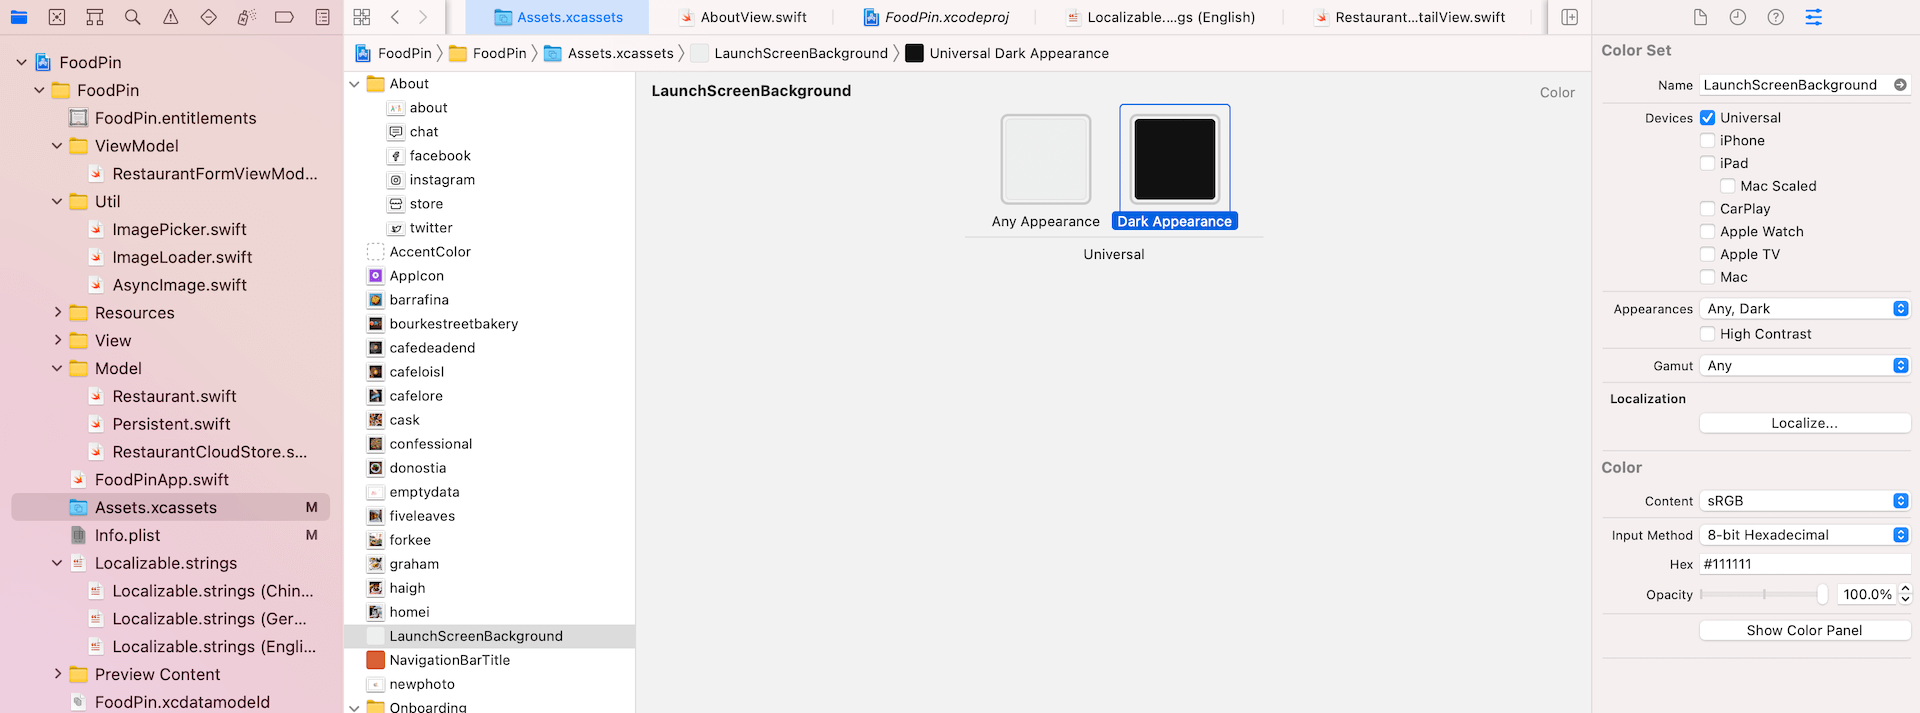
Since the app supports both Light and Dark modes, we need to create a new color asset for the background color.

Name the color set LaunchScreenBackground and set the color code to the following:
- Any appearance – #EEEEEE
- Dark appearance – #111111
Adding a Launch Screen
In SwiftUI projects, the launch screen is not generated by default. You need to add it manually in the Info.plist file. After opening the file, you should see an entry named Launch Screen. Click the arrow on its left to change the direction. Then click the + button to add a new entry.
There are a number of options for you to choose from. To configure the background color, set the key to Background color and value to LaunchScreenBackground, which is the color set created in the previous section.

To include an image in the launch screen, click the + button to add another key. Set it to Image Name. For its value, set it to the name of the image (i.e. ramen) we imported.
If we want to ensure the image stays within the safe area, add the Image respects safe area insets and set its value to YES. The rest of the options are used for configuring the appearance of the navigation bar, tab bar, and toolbar. It’s up to your preference to enable them or not.
Once you complete the configuration, you can hit the Play button to run the app on a simulator. When the app is launched, it should display the launch screen. The background color adapts itself to the underlying interface style.
In case if your simulator couldn’t bring up the launch screen, go up to the simulator menu and click Device > Restart to clear its cache.
Using LaunchScreen.storyboard
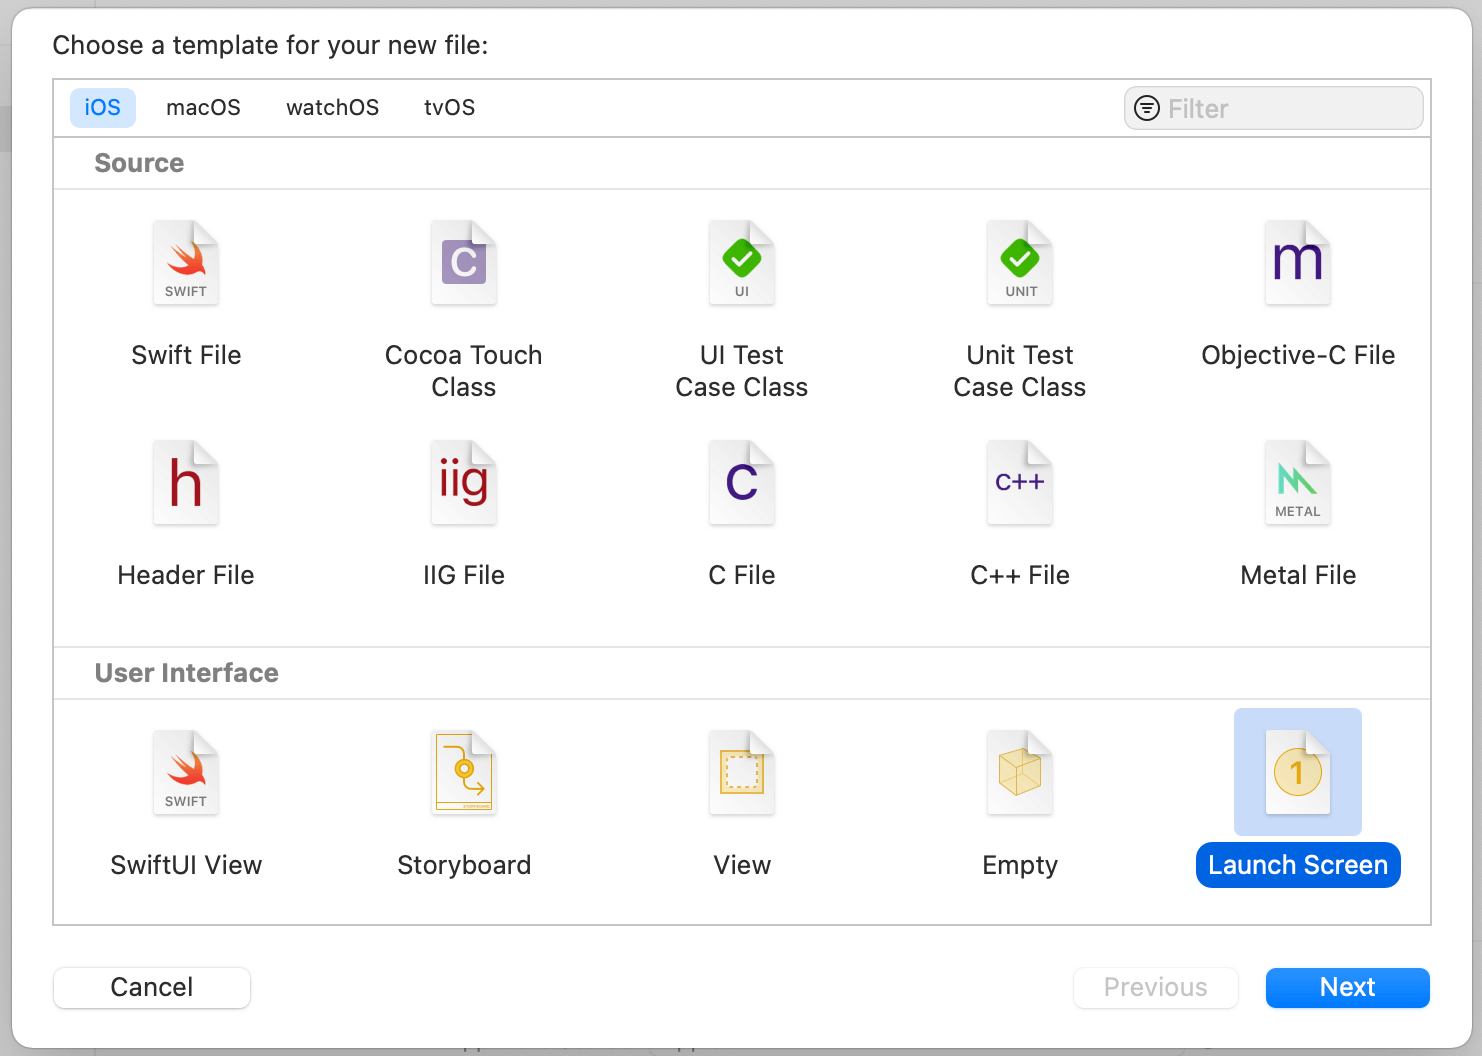
Can you still use the old way to create a launch screen in SwiftUI projects? Yes, Xcode 12 still allows developers to do so. However, Xcode no longer generates the LaunchScreen.storyboard file for you. You have to add it manually by creating a new file using the Launch Screen template.

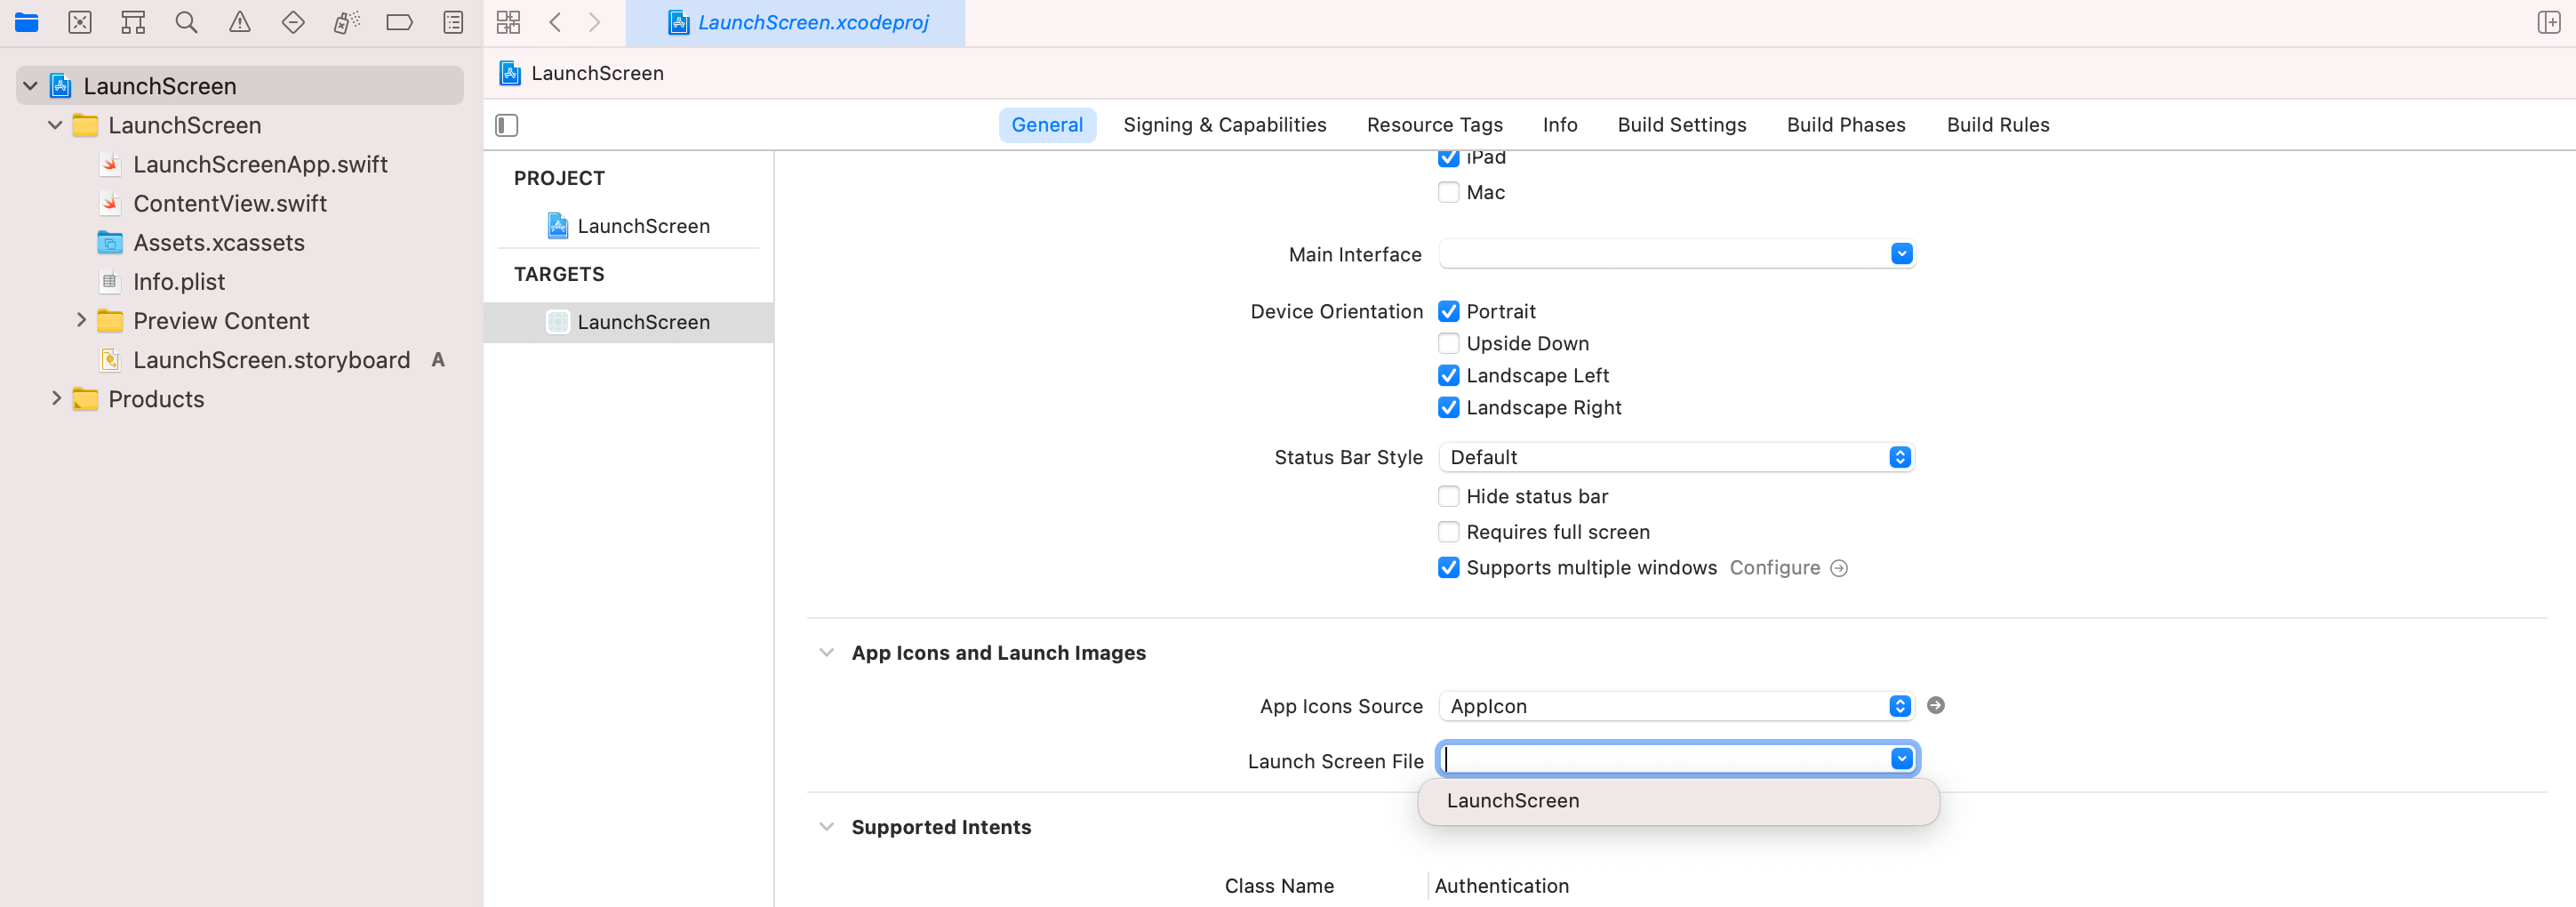
And then, you can set the launch screen option in the project configuration.


