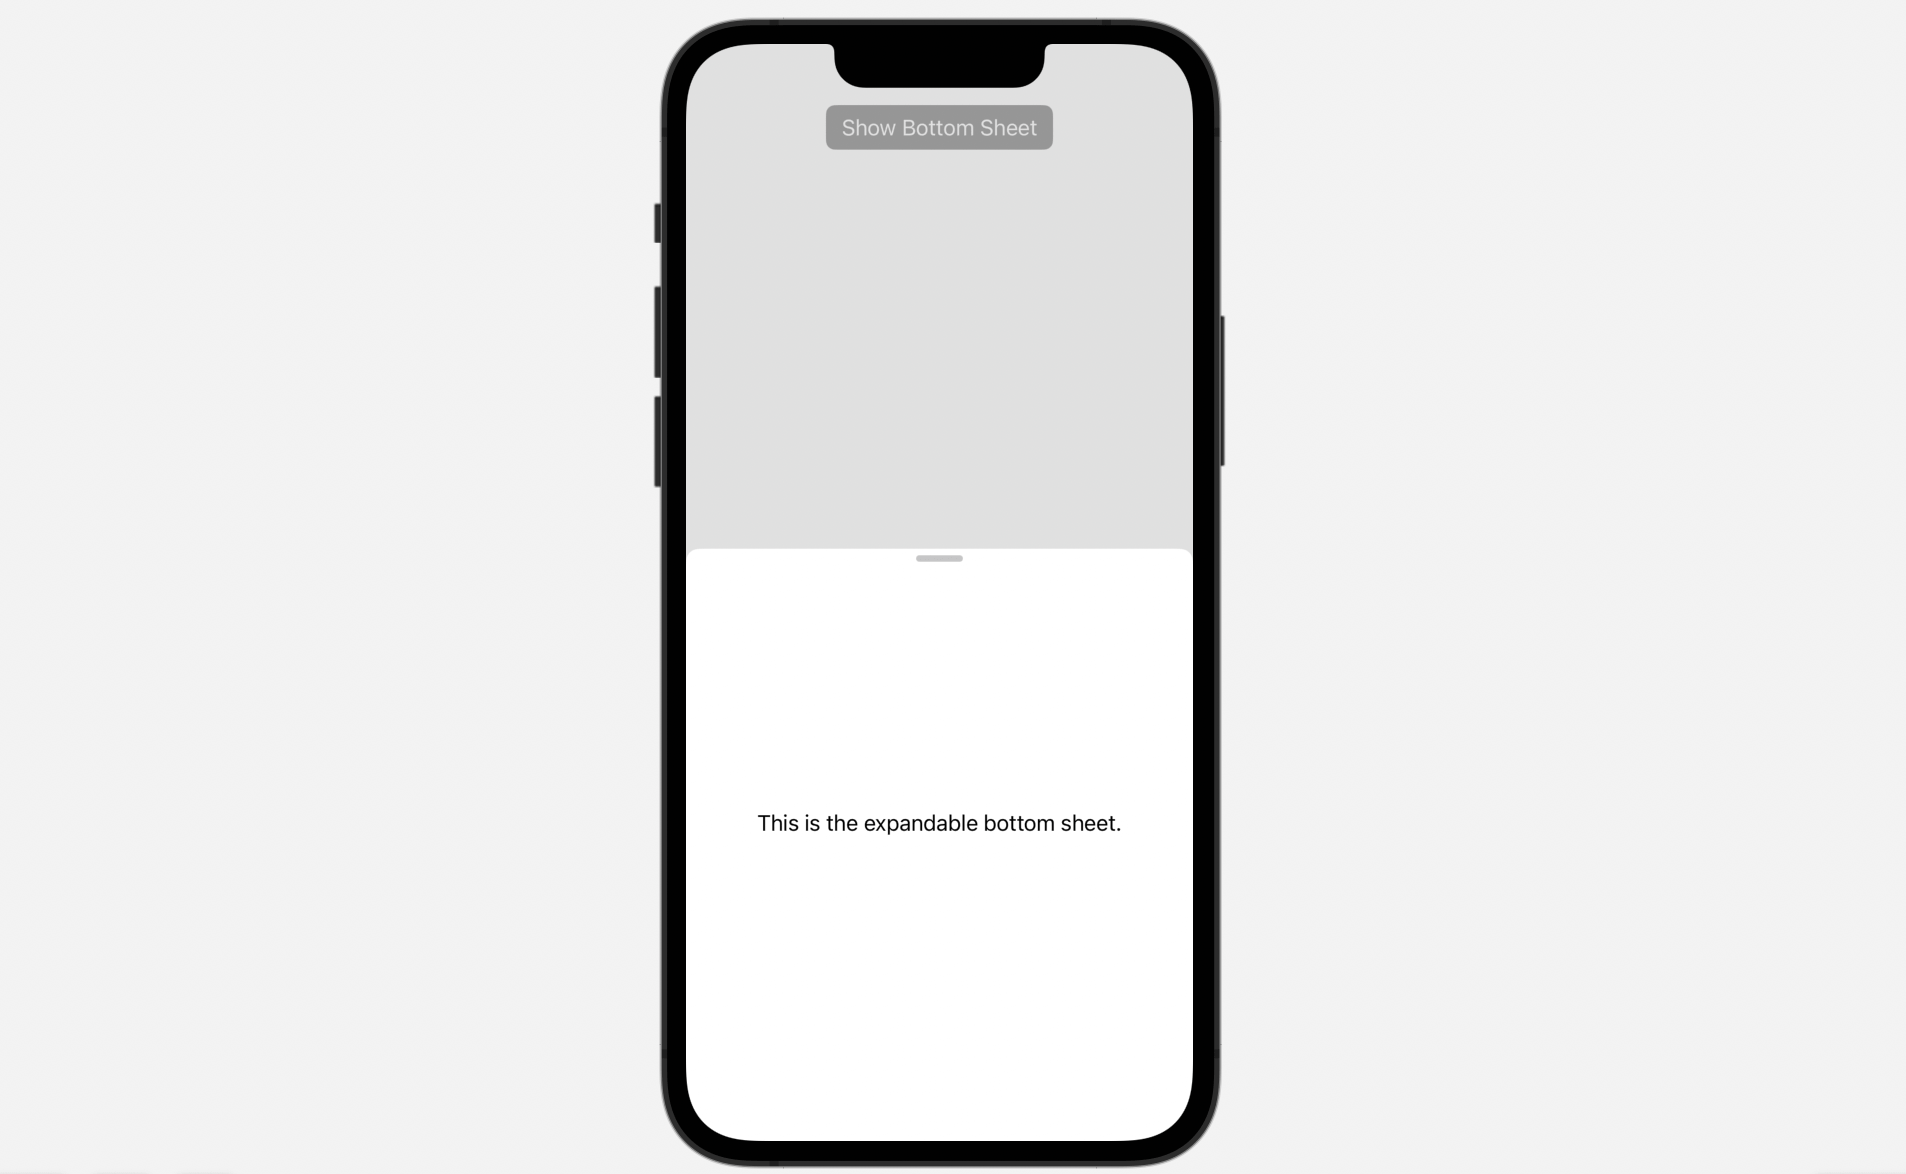
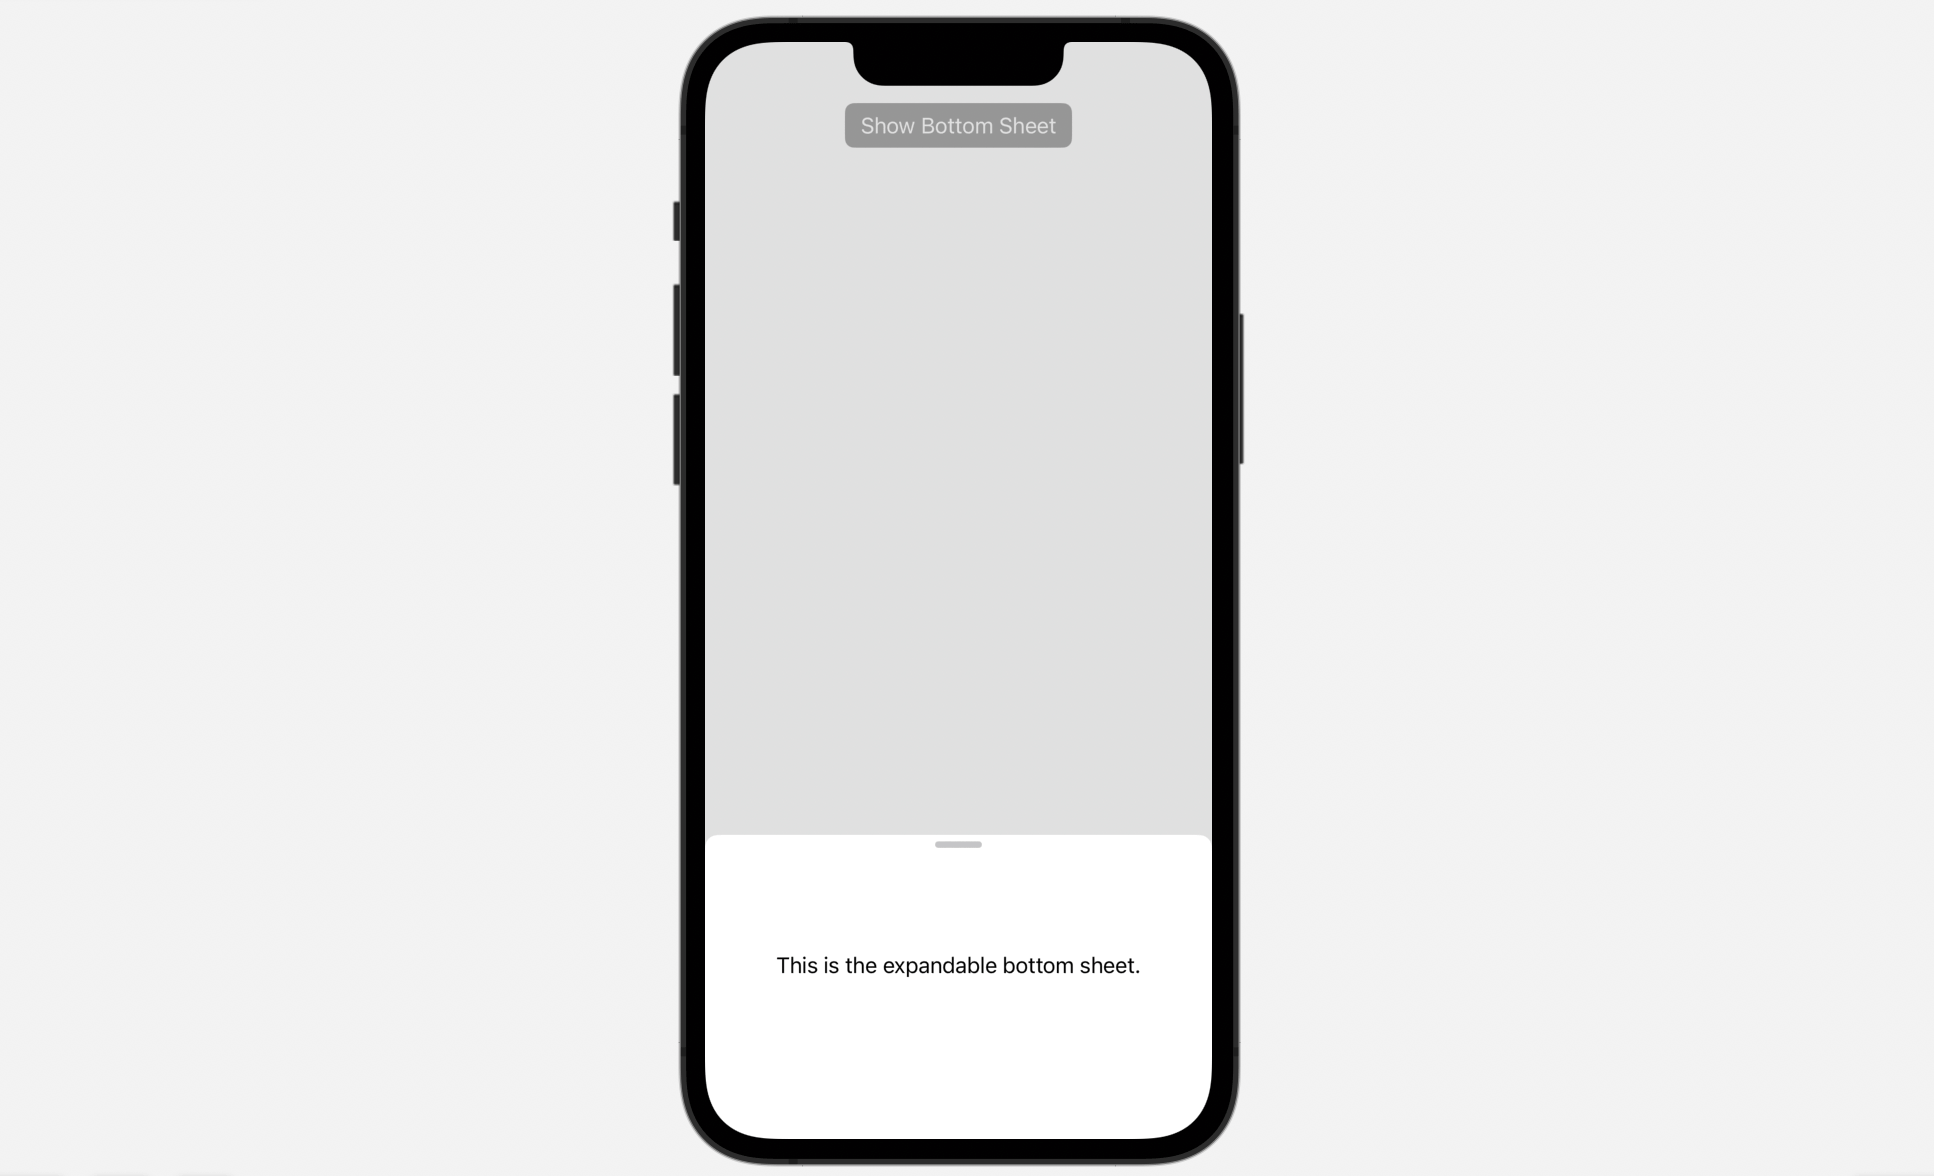
In iOS 15, Apple unveiled the UISheetPresentationController class for displaying an expandable bottom sheet in iOS apps. At the time, it’s only available in the UIKit framework. For SwiftUI, you either have to build your own component or rely on third party libraries. Starting from iOS 16, the SwiftUI framework comes with a new modifier called presentationDetents for presenting a resizable bottom sheet.
To present a bottom sheet, you insert the modifier inside the sheet view. Here is an example:
struct BasicBottomSheet: View {
    @State private var showSheet = false

    var body: some View {
        VStack {
            Button("Show Bottom Sheet") {
                showSheet.toggle()
            }
            .buttonStyle(.borderedProminent)
            .sheet(isPresented: $showSheet) {
                Text("This is the expandable bottom sheet.")
                    .presentationDetents([.medium, .large])
            }

            Spacer()
        }
    }
}
You specify a set of detents in the presentationDetents modifier. As shown above, the bottom sheet supports both medium and large size. When it first appears, the bottom sheet is displayed in medium size. You can expand it to large size by dragging the sheet.

Controlling its Size Using Fraction and Height
Other than Other than the preset detents such as .medium, you can create a custom detent using .height and .fraction. Here is another example:
.presentationDetents([.fraction(0.1), .height(200), .medium, .large])Now the bottom supports 4 different sizes including:
- around 10% of the screen height
- a fixed height of 200 points
- the standard Medium and Large sizes

Storing the Selected Detent
Every time you dismiss the bottom sheet, the presentation detent is reset to its original state. In other words, for the below presentation detents:
.presentationDetents([.height(200), .medium, .large])Every time you open the bottom sheet, it begins with the .height(200) detent. What if you want to restore the last selected detent? In this case, you can declare a state variable to keep track of the currently selected detent:
@State private var selectedDetent: PresentationDetent = .mediumFor the presentationDetents modifier, you specify the binding of the variable in the selection parameter:
.presentationDetents([.height(200), .medium, .large], selection: $selectedDetent)SwiftUI then stores the currently selected detent in the state variable. Even if you dismiss the bottom sheet, the next time when you bring the bottom sheet, it restores to the last selected detent.
Hide the Drag Indicator
You should see a drag bar indicating that the sheet is resizable. If you want to hide the drag indicator, attach the presentationDragIndicator modifier and set it to .hidden:
.presentationDragIndicator(.hidden)Note: We are updating our Mastering SwiftUI book for iOS 16. If you want to start learning SwiftUI, check out the book here. You will receive a free update later this year.


