At WWDC 2018, Apple released ARKit 2.0 with a slew of brand new APIs and features for Augmented Reality Development. One of these features was an addition to their Quick Look APIs. If you’re not familiar with what Quick Look is, it’s basically a framework that allows users to preview a whole range of file formats such as PDFs, images, and more! For example, the Mail application in iOS uses Quick Look to preview attachments.
An advantage about using Quick Look in your apps is that all you need to do is state what file you would like to be quick looked. The framework handles displaying the UI and UX which makes it easy to integrate. Before going on, I would suggest to skim over this tutorial on using the Quick Look framework to preview documents.
This year, for iOS 12, Apple has introduced Quick Look for Augmented Reality objects. This means that you can share .usdz (more on that later) files in Mail, Messages, or any application that supports this type of Quick Look. The recipient can open it up and view the object without having to download an additional app.

In the above image, you can see a teapot being previewed in AR without the help of a separate app. However, AR Quick Look isn’t limited to simply apps. You can integrate AR Quick Look into websites as well! In this tutorial, I’ll walk you through integrating AR Quick Look in an iOS application, as well as, building a very basic HTML website using GitHub Pages to see how we can add AR Quick Look to websites! Just check out Apple’s AR Gallery on any device running iOS 12!
What is USDZ?
Before we start coding, it’s important to understand what USDZ is. Just like there are many file formats, USDZ is one of them. It stands for Universal Scene Description Zip. If you’ve worked with 3D models before, you’re proabably familiar with 3D models like .OBJ, .DAE, or .sketchup. USDZ is a file created from a collaboration with Pixar and Apple.
At its core, a USDZ file is nothing more than a .zip archive, that it packages the model and its textures into a single file. This is why USDZ files are used for Quick Look and not any other 3D model format.
Now you’re probably wondering, “How do I create a USDZ file?” Well, the way it works is that you create your own 3D model with your favorite 3D modelling software (AutoCAD, Blender, Maya, etc.) and then use Xcode Command Line Tools to convert this file to a .usdz file format.
Let’s try converting our own model into the USDZ file format!
Converting a 3D model to a USDZ file format
Converting a model to USDZ is quite simple and requires only one line of code! We’ll be converting a 3D Object model of an egg that I created. You can download the model here.
When you download the model, you’ll see that it’s simply an egg. Now, let’s try converting the model into a USDZ file format. Open Terminal and type the following line:
xcrun usdz_converter /Users/You/PATH/TO/egg.obj /Users/You/CHOOSE/A/PATH/TO/SAVE/egg.usdz
That’s all! Here’s what my terminal looks like:
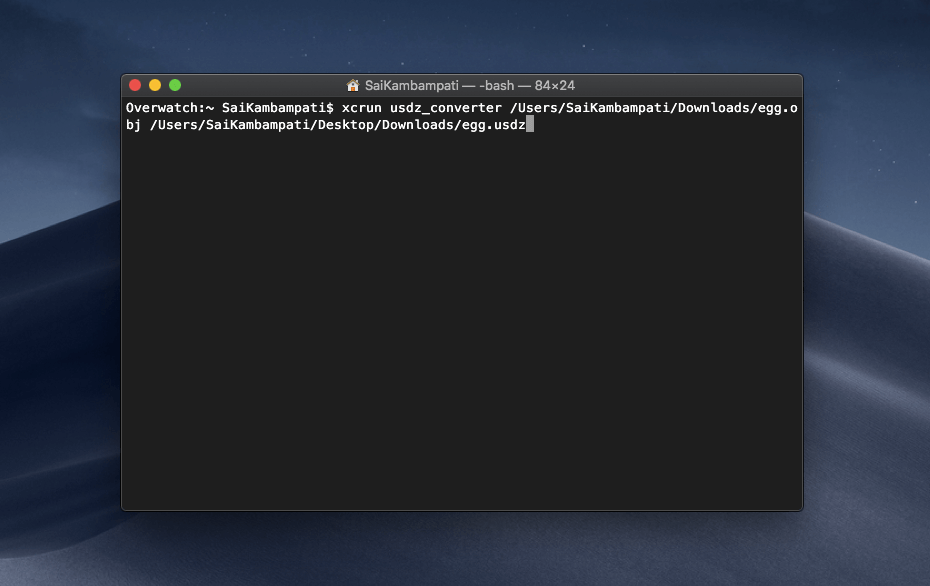
Press enter. Within a few seconds, you will see the .usdz file saved to the path you chose where you want to save it. Press the spacebar to Quick Look the file.
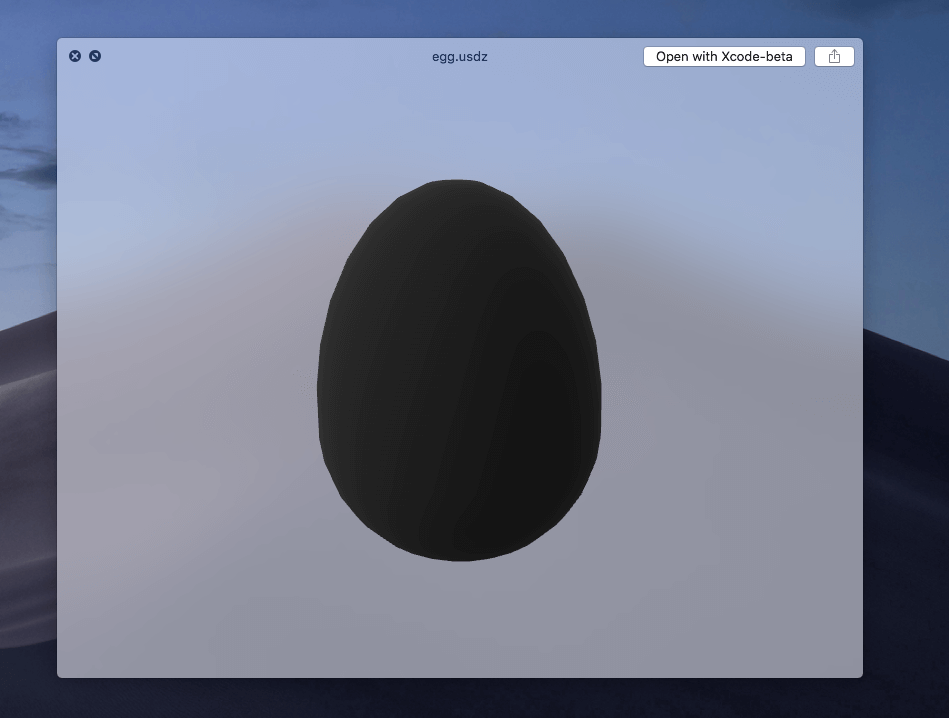
Don’t worry if it’s black. I’m not sure if this is a bug on Apple’s part or if they meant it to be like this. Either way, when you preview it, all the colors will be restored.
And that’s all! Now that we have our own USDZ file, let’s begin with integrating it into our project.
Adding AR Quick Look in your apps
Let’s begin by downloading the starter project here. Take a look around. You’ll see that there is already a collection view in place.
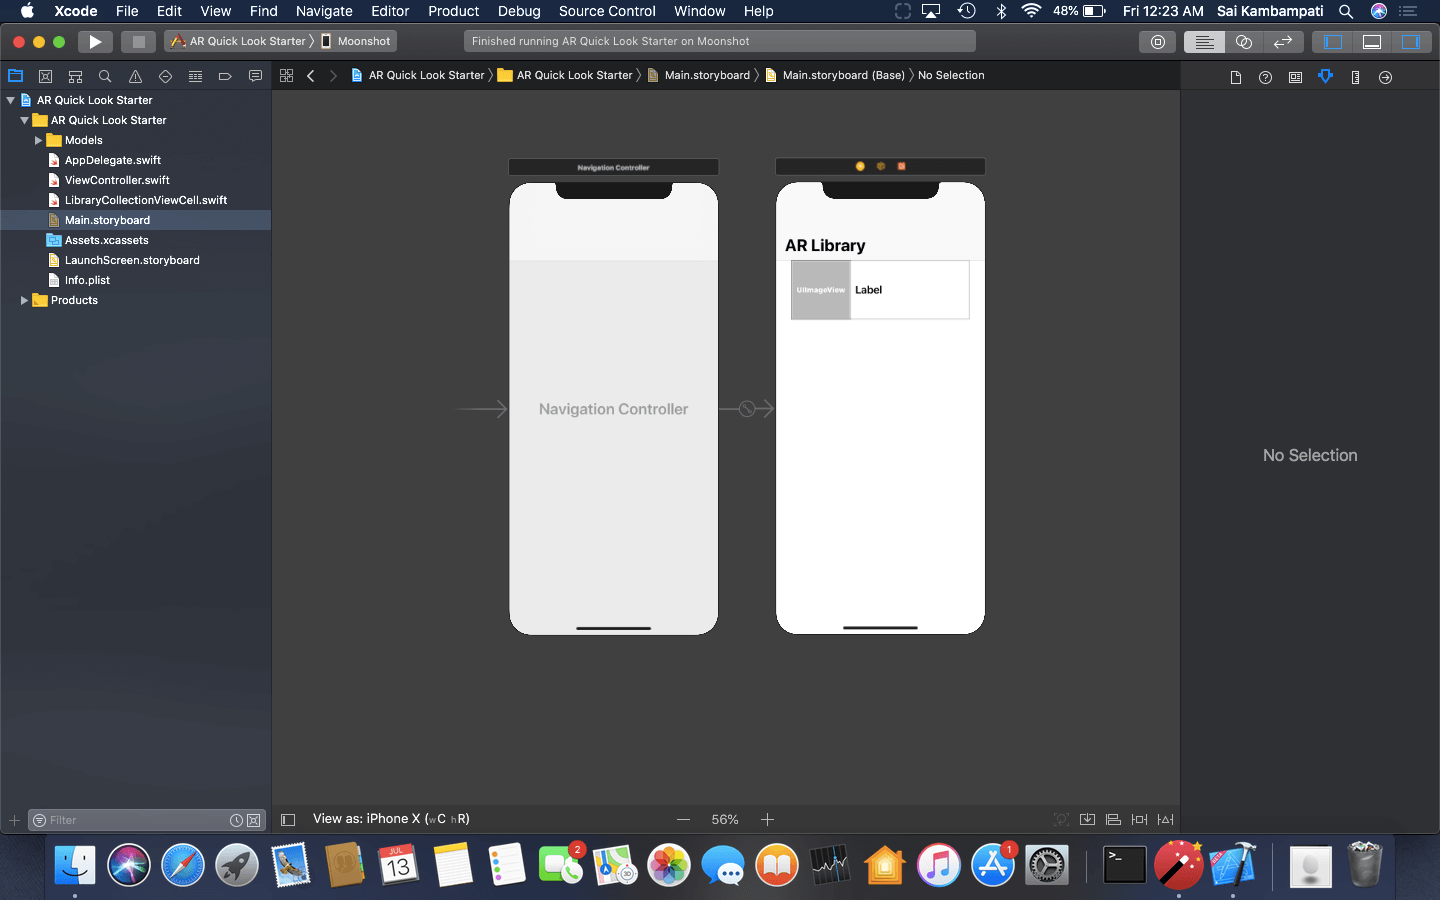
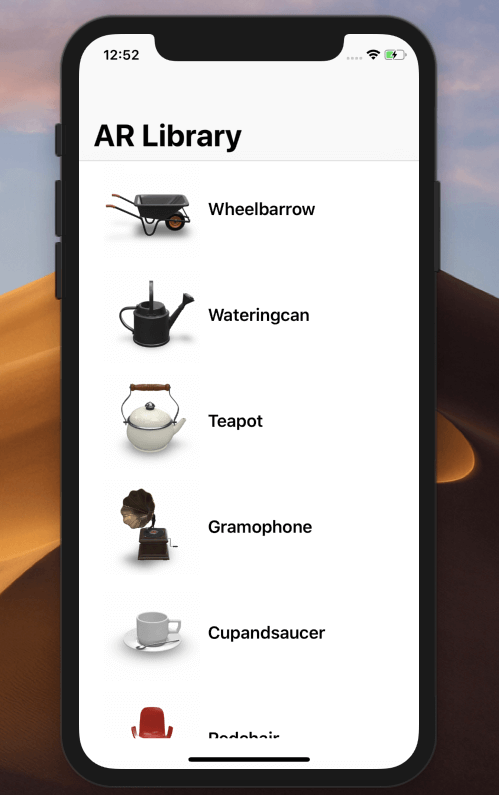
Run the app. You’ll see a list of a bunch of models but when you click on them, nothing happens. It’s up to us to make sure that users can quick look the model!
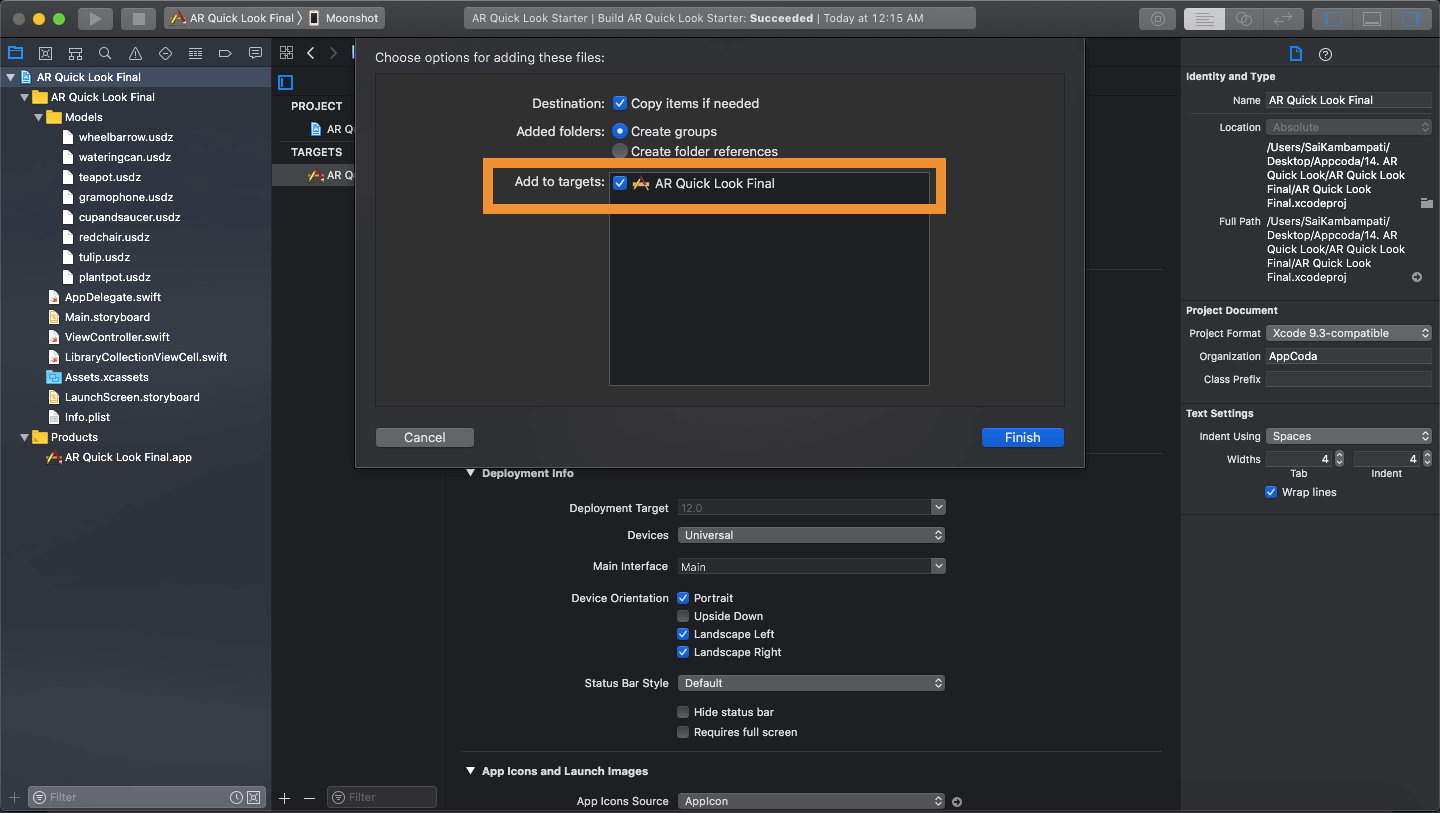
First, let’s add our Egg model to the Models folder. Drag egg.usdz to the models folder. Make sure that when you drop it into the folder, you check the target box as shown below.
Next, head over to ViewController.swift and add egg to the models array. This way when we run our app, the model will show up in the list. Just to be sure, run the app again.
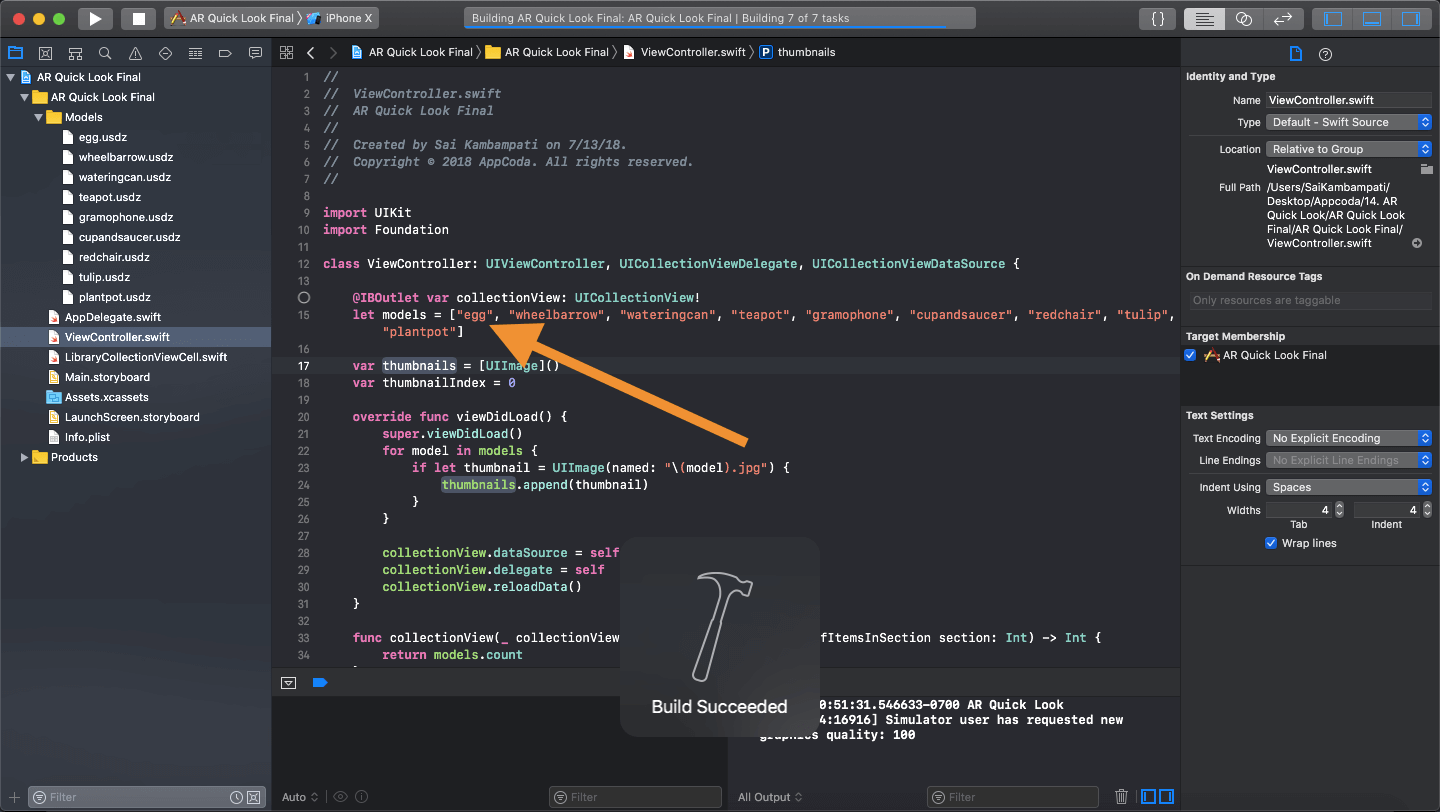
It works! Now all that’s left is adding the code to Quick Look these models. First, begin by importing the QuickLook package. When we create a UICollectionView, we also add the Data Source and Delegate protocols to give us access to the methods needed to add data to our collection view. Similarly, we do the same for Quick Look. Modify your code to look like below.
import UIKit
import Foundation
import QuickLook

class ViewController: UIViewController, UICollectionViewDelegate, UICollectionViewDataSource, QLPreviewControllerDelegate, QLPreviewControllerDataSource
There are two methods we need to add in order to configure to the protocols we added: numberOfPreviewItems() and previewController(previewItemAt). This should look familiar to you if you’ve worked with UITableViews or UICollectionViews. Add the following code towards the bottom of the class below collectionView(didSelectItemAt).
func numberOfPreviewItems(in controller: QLPreviewController) -> Int {
    return 1
}

func previewController(_ controller: QLPreviewController, previewItemAt index: Int) -> QLPreviewItem {
    let url = Bundle.main.url(forResource: models[thumbnailIndex], withExtension: "usdz")!
    return url as QLPreviewItem
}
- In the first function, we are asked how many items are allowed to preview at a time. Since we want to preview one 3D model at a time, we return 1 in the code.
- The second function asks what file it should preview when an item is clicked on a particular
index. We define a constant calledurlwhich is the path of our.usdzfiles. Then, we return the file as aQLPreviewItem.
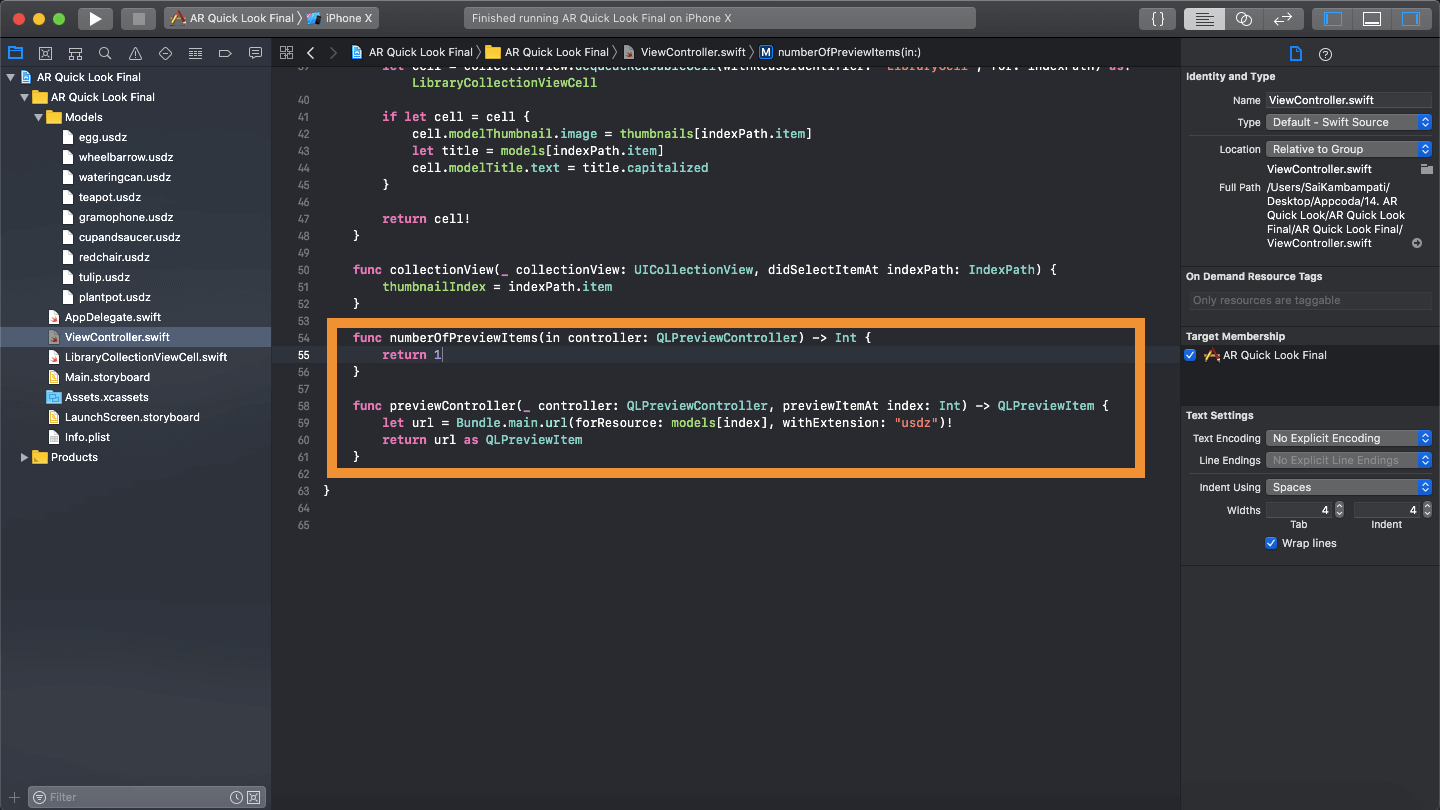
If you run the code now, nothing would happen. Why? It’s because we never added the logic to present the QLPreviewController. Navigate to the collectionView(didSelectItemAt) method and modify it to look like the following:
func collectionView(_ collectionView: UICollectionView, didSelectItemAt indexPath: IndexPath) {
    thumbnailIndex = indexPath.item

    let previewController = QLPreviewController()
    previewController.dataSource = self
    previewController.delegate = self
    present(previewController, animated: true)
}
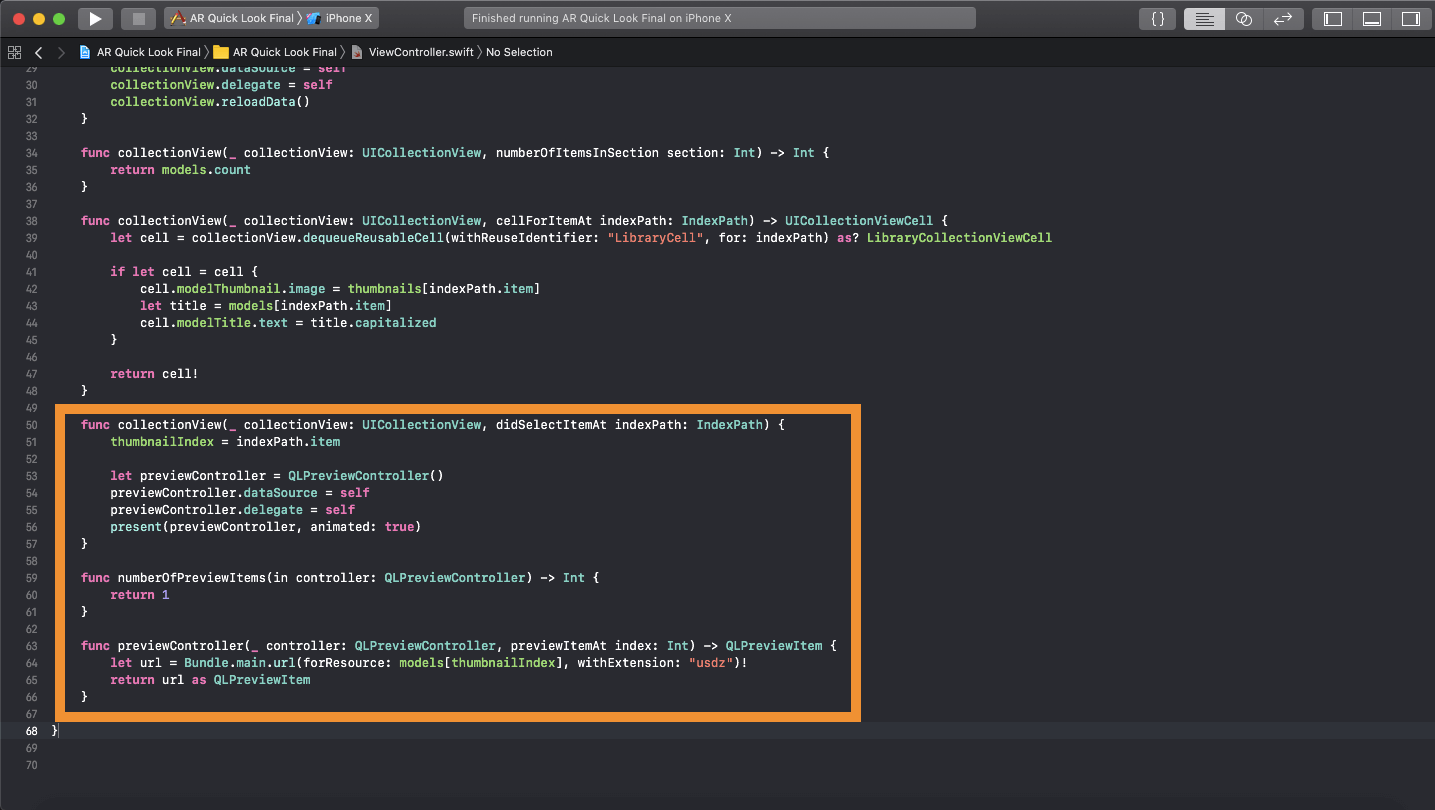
Just as I mentioned earlier, we set thumbnailIndex to the index the user clicks on. This helps the Quick Look Data Source methods know what model to use. If you are using Quick Look in your apps for any file type, you will always present it in a QLPreviewController. Whether it is a document, an images, or, in our case, a 3D model, the QuickLook framework requires you to present these files in a QLPreviewController. We set the previewController data source and delegates to self and then present it!
Here is what all the Quick Look code should look like:
Build and run your app. Make sure to try the app on a real device running iOS 12. Running the app on a simulator won’t present the Quick Look preview.
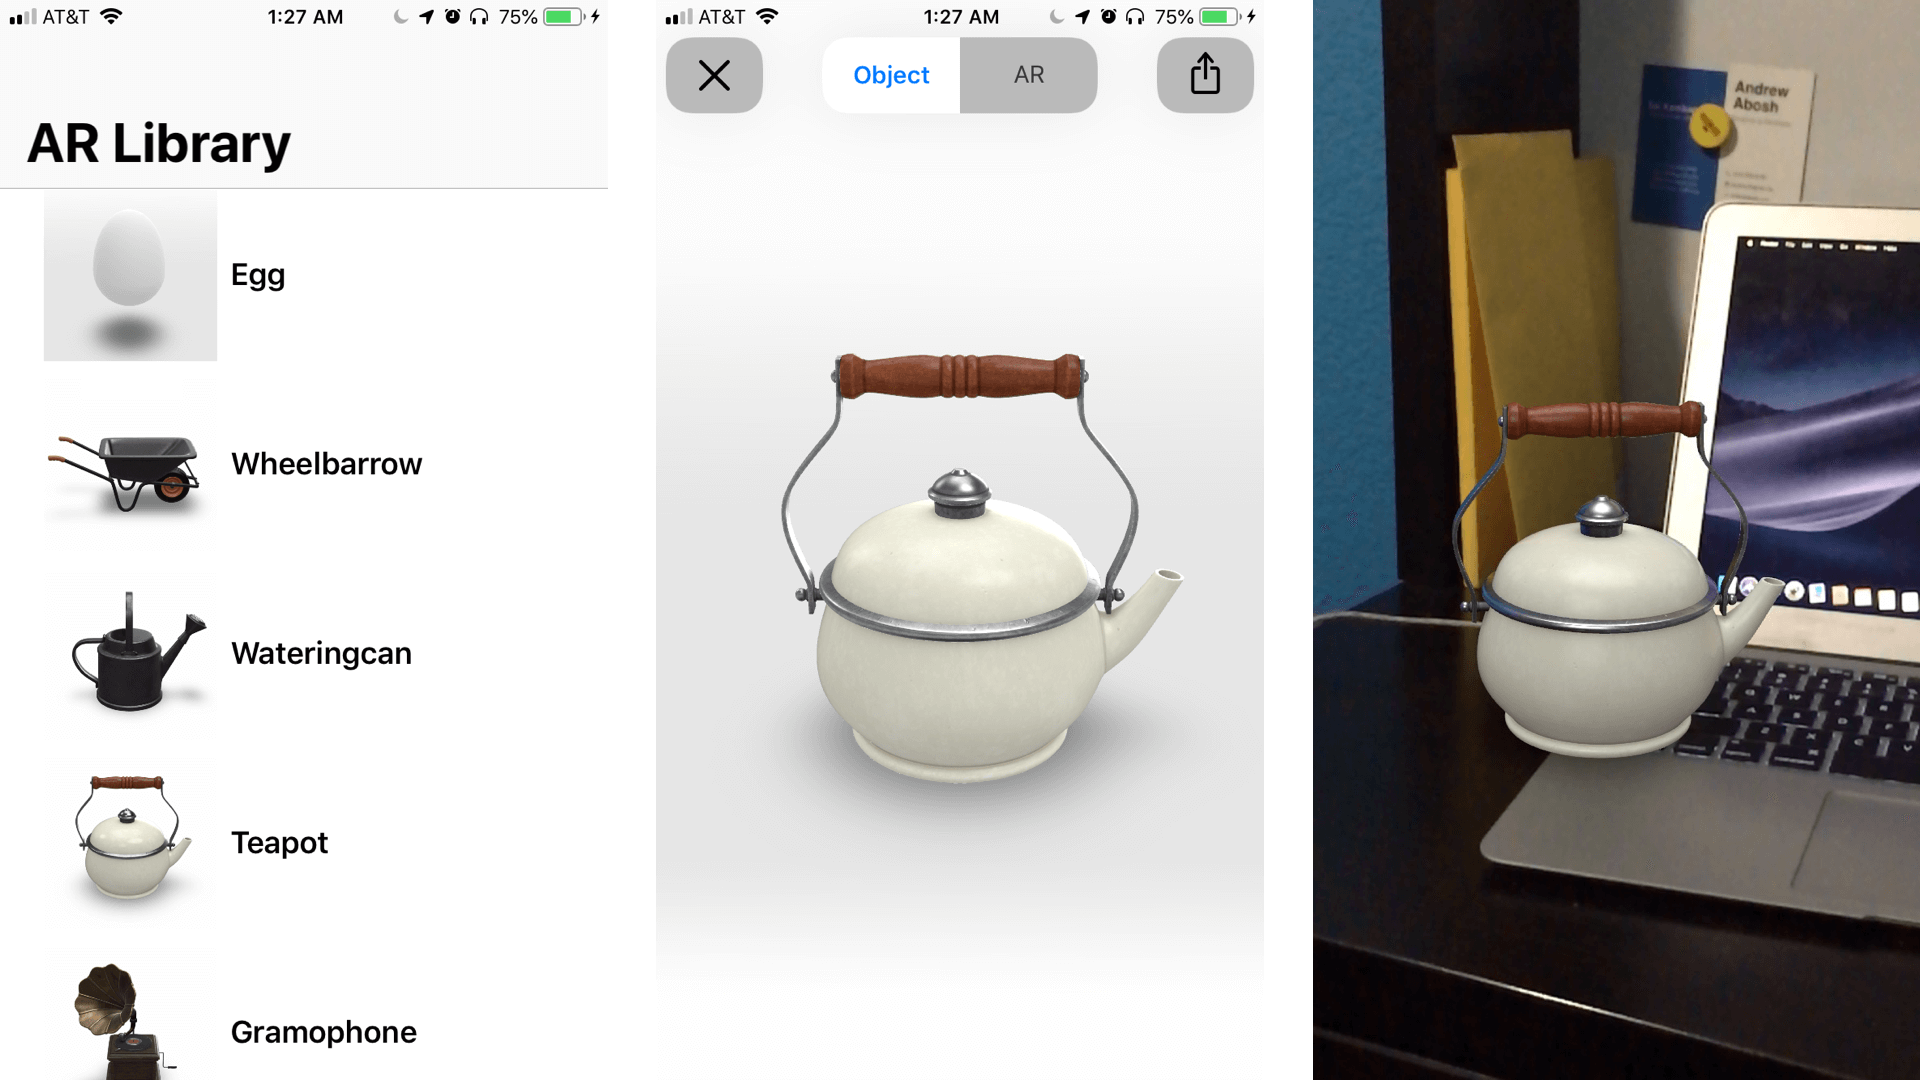
It works as expected! You now should know how to integrate AR Quick Look into your apps. But that’s not all since AR Quick Look also provides web support! In the next section, I’ll guide you through building a website using HTML and AR Quick Look.
Adding AR Quick Look to Websites in HTML
Now that we have an iOS app working, let’s build a similar feature on a website using HTML. If you’ve never worked with HTML before, don’t worry! I’ll guide you through building a very simple website. Let’s get started!
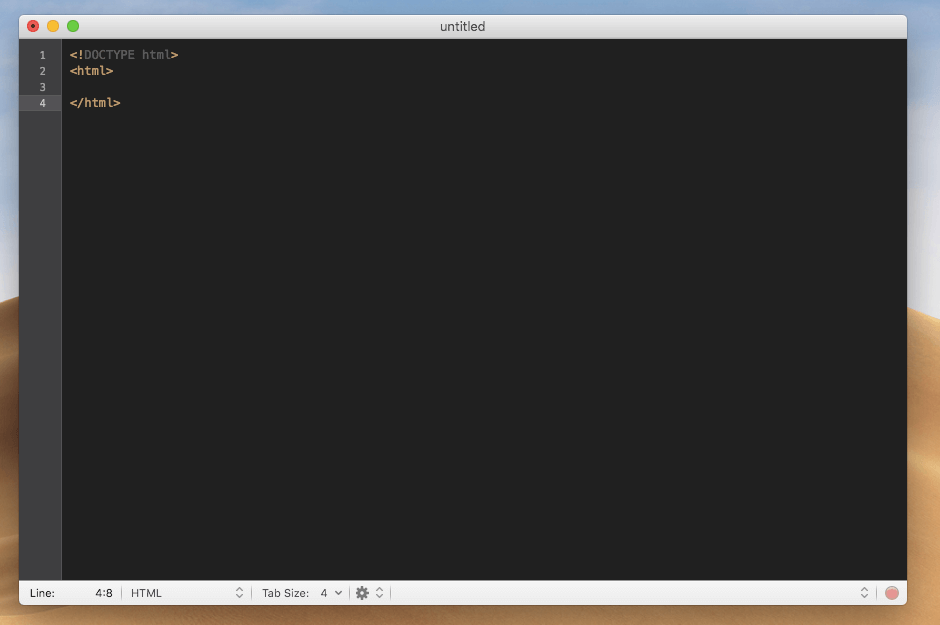
To begin, open any text editor on your Mac. This can be TextEdit or any other similar application. I will be using TextMate. Type the following:
<!DOCTYPE html>
<html>

</html>
This is the way you begin all HTML websites. The <!DOCTYPE html> is an instruction to the web browser about what HTML version the page is written in. We are using HTML 5.
The angled brackets are known as tags. Similar to how we declare all our code in a class in Swift, all HTML code must be declared in between the <html> and </html> tags. The <html> tag represents the start of the HTML code where as the </html> tag signifies the end.
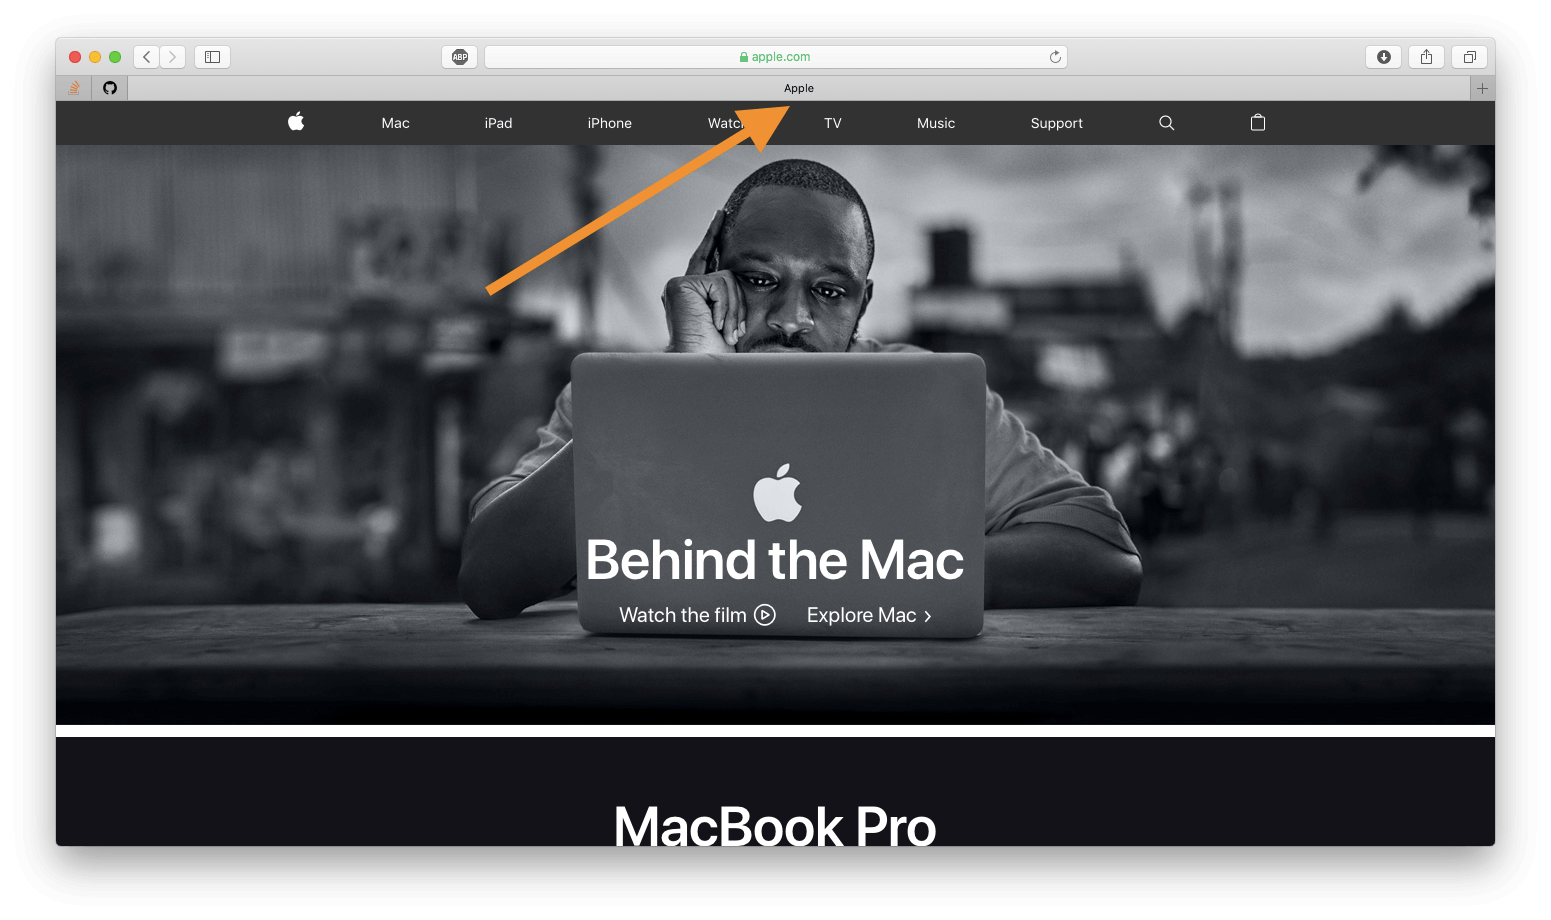
Everytime you visit a website, you’ll see the title of that website in the tab.
Let’s see how to write this in HTML! In between the HTML tags, type the following code:
<head>
    <title>AR Library</title>
</head>
The <head> tag is a place where all the metadata about a website is stored. Some examples of metadata include built-in links, scripts, favicons, or in our case, the title.
Since we’re defining the title of our website, we put the title in between the <title> and </title> tags.
One thing you’ll notice about HTML is that strings don’t require you to put quotations around them. This is one of my favorite aspects of HTML.
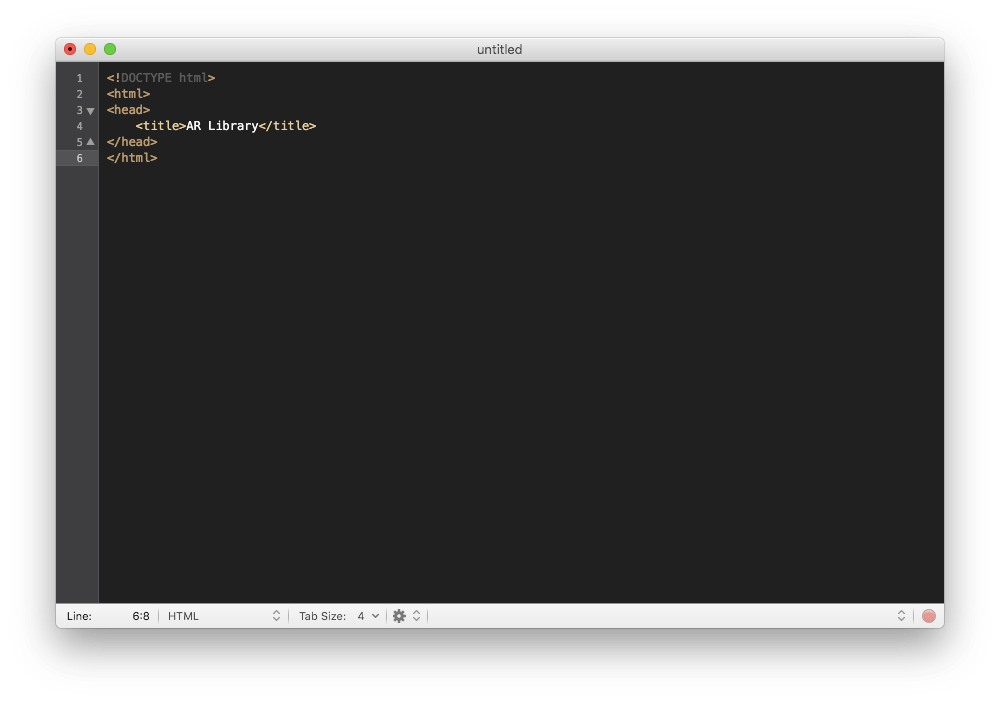
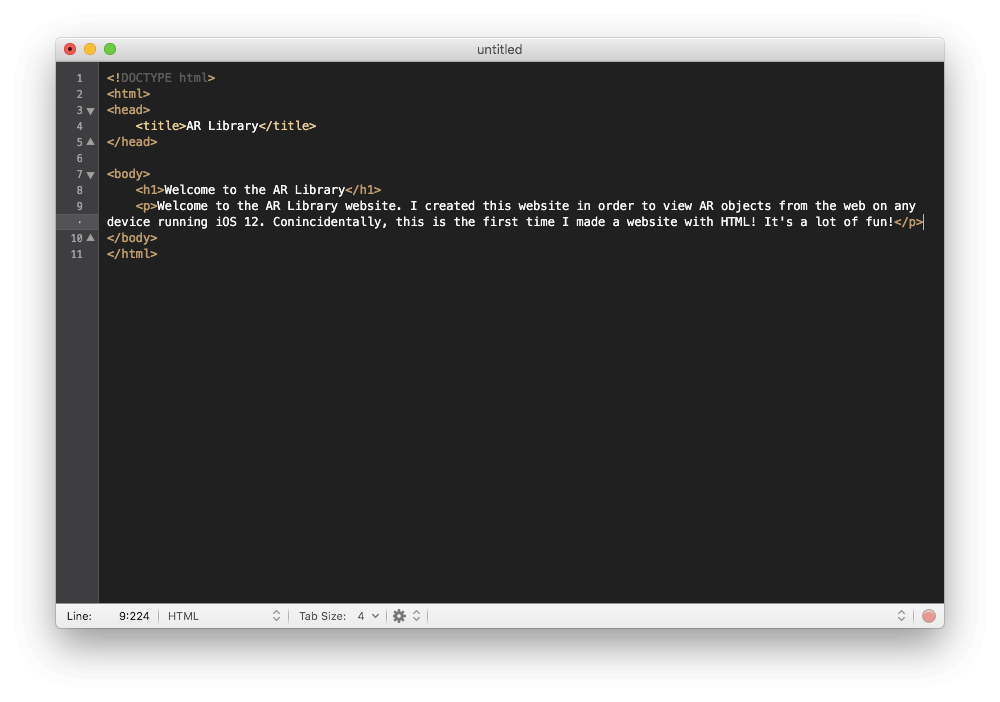
Your text file should look like this:
Now, we have to define the body of our website. This means all the text, button, and images you’ll see in a website. Like before, we declare these in the <body> tag. Right under the </head> line, we’ll add the following code:
<body>
    <h1>Welcome to the AR Library</h1>
    <p>Welcome to the AR Library website. I created this website in order to view AR objects from the web on any device running iOS 12. Conincidentally, this is the first time I made a website with HTML! It's a lot of fun!</p>
</body>
Inside our <body> tag, you should see two new tags: <h1> and <p>. H1 stands for Header 1. This is usually for a title of a section. P stands for paragraph. This tag is used when you want to write some long body of text. Remember, you can rename the title and paragraph to whatever you want!
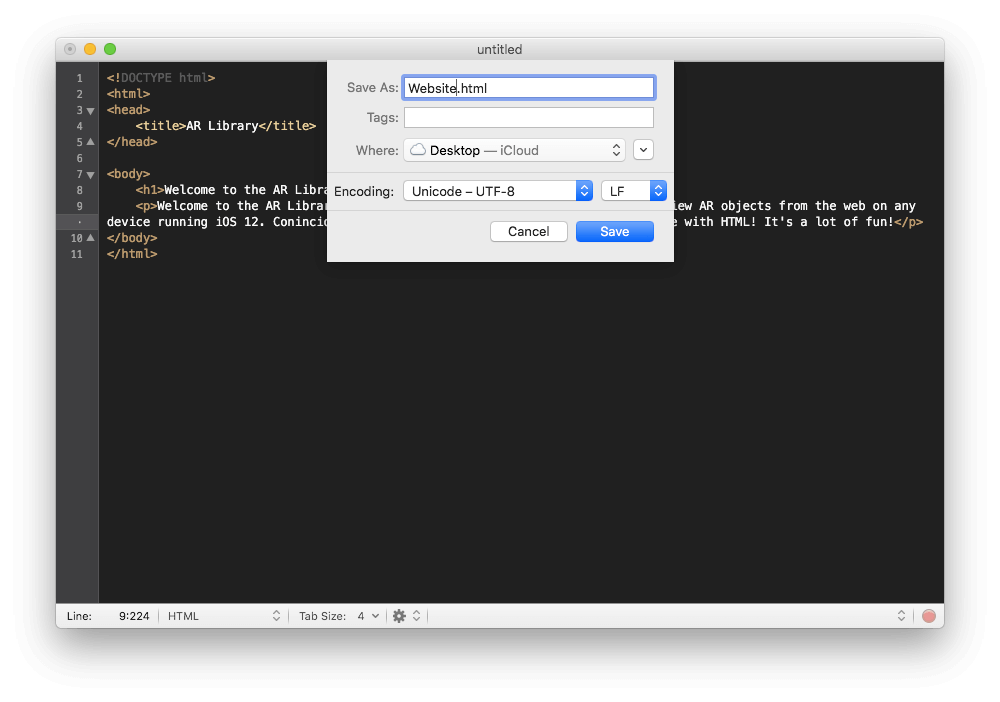
Save your file. Make sure that when you do, you use a .html ending.
Click on the file you saved and it should open in Safari (or your default browser)!
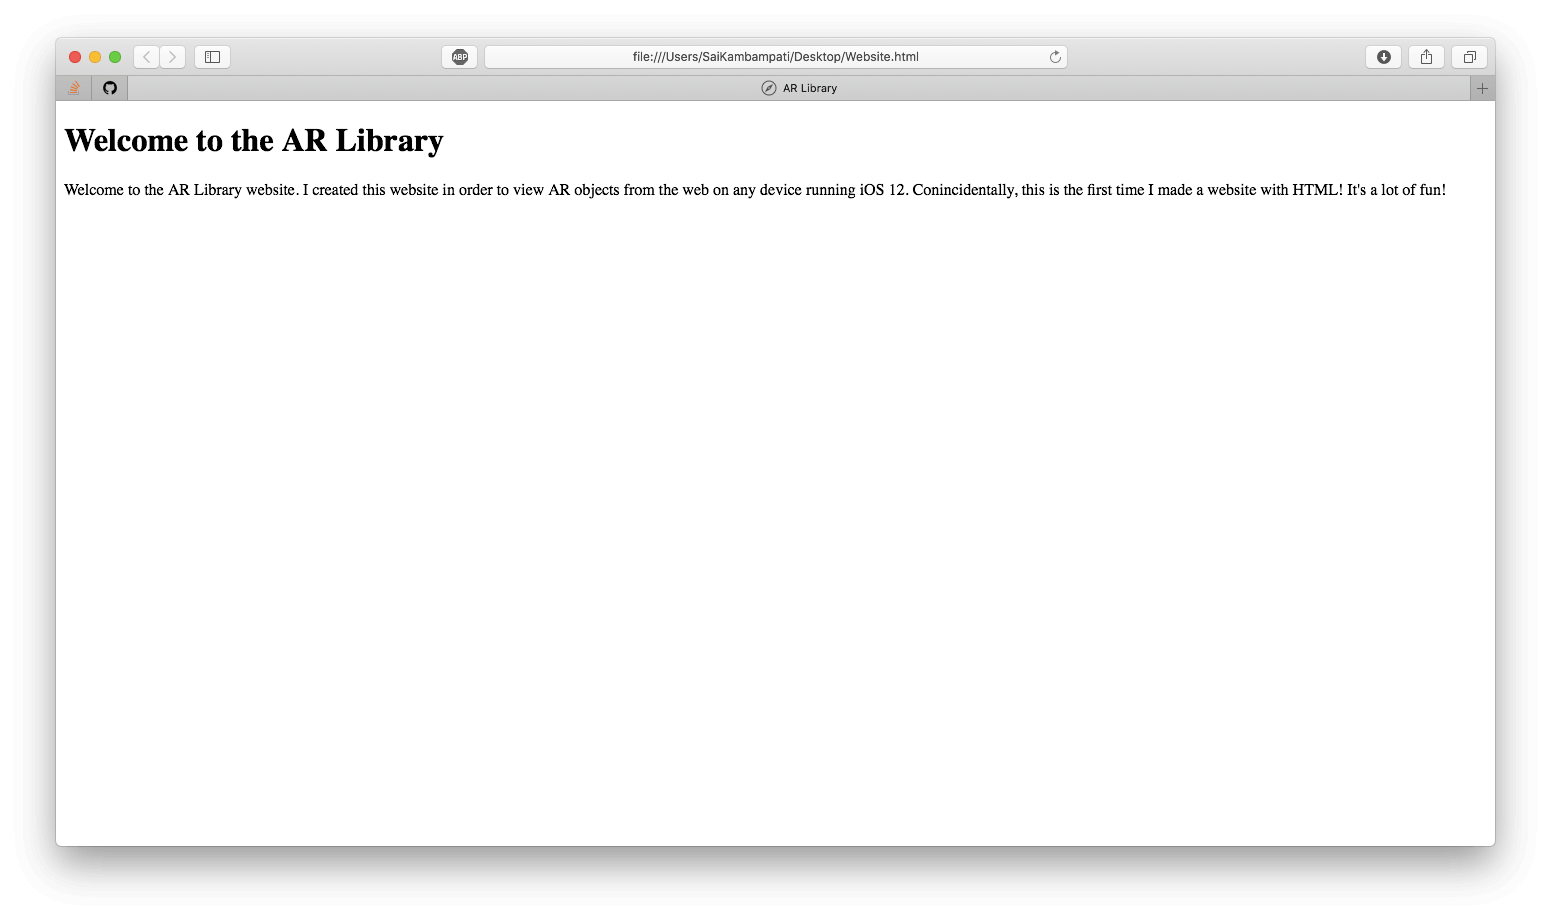
Congratulations! You just built your first website in HTML!
You’re probably wondering if you can change the font and font size. This is possible through CSS. Currently that is beyond the scope of the tutorial but you can find a great article here.
Adding AR Buttons
Now that we have some text for our website, let’s add the buttons for users to launch the AR Quick Look view in the website. Since we are making a button, this will still be inside the <body> tag of our code. Below the <p> tag, type the following.
<a href="egg.usdz" rel="ar">
    <img src="egg.png" width=200>
</a>
This is the <a> tag which defines a hyperlink. There are several customizeable attributes under the <a> tag which we define above.
- The first attribute is
href. This is basically a path to the document we want to navigate to when our button is clicked on. The “document” is our 3D model, so I put the name of a.usdzfile there. - The second is
rel. This specifies the relationship between the current page we’re on and the page we link to. I set it toarbecause the relationship ofegg.usdzis an AR model. - Now we have our button defined but we didn’t define what our button should look like. By using the
<img src>tag, I’m defining the image our button should have. This way when our users click on the image, they’ll be directed to the AR Quick Look view. I also set thewidthof my image so that it’s not too big. The image I’m using is the one we already have in our Xcode project.
That’s it! You can add the other buttons in a similar manner.
When referencing your image source and USDZ files, make sure that they are in the same folder as your HTML file.
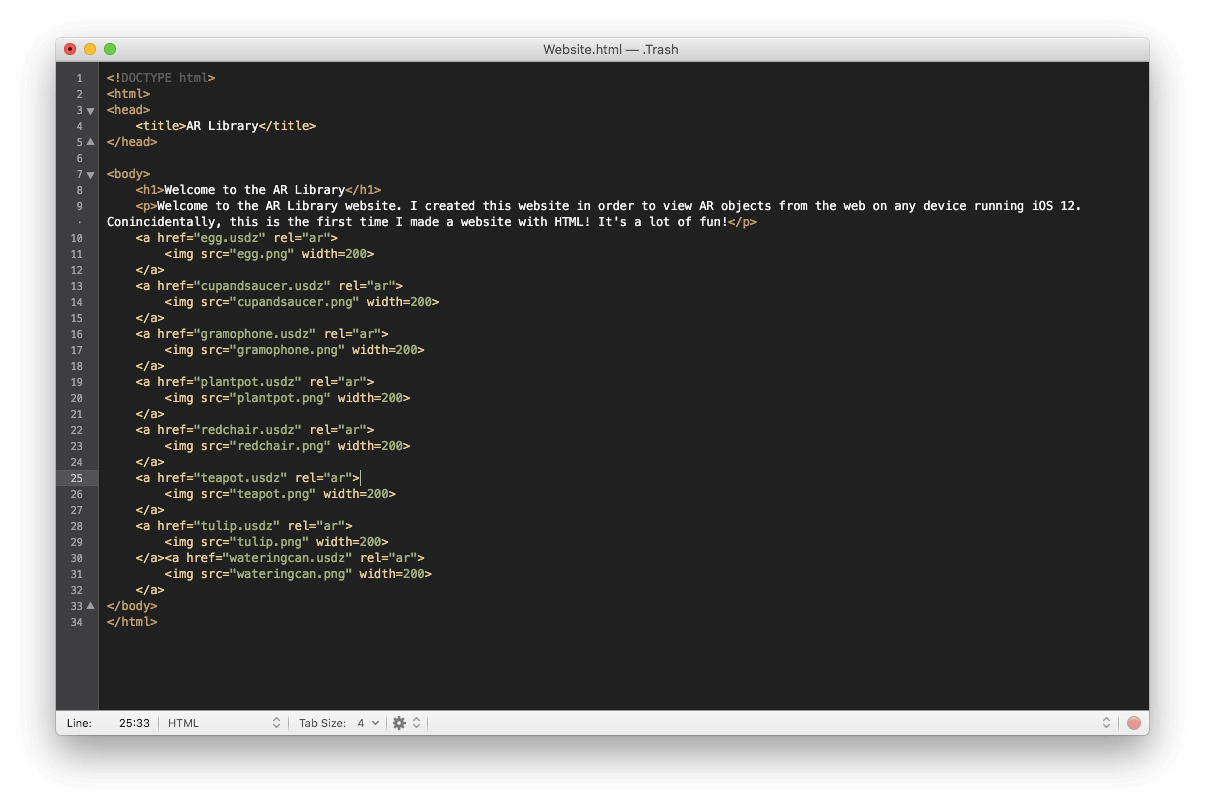
Open the file on your web browser. Take a look- your first HTML website hosting a powerful AR feature!
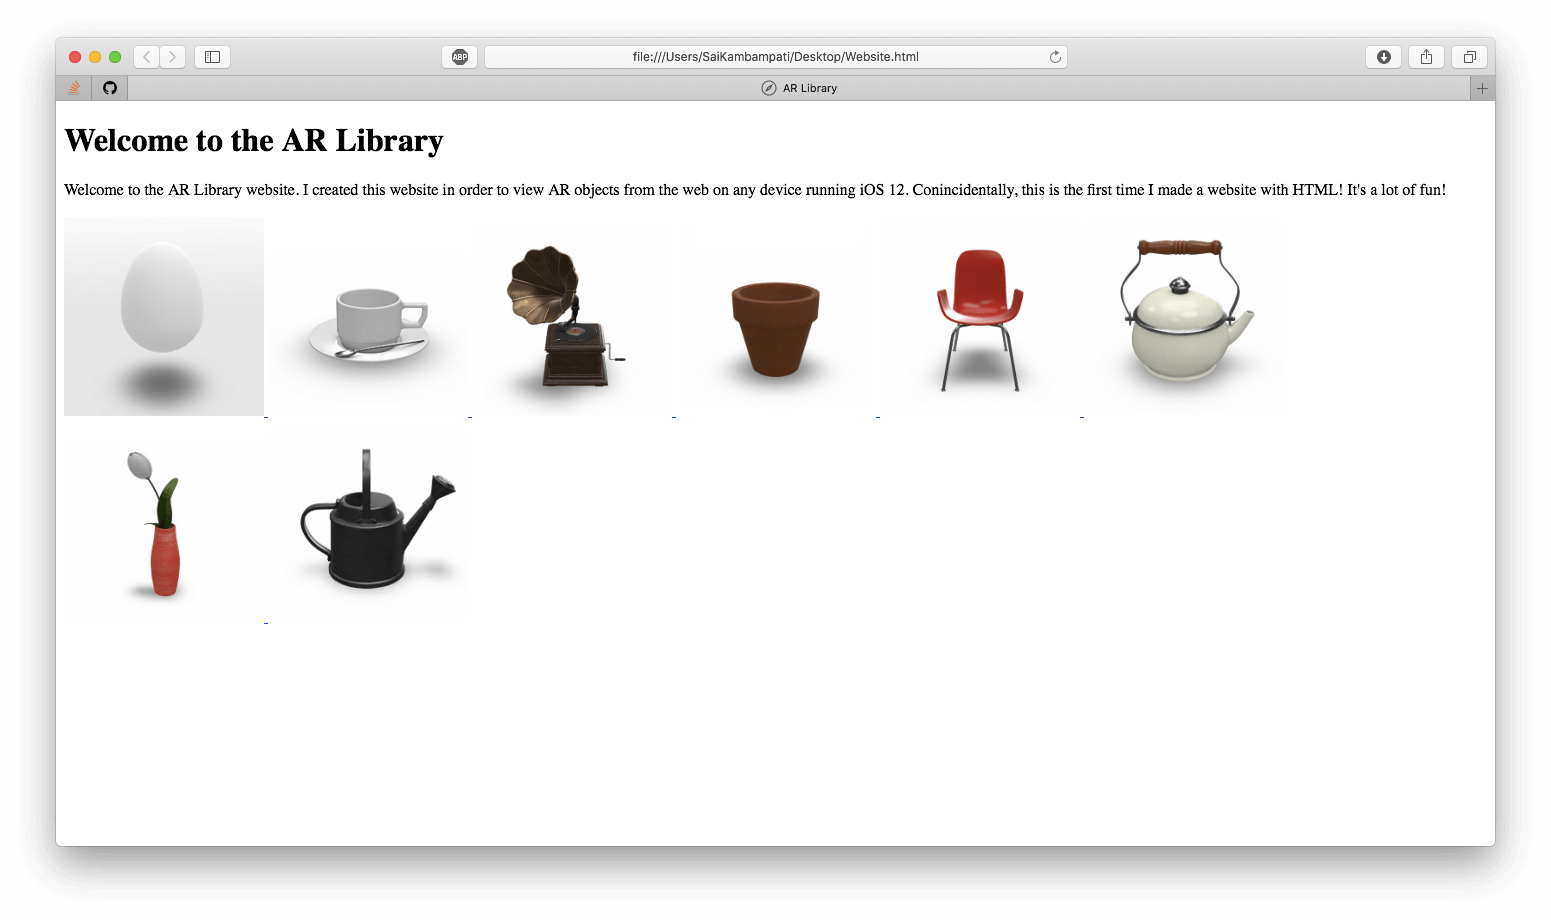
However, when you click on an image, it only directs you to the actual folder on your device. Plus, there’s no way to view it on an iPhone or iPad. This is where GitHub Pages comes in!
Uploading to GitHub Pages
GitHub Pages is a great way to host static websites. Many people use GitHub Pages as a way to showcase either a résumé or an About page for a project or organization.
One of the advantages about GitHub Pages is that it can be edited from a repository on your account. Through this, it’s a great way to store files (such as images and AR models) and reference them in your website! Let’s explore how this can be done! If you haven’t one already, create a GitHub account here.
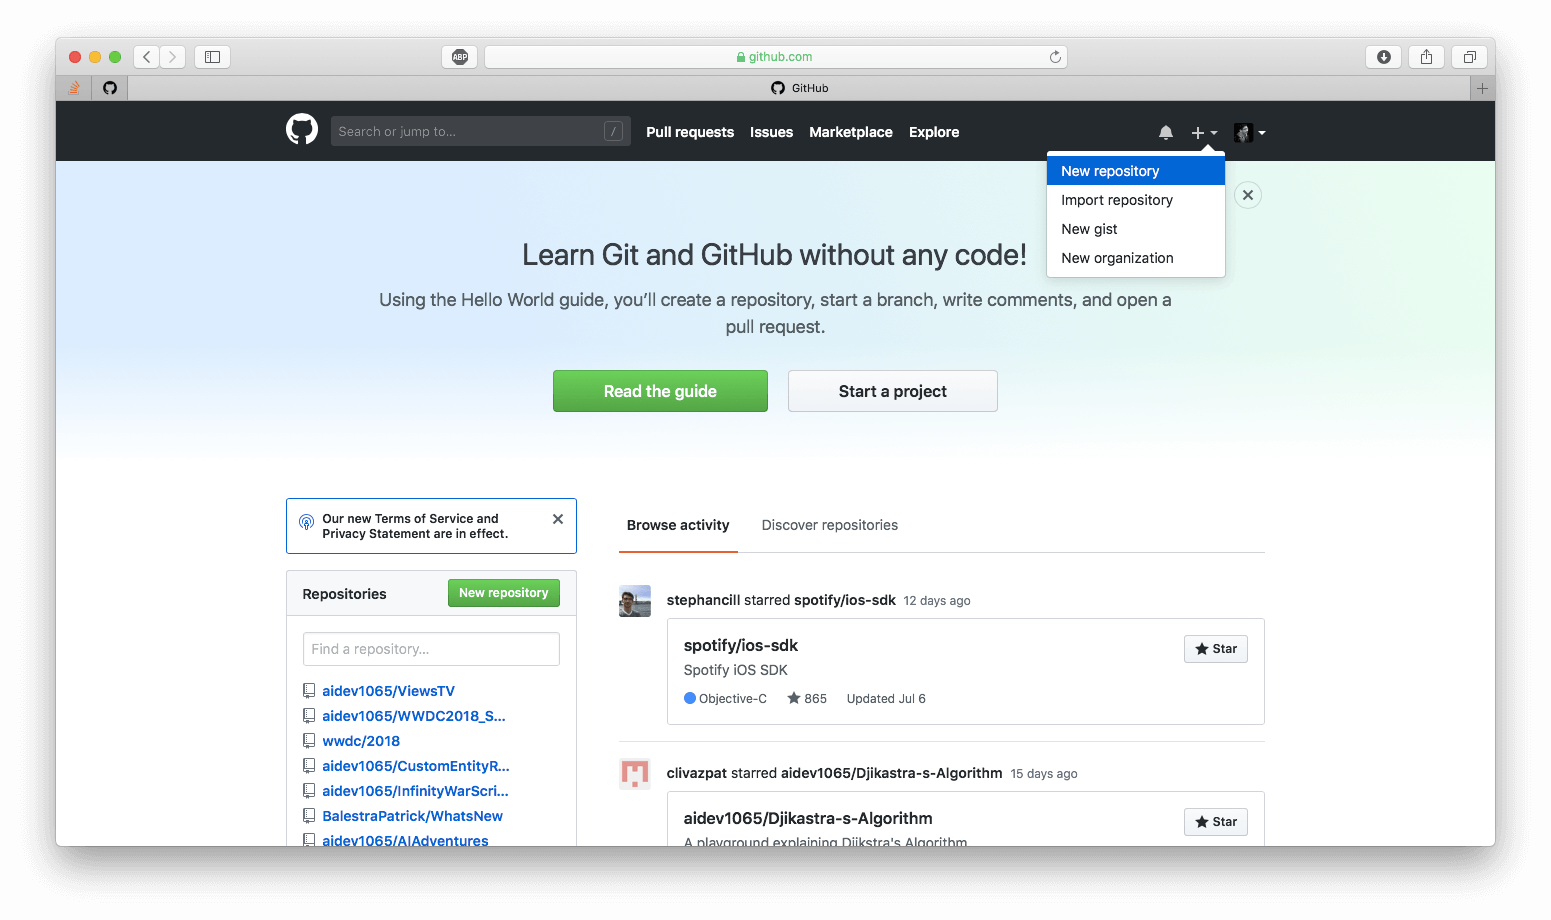
Once you have an account, go to the home page and click on the Plus button in the upper right corner. Click on New repository.
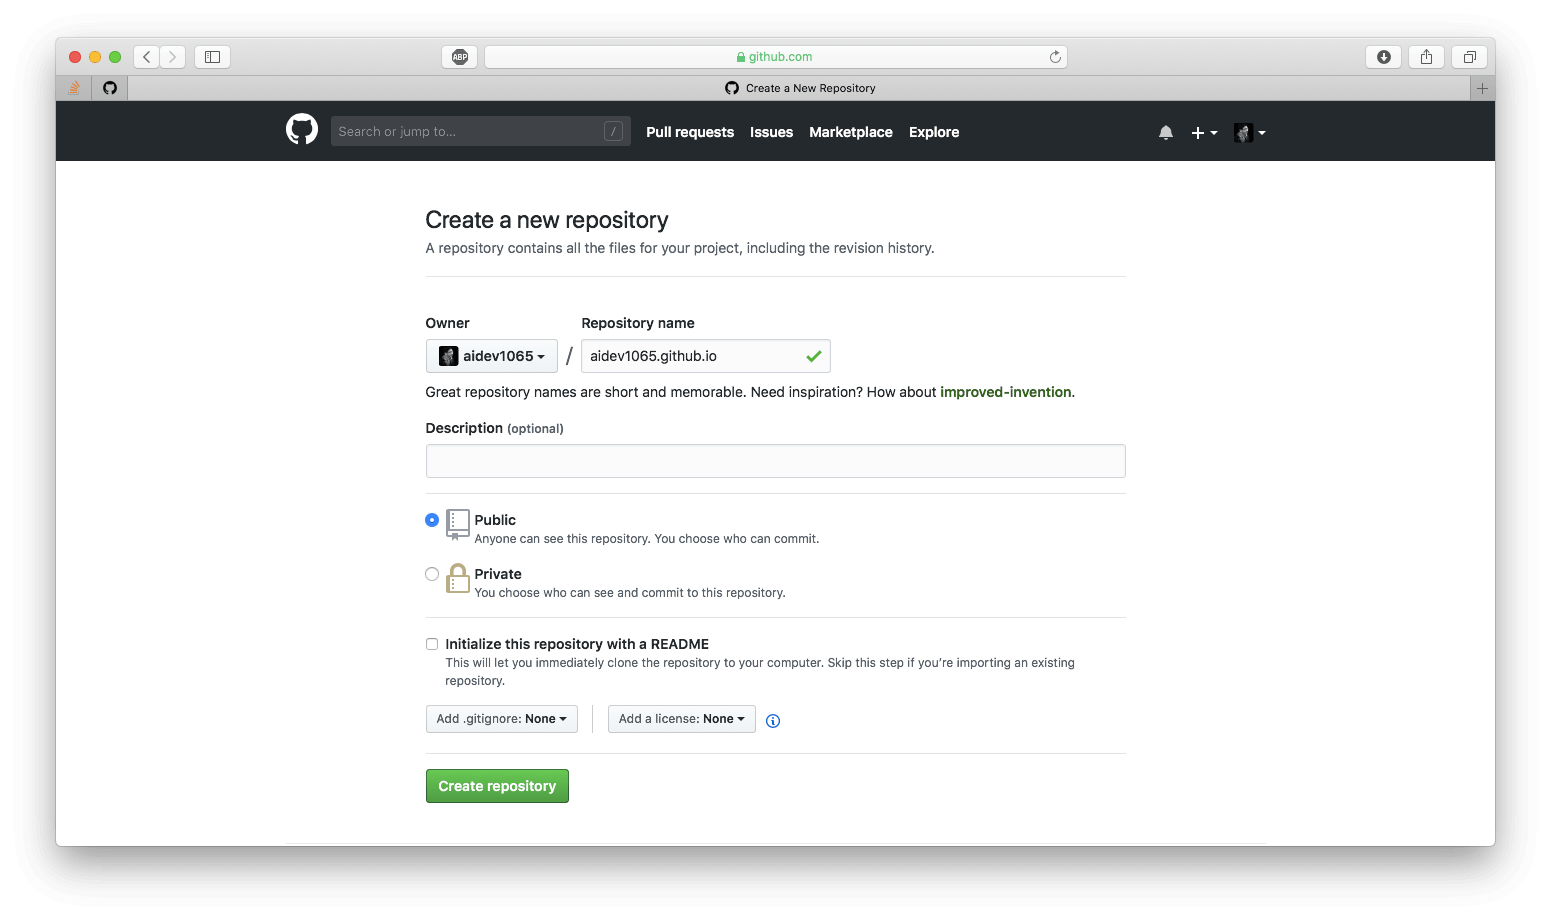
The way GitHub Pages works is that you’re given only one domain: username.github.io. Any pages you create are subdomains under the URL. Therefore, name your repository username.github.io. In the image below, you can see that I named my repository aidev1065.github.io, since aidev1065 is my username. You can leave the rest of the settings and click on Create Repository.
When you’re presented with the repository page, navigate to the Settings tab and scroll down until you come to the GitHub Pages section.
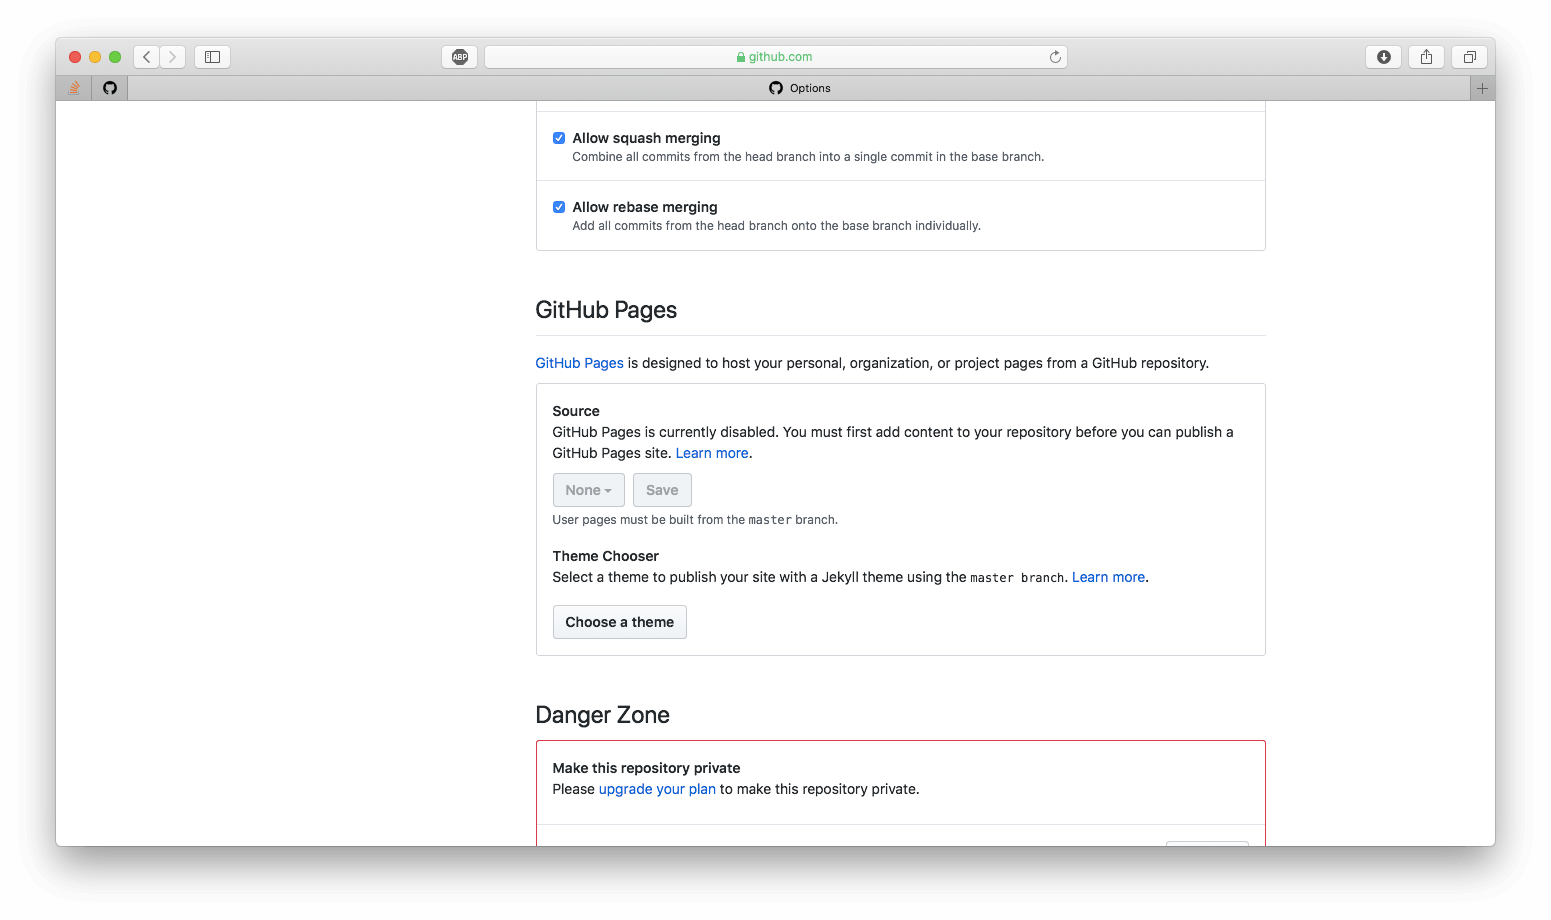
Click on Choose a theme under “Theme Chooser”. This creates a theme for our page. There are a variety of themes. You can choose the one which suits you but I’m going to go with Cayman!
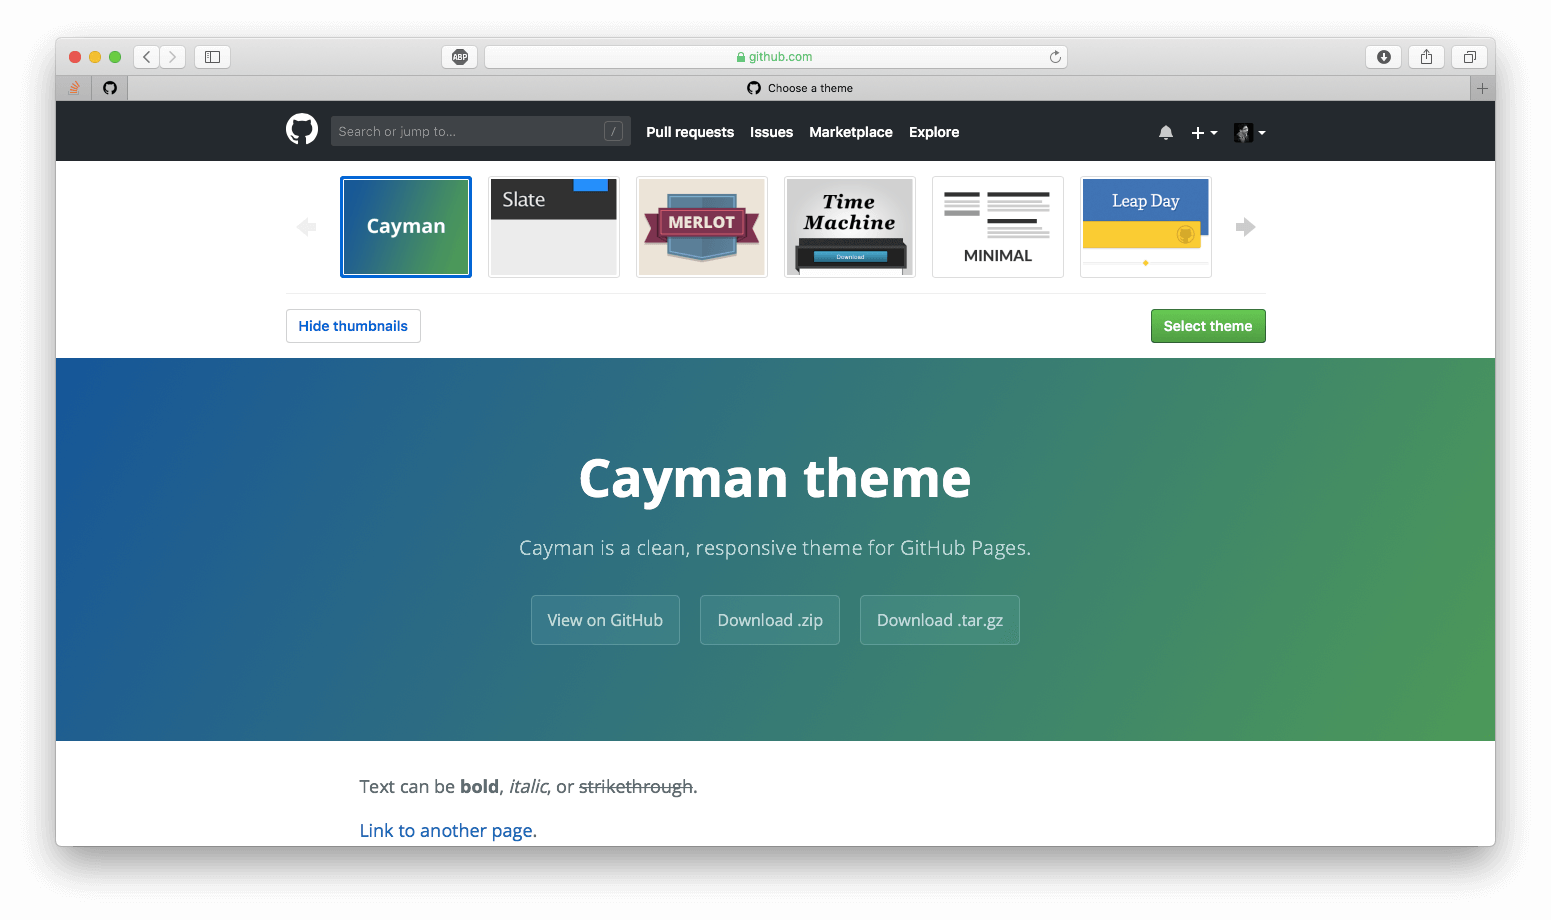
After you click on Select theme, you’ll be presented with a Markdown file. This is used to present information on our website. If you’re not familiar with Markdown syntax, don’t worry. It’s not that big of a deal. Just delete everything in the index.md file and type the following:
# AR Library
This is a website for an AR Library! You can view it [here](Website.html)!
What’s important to understand here is that in the parenthesis, put the name of the HTML file you created earlier!
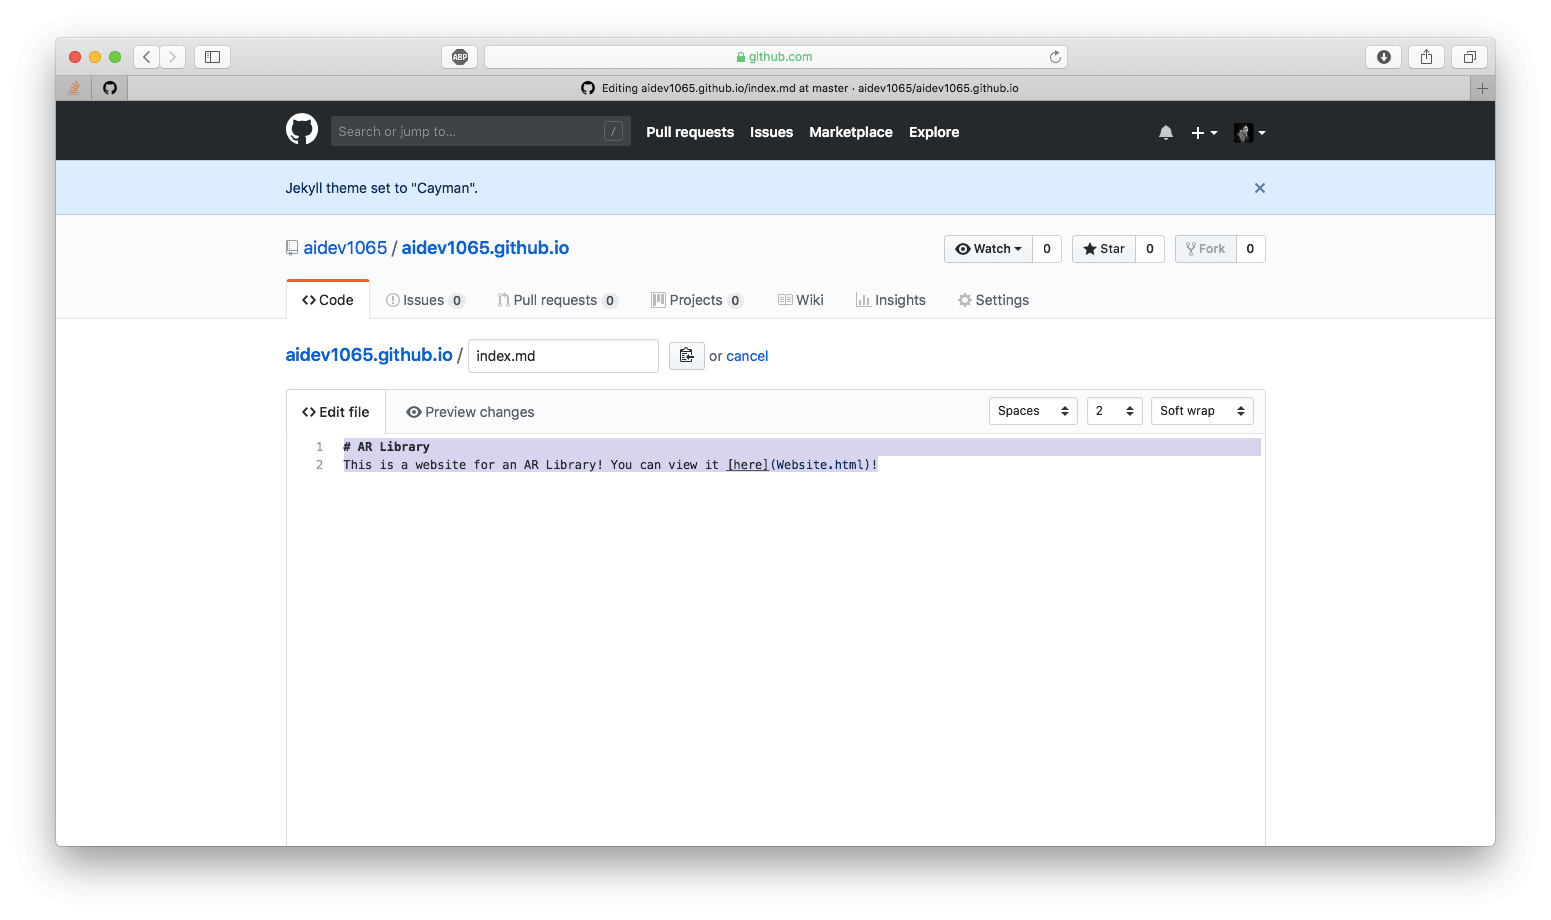
Scroll to the bottom and click on Commit changes. Now you have your Markdown file ready! If you go to any web browser and type in “username.github.io”, you’ll be directed to your own GitHub Page!
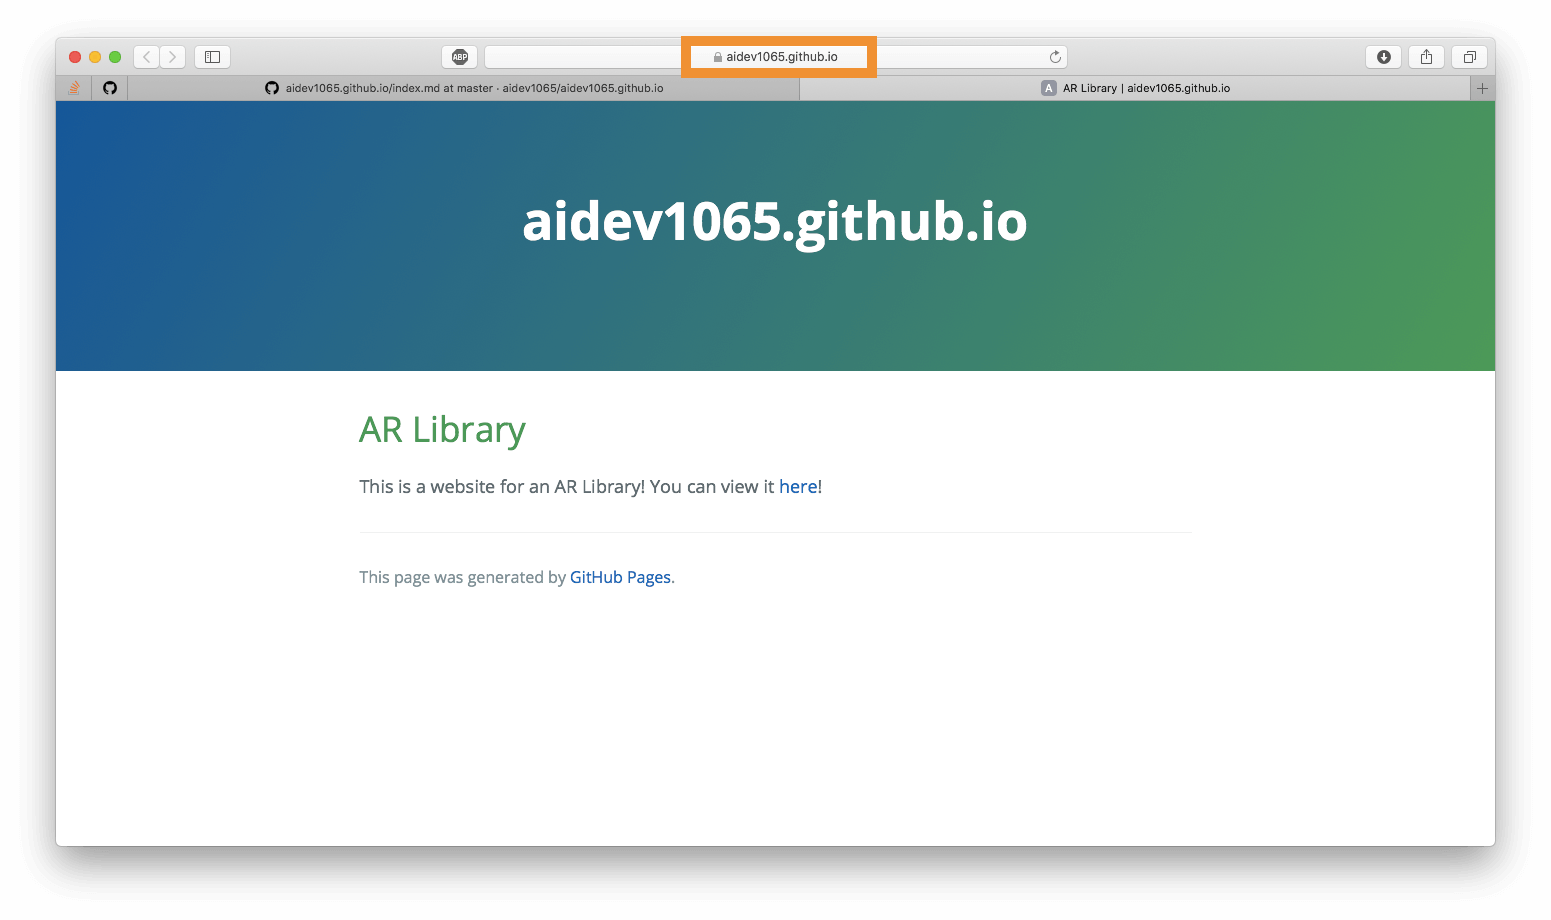
However, when we click on “here”, we get an invalid page error. This is because we have not uploaded the HTML file, USDZ files, and images! Let’s do that now!
Head on back to the repository page and click on the button Upload files.
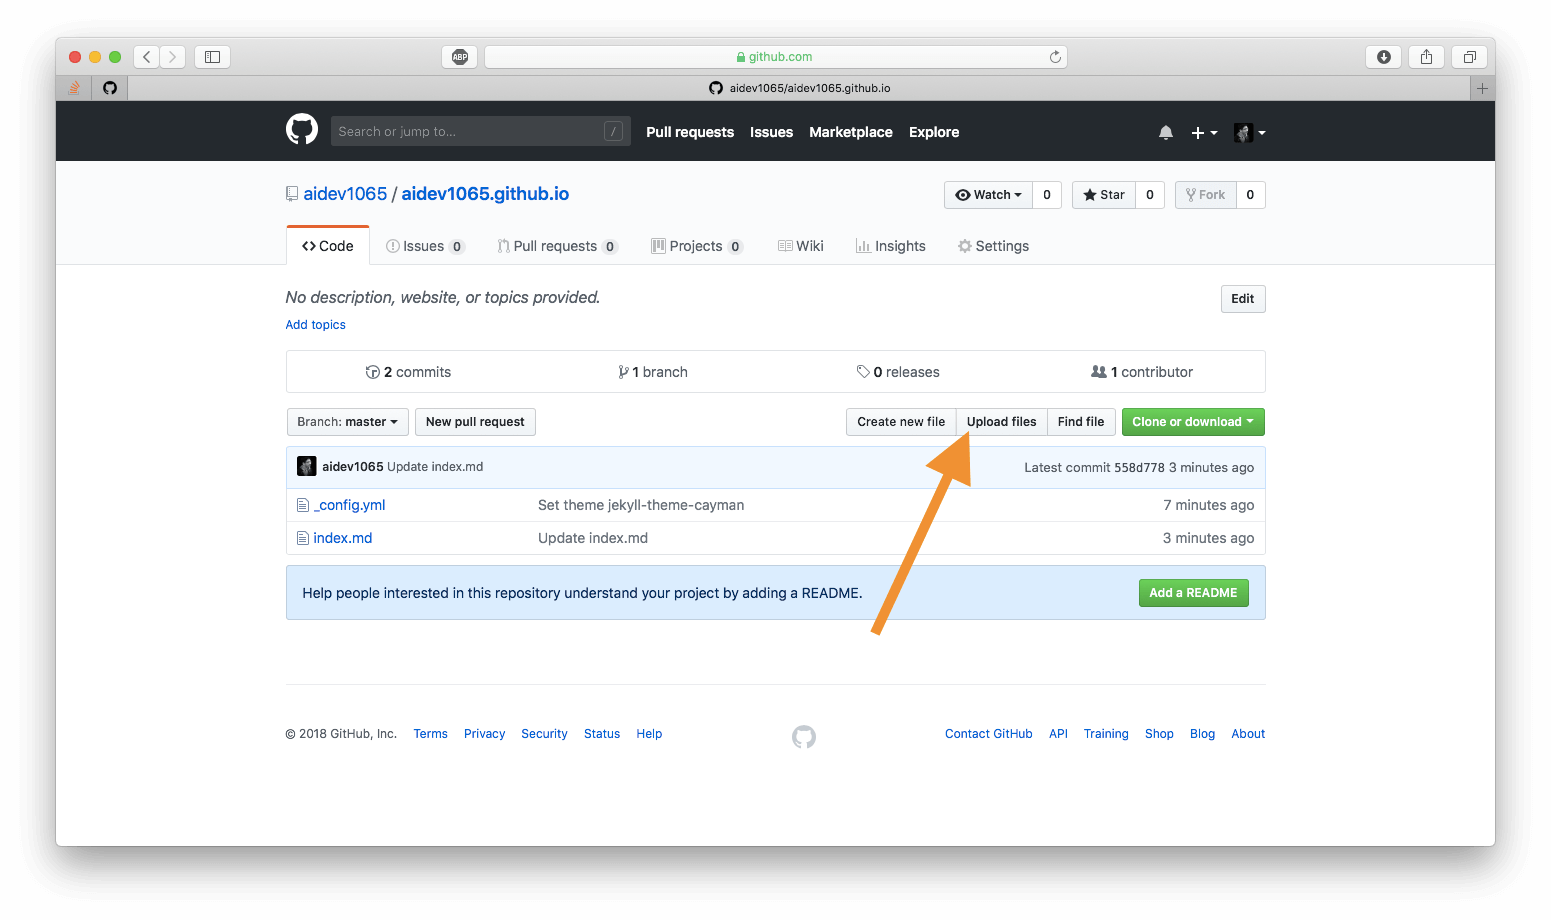
Now all that’s left is uploading the HTML files, the USDZ models, and the images! There should be 19 files in total: 1 HTML file, 9 USDZ models, and 9 images.
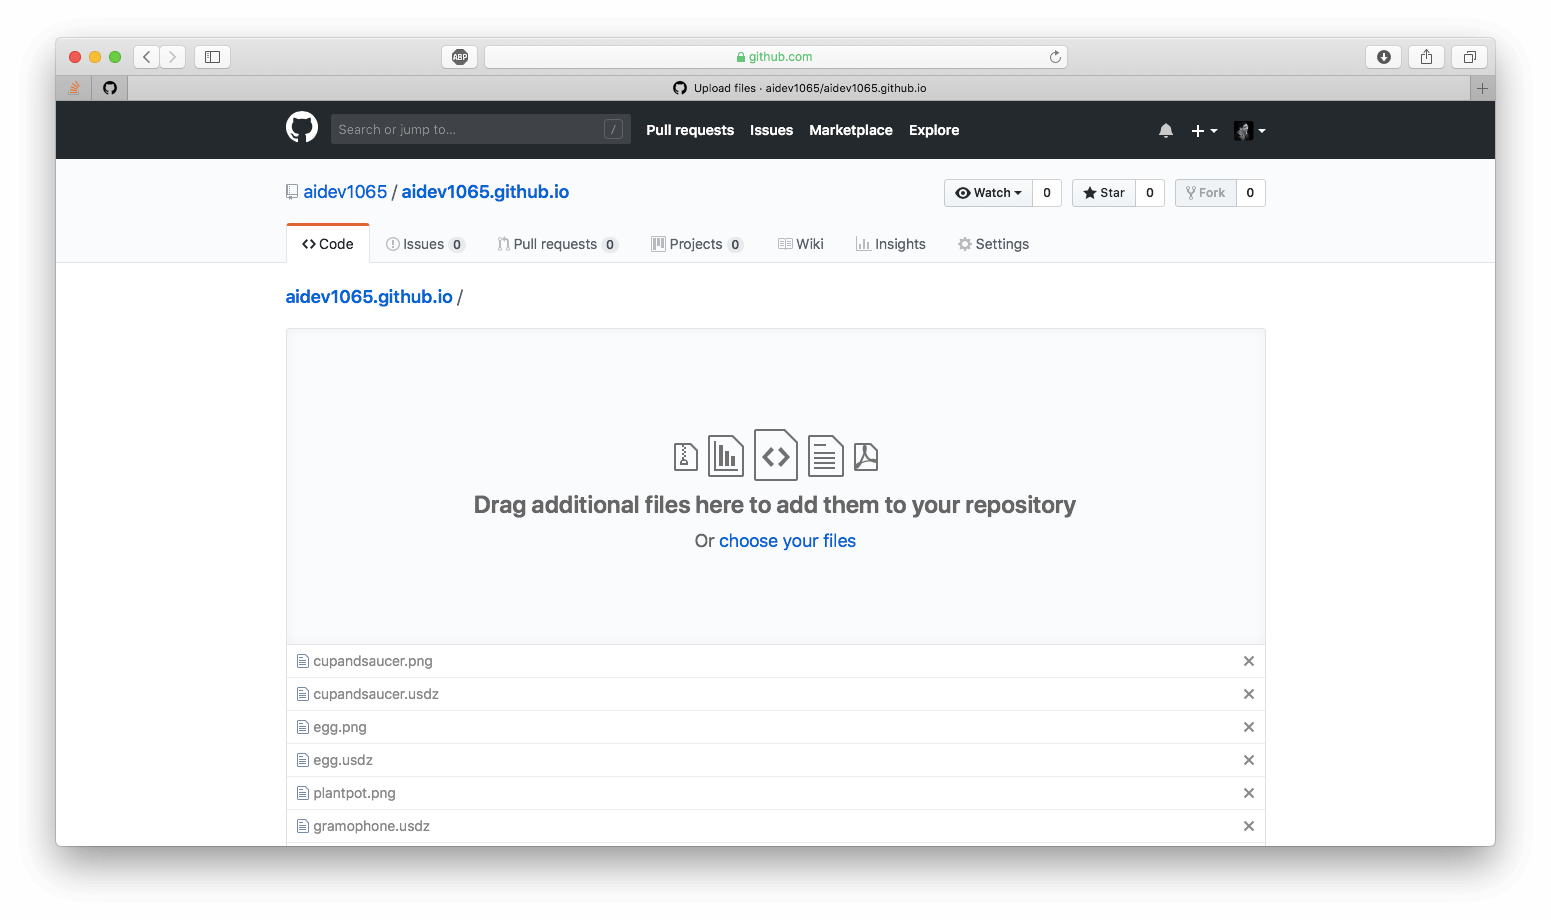
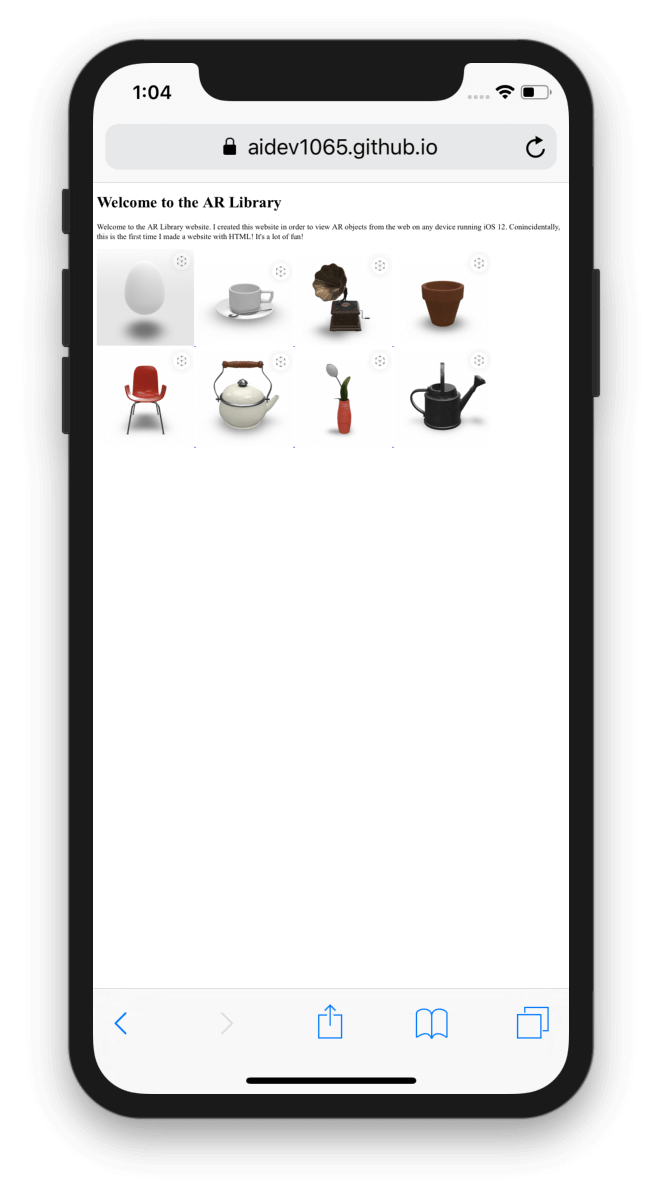
Scroll to the bottom and click on Commit changes. This will take a few minutes. When everything is done, go back to your GitHub Page: “username.github.io”. Now, when you click on “here”, you’ll see the HTML website you created earlier.
Also, when you open the website on a device running iOS 12, you’ll see the ARKit logo in the top right of the image. This means that you can Quick Look the model!
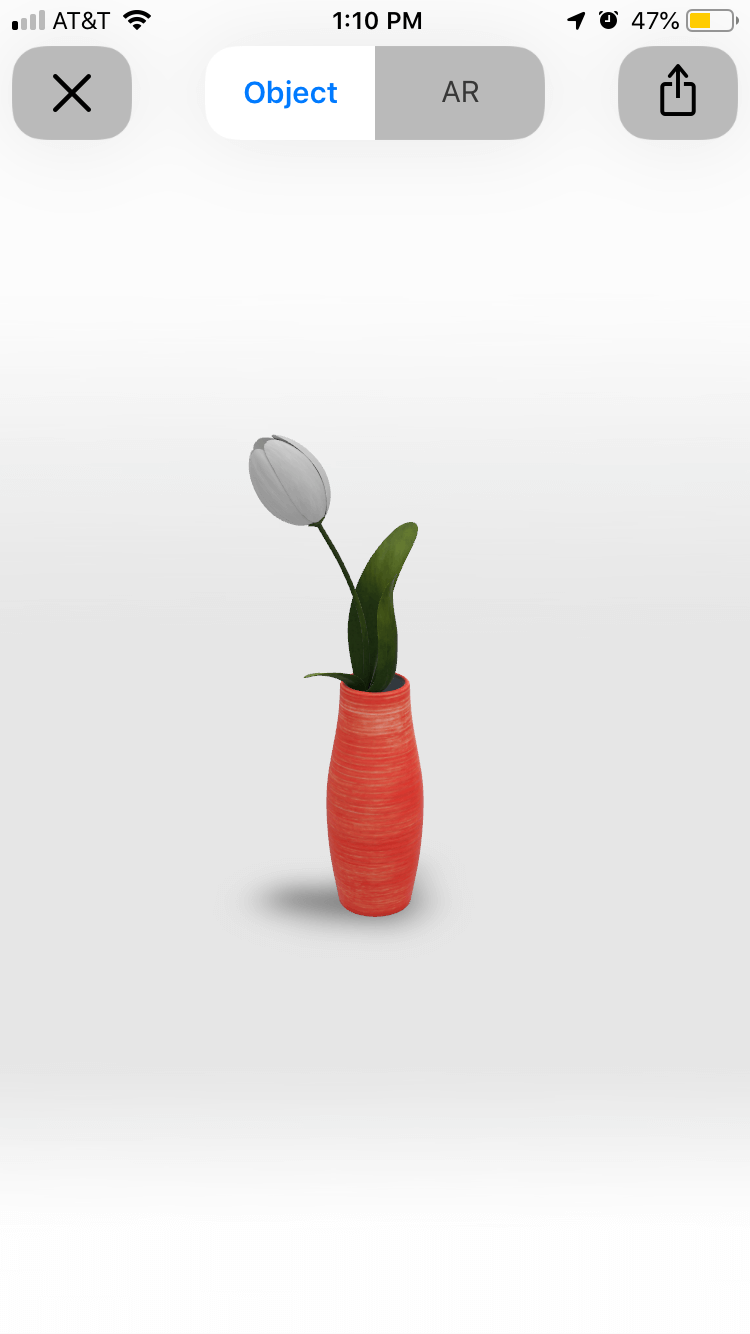
When you click any of the images, you’re presented with the same viewer as that of the iOS app!
Conclusion
Congratulations for making it this far! I hope you have enjoyed and learned something valuable from my tutorial. You should now understand how to convert 3D models to USDZ files, integrate them in your apps using QLPreviewController, use HTML to build a basic website, and use GitHub Pages to host your files. Feel free to share this tutorial on your social networks so that your friends can learn too!
Here are some resources related to the tutorial that can help you expand this project:
- Integrating Apps and Content with AR Quick Look – WWDC 2018
- Quick Look Framework Documentation
- HTML Tutorial
- CSS Tutorial
- Official GitHub Pages Page
For reference, you can download the complete Xcode project on GitHub here and visit the repository I created in the tutorial here.


