Introduction to UIAlertController, Swift Closures and Enumeration
Among all the changes in iOS 8 SDK, the changes of two commonly-used APIs in UIKit framework are less known. Both UIActionSheet and UIAlertView classes are now replaced by the UIAlertController class.
In iOS 8, whenever you want to display an alert message in your app, you should use UIAlertController instead the two deprecated classes. The action sheet and alert view become the style of the UIAlertController. You choose one of the styles when creating an alert controller. The way to handle button action is redesigned. You no longer use delegate (e.g. UIAlertViewDelegate) to handle user response. When using UIAlertController, you associate actions with the controller and that the action is expressed as a block in Objective-C or closures in Swift.
In this tutorial, I’ll give you an introduction to the UIAlertController and cover how to use the class to present an alert message, as well as, an action sheet. On top of that, I’ll take this opportunity to cover the basics of closures and enumeration in Swift.
Okay, let’s get started.
Creating a New Xcode Project
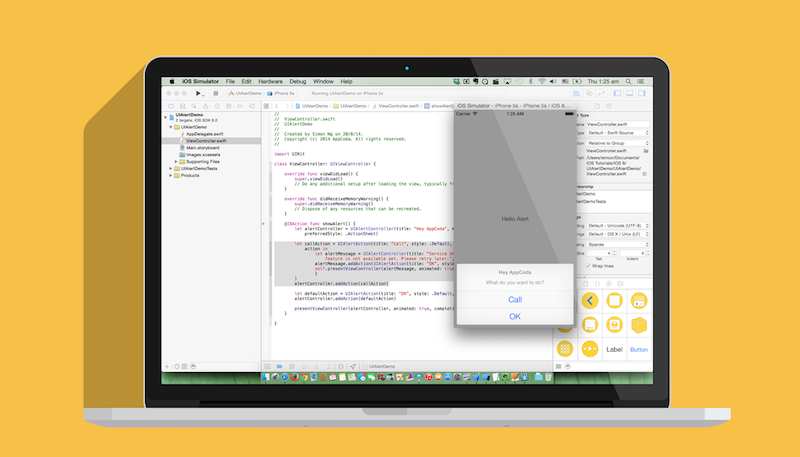
There is no better way to demonstrate a new class than building a demo. Let’s start a new Xcode project using the Single View Application template and name the project as UIAlertDemo. Remember to select Swift as the programming language. I used Xcode 6 Beta 6 to create this demo. If you haven’t installed it, download the Xcode 6 from Apple. It’s now free for download and available to all iOS developer.
In Xcode 6, Size Classes is enabled by default. We’ll talk about Size Classes in later tutorial. But for this tutorial, I want to keep thing simple and prefer to disable Size Classes. Select Main.storyboard and uncheck the “Use Size Classes” option in the File inspector. Once you unchecked the check box, you’ll be prompted to select a device type. Simply select iPhone and click “Disable Size Classes”. The view controller now looks more like an iPhone.
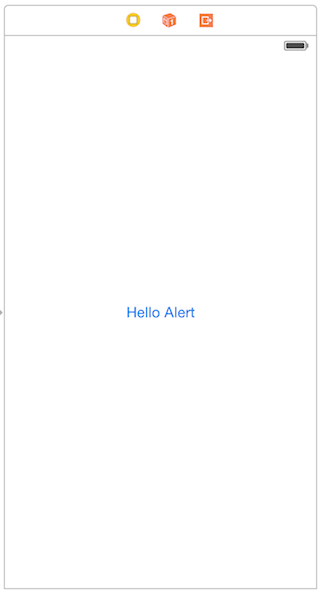
Drag a button to the view and set the title to “Hello Alert”. That’s all we need for the demo app.
Adding Action Methods
In the ViewController.swift, add an action method for the button. Later we’ll associate it with the button in storyboard.
|
1 2 3 |
@IBAction func showAlert() { } |
As you know, outlets and actions allow you to connect your source code with the UI objects in storyboard. In Swift, you insert @IBAction keyword right before the method declaration to indicate an action method. The method will then be accessible in the storyboard.
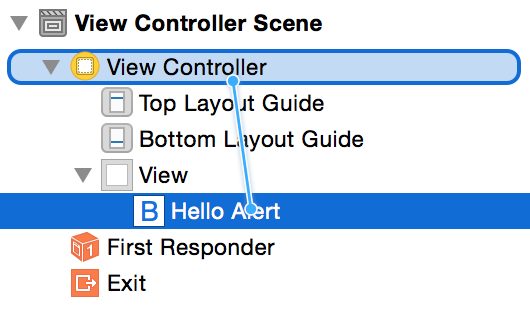
Next, we’ll connect the button with the action method. In the Document Outline, hold control key and drag from the “Hello Alert” button to the View Controller. Release the buttons and select “showAlert”.
Using UIAlertViewController to Present an Alert
Okay, we’ve completed the project setup. It’s time to go over the UIAlertController class. In general, to present an alert message to user, all you need to do are:
- Create an instance of UIAlertController with your title, message, as well as, the preferred style of the alert controller.
- Define your UIAlertAction objects and add them to the alert controller
- Lastly, present the alert controller by calling the presentViewController method
If we write in Swift, it would be like this:
|
1 2 3 4 5 6 7 8 |
@IBAction func showAlert() { let alertController = UIAlertController(title: "Hey AppCoda", message: "What do you want to do?", preferredStyle: .Alert) let defaultAction = UIAlertAction(title: "OK", style: .Default, handler: nil) alertController.addAction(defaultAction) presentViewController(alertController, animated: true, completion: nil) } |
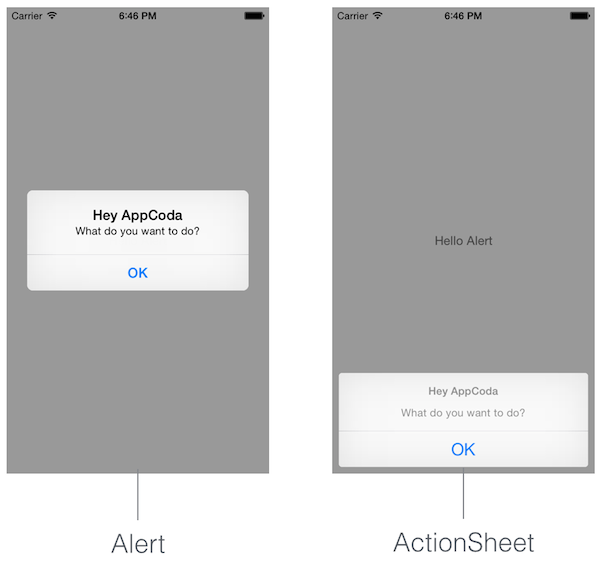
Simple, right? The same alert controller can be used to present an alert or an action sheet. The thing you need to do is to specify your preferred style when creating an alert controller. If .Alert is specified, an alert message will be presented, whereas an action sheet will be displayed if you pass in .ActionSheet for the preferredStyle parameter.
By default, the alert controller doesn’t associate with any action. If you do not add any action, your user has no way to dismiss the alert. In the above code, we create an instance of UIAlertAction and associate it with the alert controller by calling the addAction method. When initializing a UIAlertAction, you specify the title, style and handler. The handler is the block of code to be executed when the button is tapped. In the example, we just set the handler to nil to dismiss the controller. Later we’ll talk more on that.
Lastly, we present the alert controller by calling the presentViewController method. If you run your demo app, you would get an alert message (depending on the style you choose) when tapping the button.
A Brief Talk about Enumeration in Swift
If this is the first time you code in Swift, the dot syntax used in the preferred style (.Alert and .ActionSheet) may be new to you. You can rewrite the initialization of alertController like this:
|
1 |
let alertController = UIAlertController(title: "Hey AppCoda", message: "What do you want to do?", preferredStyle: UIAlertControllerStyle.Alert) |
The code is exactly the same. We just explicitly specify the type. UIAlertControllerStyle is actually an enumeration.
|
1 2 3 4 |
enum UIAlertControllerStyle : Int { case ActionSheet case Alert } |
An enumeration in Swift allows you to group a set of related values together. The values defined in the enumeration (such as AlertSheet and Alert) are the member values. However, unlike Objective C, the member values are not assigned a constant when created. In the UIAlertControllerStyle example, ActionSheet and Alert are not implicitly assigned 0 and 1. Each member is a full-fledged value of the enumeration.
You refer to the value of an enumeration by specifying the enumeration type (e.g. UIAlertControllerStyle) followed by a period and the member value. UIAlertControllerStyle.Alert is an example. Thanks to the Swift’s type inference feature. In case the type is inferred (or known), you can drop the type when accessing the member value. This is why we write .Alert or .ActionSheet in the code.
|
1 |
let alertController = UIAlertController(title: "Hey AppCoda", message: "What do you want to do?", preferredStyle: .Alert) |
This shorter dot syntax results in your having to type less code and makes your code more readable.
Action Handler and Closures
Okay, let’s go back to the UIAlertController. One thing we haven’t discussed is the handler of the UIAlertAction. When creating a UIAlertAction object, we can specify a block of code as a handler. The block of code will be executed when a user selects the action. Let’s add another action to the alert controller by inserting the following code in the showAlert method:
|
1 2 3 4 5 6 7 |
let callActionHandler = { (action:UIAlertAction!) -> Void in let alertMessage = UIAlertController(title: "Service Unavailable", message: "Sorry, the call feature is not available yet. Please retry later.", preferredStyle: .Alert) alertMessage.addAction(UIAlertAction(title: "OK", style: .Default, handler: nil)) self.presentViewController(alertMessage, animated: true, completion: nil) } let callAction = UIAlertAction(title: "Call", style: .Default, handler: callActionHandler) alertController.addAction(callAction) |
Here we add a new call action and define its handler. The code block simply displays an alert telling that the call feature is not available yet. In Swift, this block of code is known as Closure. Closures are self-contained blocks of functionality that can be passed around in your code. It is very similar to blocks in Objective-C. Like the above example, one way to provide the action closure is to declare as a constant or variable with the block of code as value. The first part of the code block is identical to the definition of the handler parameter of the UIAlertAction. The in keyword indicates that the definition of the closure’s parameters and return type has finished, and the body of the closure will begin.

It is not required to declare a separate variable or constant to store the closure. You can directly pass the closure as an argument. And as Swift can infer the types of its parameters, you can simplify the above code to the following:
|
1 2 3 4 5 6 7 8 |
let callAction = UIAlertAction(title: "Call", style: .Default, handler: { action in let alertMessage = UIAlertController(title: "Service Unavailable", message: "Sorry, the call feature is not available yet. Please retry later.", preferredStyle: .Alert) alertMessage.addAction(UIAlertAction(title: "OK", style: .Default, handler: nil)) self.presentViewController(alertMessage, animated: true, completion: nil) } ) alertController.addAction(callAction) |
Summary
After going through the tutorial, I hope you understand how the new UIAlertController class works. The UIAlertController embraces the use of closures (or block in Objective-C). Hope you enjoy the new way to display alert in iOS 8!
For your reference, you can download the complete Xcode project from here. As always, leave me comment and share your thought about the tutorial.

Founder of AppCoda. Author of multiple iOS programming books including Beginning iOS Programming with Swift and Mastering SwiftUI. iOS App Developer and Blogger. Follow me at Facebook, Twitter and Google+.
Comments
 Goffredo Marocchi
Author“This shorter dot syntax results in your having to type less code and makes your code more readable.”
We type code in Xcode and the auto completion engine there does a good job too. We are not coding using vi or TextEdit. Also, removing the enum name is similar to not using argument names in methods… It decreases readability, not the opposite. Same thing for variables named mgr or actVC
self.setupEngineParameters(true, false, false, self, true)
Leads to the reader asking about what one of those Boolean is used for and the other person answering by pointing out that somewhere documentation is available. Tell me you never asked such a question about a C++ or Java function call and hear the same response 😉
A language should value its ability to be self-documenting :).
 Nijat E. M.
AuthorThank you so much for this tutorial. I’ve bought the book a couple of days ago, and really looking forward for upcoming updates with iOS8 in core.
 Chetan Kmr
AuthorGreat tutorial !!!
The Link for this tutorial in the main page is wrong .Please correct it !
 JM
JM
AuthorCan you cover textfields in UIAlertControllers?
 Andrew Schools
AuthorI agree with you Goffredo. I like Swift but I feel that they are creating too many shortcuts. Trailing closures is also another feature they should have left out for the sake of readability.
 B Lee
B Lee
AuthorThat is a horrible example of code inside a closure since it presents another alertcontroller from an alertcontroller. This is a much better site explaining alertcontrollers: http://nshipster.com/uialertcontroller/
 Sanky Chan
AuthorCan I make animation (eg. shake) to UIAlertView?
 KD
KD
AuthorAll types of alert in UIAlertController : http://iosdevcenters.blogspot.com/2016/03/uialertcontroller-in-swift.html
 Mauricio Chirino
AuthorThanks man, i really found what i was looking for in this post and it took me less than 2 minutes (literally)
 JT
JT
AuthorI tried to access one of the functions declared on the VC elsewhere with
self.functionName()inside the closure but it gave me an error saying it had no member named functionName. Defining the action as a function rather than a closure worked. Any benefit to figuring out how to make that work as a closure instead of a function? Wade Sellers
AuthorSwift 4 light syntax adjustments… some capitalization changes for enums and present function rename
func displayError(title: String, message: String) {
let alertController = UIAlertController(title: title, message: message, preferredStyle: .alert)
let defaultAction = UIAlertAction(title: “OK”, style: .default, handler: nil)
alertController.addAction(defaultAction)
present(alertController, animated: true, completion: nil)
}
 Ali Martins
Authorhi Sir.
ty for the tutorial
I have a question. How do I pause the code until the User presses the UIAlert ok or cancel buttons? Uilaert is assynchronous but I need to wait for User decision before moving on.
thanks